I LOVE Hawaii and anything to do with Hawaii so I am always looking for neat things to make that look, well, Hawaiian. I was looking at hibiscus cakes a while ago and came across this gorgeous Hibiscus Cake on Flickr and fell in LOVE with it. The flat hibiscus fondant (or gum paste) decos are so cool and something I had never seen before. I saved it to my faves and started looking at more cakes similar. Another place that I found that makes cakes with the same design style ( and also where the cake on Flickr got their inspiration from is CakeLava. I am convinced they have THE BEST job on the planet. Making insanely amazing cakes in Hawaii. They have some cakes that I would love to have so I told my husband we need to get married a few more times in Hawaii just to have wedding cakes from them! I wanted to know HOW they made the flat designs. A friend of mine a few weeks back showed me this amazing machine called the Cricut that is used mostly in paper crafts like scrapbooking ( something I am not into) but they came out with a Cricut Cake machine. So totally cool. But I am not a professional baker, don't own a bakery or really have any reason to own the machine ( not to mention its not exactly cheap and the cartridges that hold all the images aren't cheap either) its still totally cool. So I decided to try it by hand and see how it would turn out.
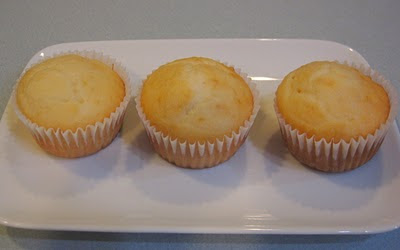
First off I had 3 leftover vanilla cupcakes from the St. Patrick's day cupcakes I had made. I saved 3 and didn't dye them because I WAS going to do a tutorial with filling and frosting ( which I will do at a later date) but after I saw the hibiscus cake on Flickr I wanted to attempt it with cupcakes.
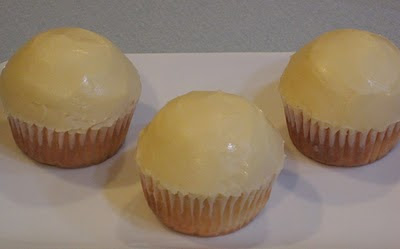
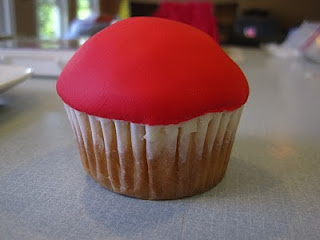
First I frosted with leftover vanilla buttercream. I made two layers to make for a nice dome on top. I found a tutorial online over at one of my favorite blogs Cake Journal, that shows how to cover a cupcake in fondant.
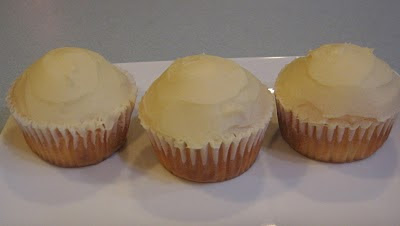
They are shiny because I had just smoothed with a hot dry spatula as best as I could and then chilled in the fridge until I was ready to cover in fondant
Here is my circle of fondant. My cutter wasn't the exact same size as the one stated in the tutorial. I had one that was too small, and one that was a little too big, I need one that is goldilock's style - juuussstt right. ha ha. I cut out the bigger one because I would rather trim off the extra than try to stretch and risk ripping the fondant. I wasn't totally sure if I had the correct thickness of fondant but I went with it.
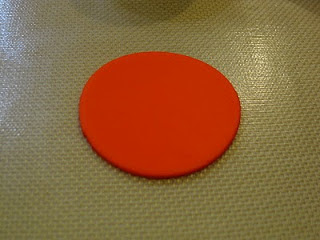
It didn't come out as SMOOTH as I would have hoped but better than I thought it would be. Especially for my first time covering a cupcake in fondant
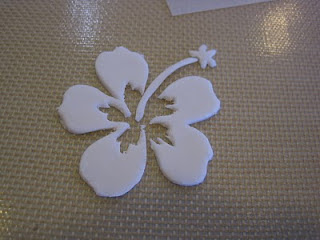
Hibiscus stencil I made over my piece of rolled out white fondant. I use my silicone baking mat for rolling out fondant. I don't like using cornstarch or powdered sugar straight on my counter top. These mats work perfectly for smaller fondant or gum paste work.
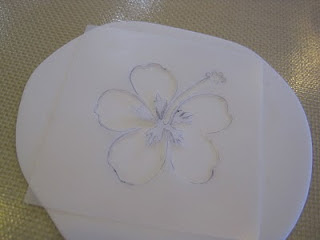
Also I was cutting the fondant out with my xacto knife since that seemed to give me the cleanest edges and I was trying to be super careful not to cut my mat.
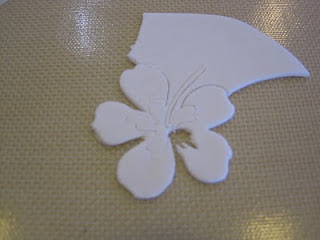
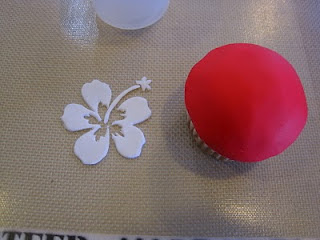
All cut out. I did the stamen freehand because the stencil was too small.
Ready for the cupcake. I used vodka as my "glue" I like using it better than water because it dries a lot faster and doesn't leave any stickiness or residue.
It was super delicate so I had to move kinda slowly so it wouldn't tear.
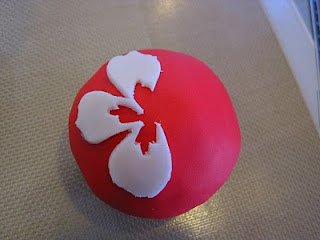
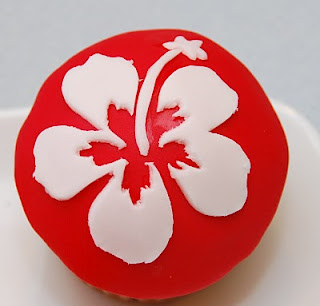
You can see a little bit of a shiny spot on the red fondant from the vodka. I had places the two leaf section on and had to move it a little to make it where it was supposed to be
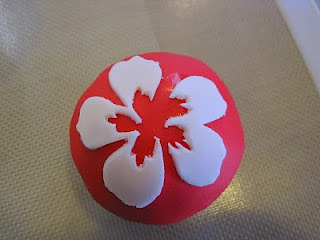
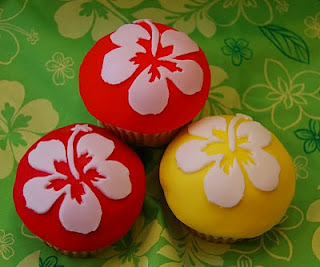
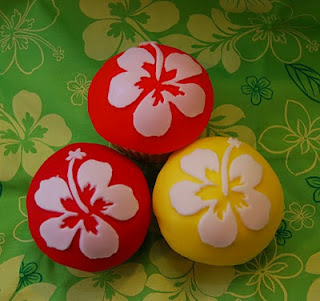
Finished! The red one I made
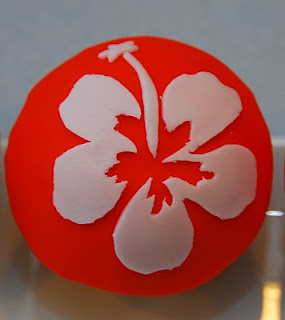
Orange
Yellow
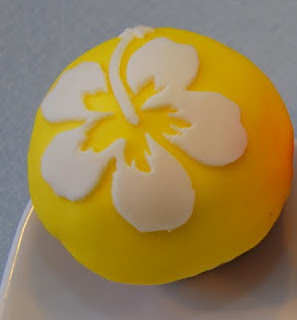
Yellow. I wanted them to be the colors of a Hawaiian sunset!
This is the fabric I used to copy one of the hibiscus flowers for my stencil. I have an apron I made myself out of this fabric.
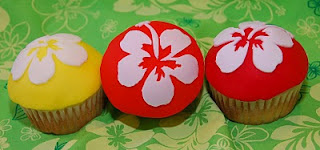
I think these would be perfect for a luau or any tropical themed party, even a Hawaiian themed wedding! I also think the hand cutting method is a little time consuming. But I am pleased with how they came out. The Cricut machine would make things easier but like a friend of mine and I were talking about earlier anyone can use a machine, not many can make things by hand. She and I would both rather create by hand. Takes longer but makes me appreciate the fact that I can do this!
Note: I am transferring posts/recipes/pics fom my old blog, a cup full of cake, to this blog so you may see pictures with a cupfullofcake.blogspot.com on them and wonder why. They belong to me its just that if I crop that out and add in my new watermark it will make the picture even smaller and it is a lot more work to do. I may go back and change that later but for now I want to get all my posts transferred here first and then shut that blog down as I no longer post there.

Leave a Reply