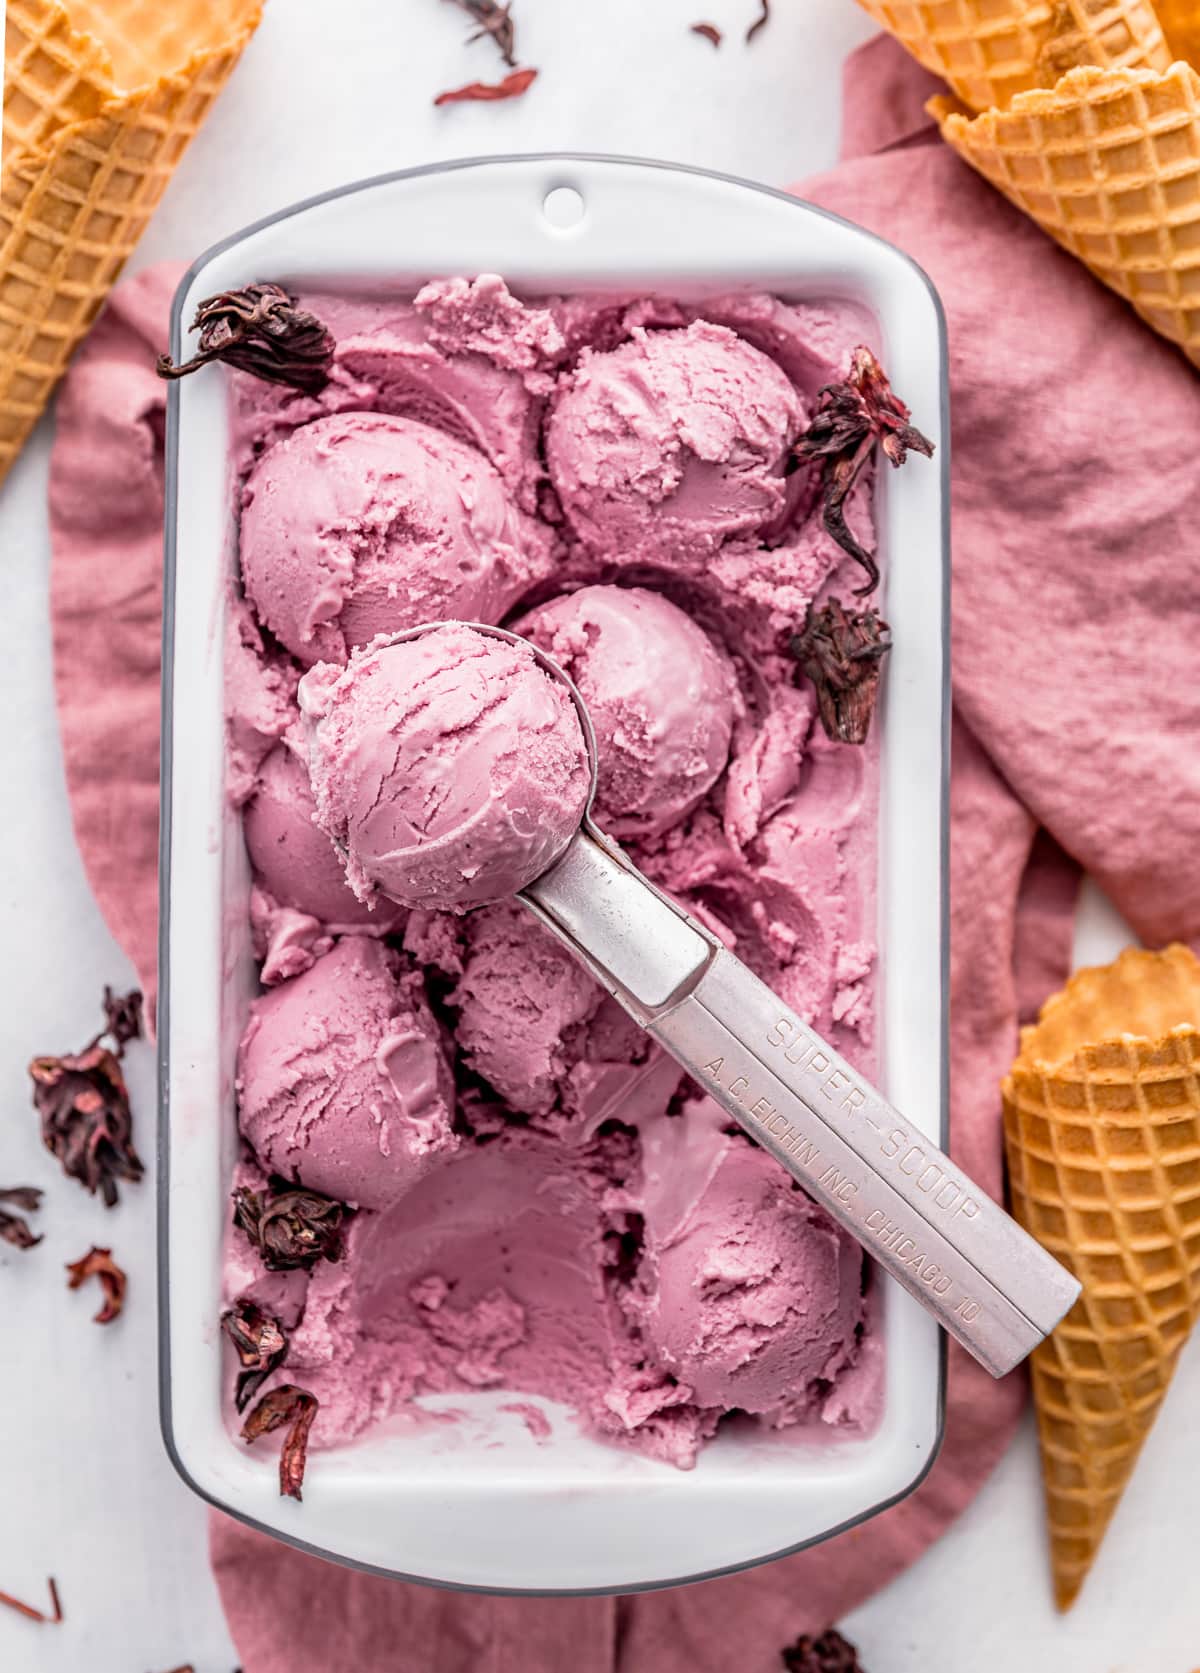
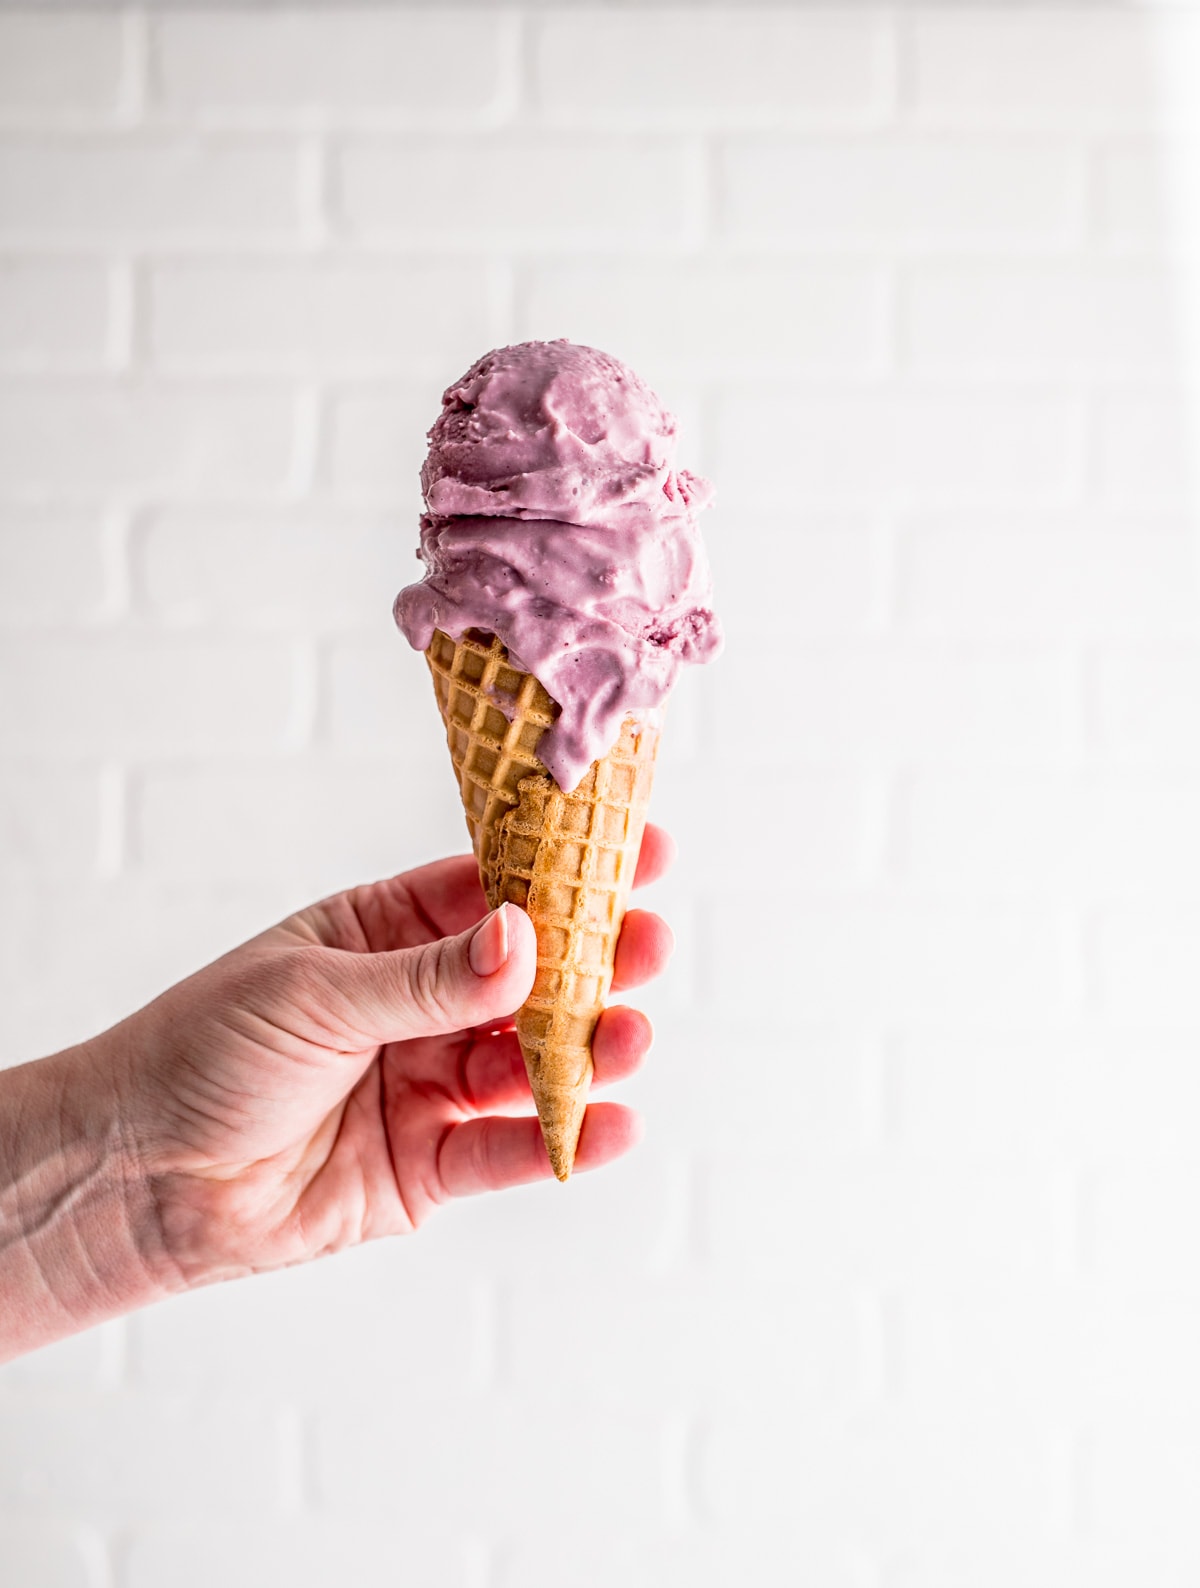
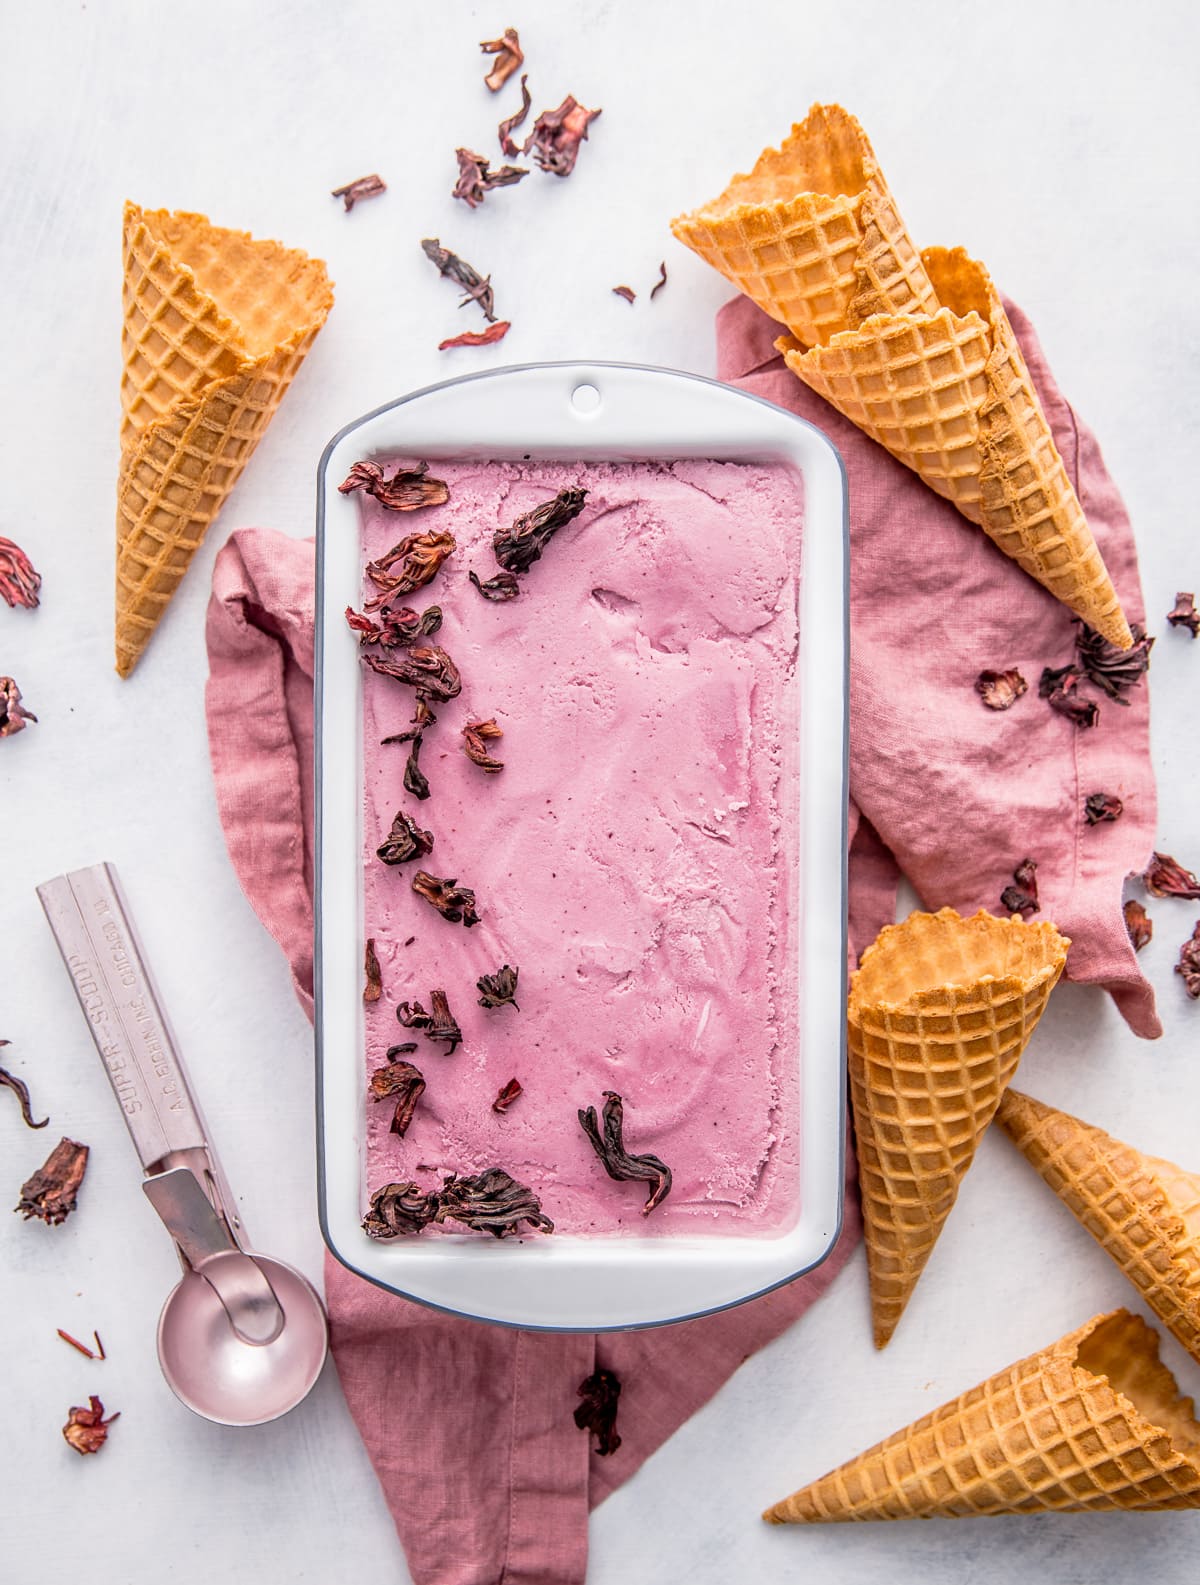
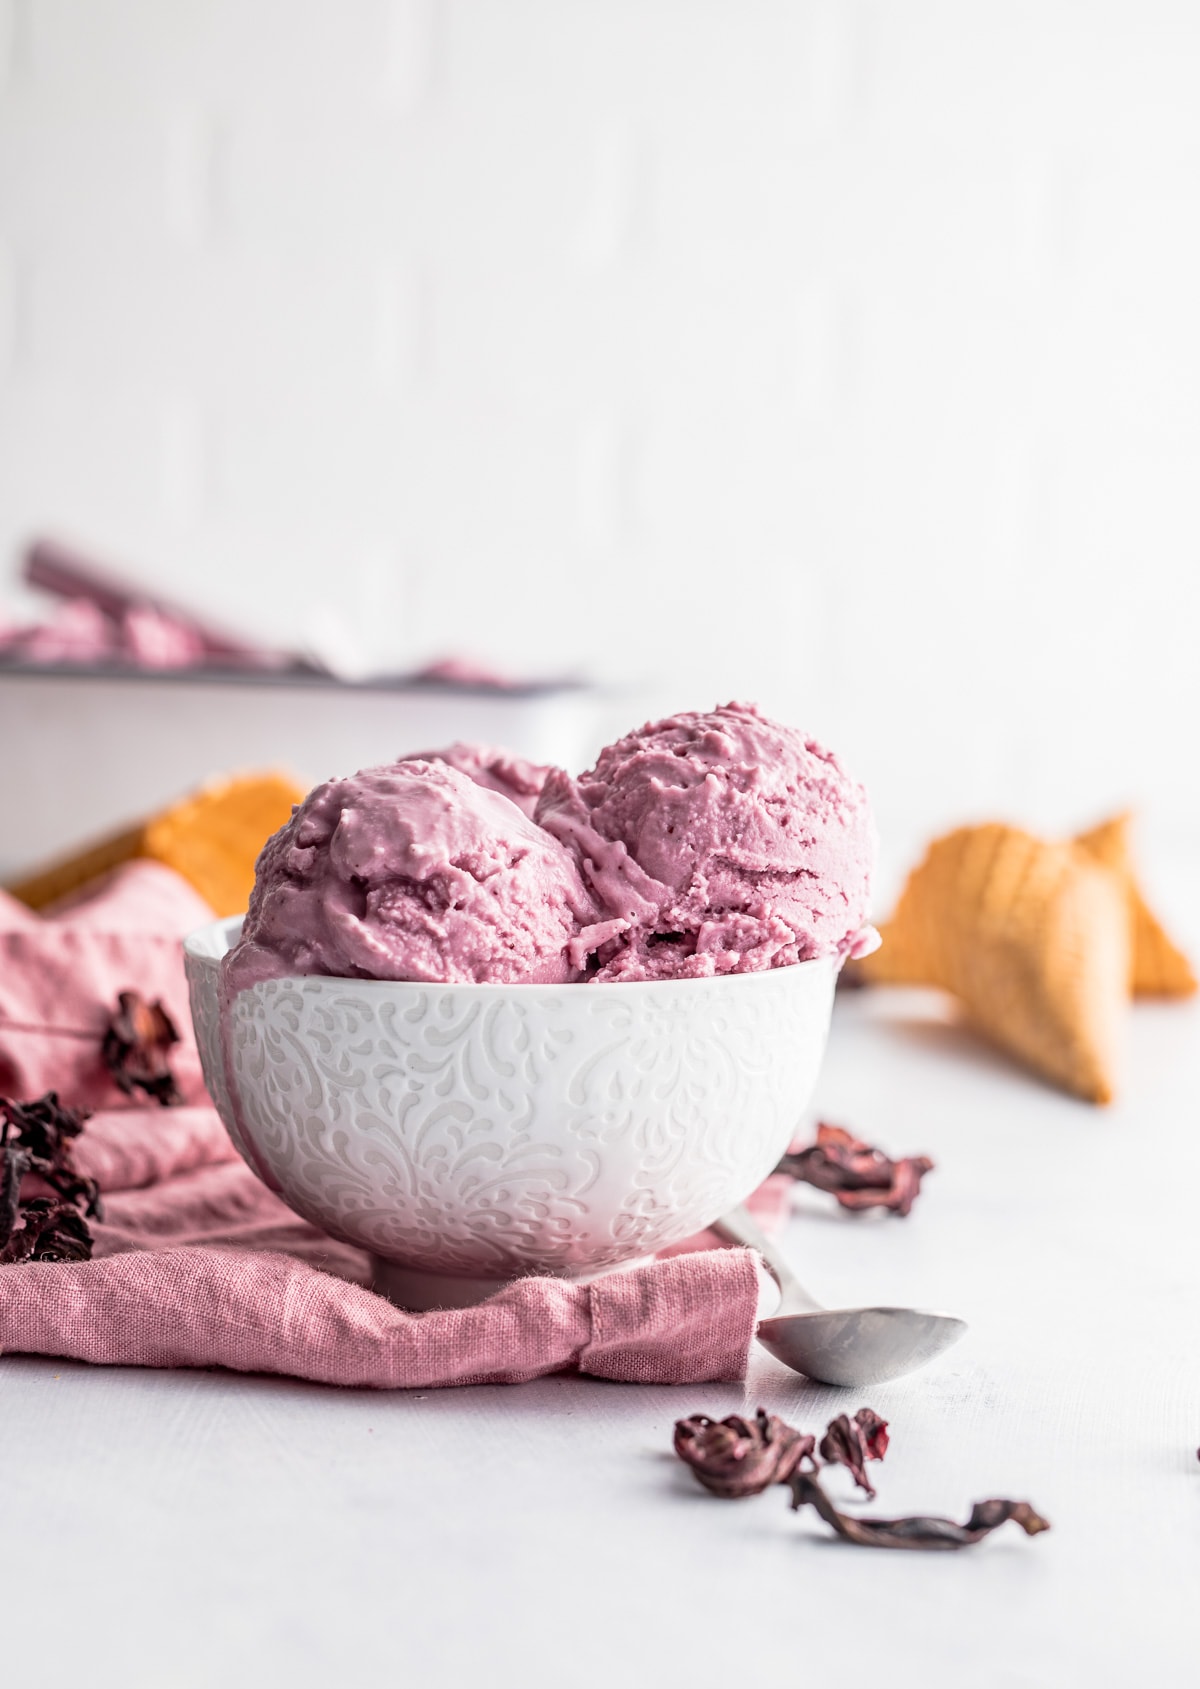
Vegan Coconut Hibiscus Ice Cream. Lucious, tropical, rich and made without traditional dairy or eggs.
I love making homemade ice cream, my family really loves it, but I don't always eat it. I don't eat a lot of dairy.
But I do love making ice creams with non-dairy substitutes such as coconut milk and coconut cream. It is just as rich as making a traditional custard base for ice cream with milk, heavy cream and eggs but great for those of us with allergies or avoid dairy for other reasons.
And since I am still on a hibiscus recipe making kick, coconut hibiscus ice cream it is!
Because this coconut hibiscus ice cream recipe is made with just a few ingredients it comes together a little faster than traditional custard based ice creams.
The longest parts of the recipe are steeping the hibiscus flowers in the coconut milk, chilling the base mixture then freezing after churning.
It is definitely a several hour to overnight project. All depends on when you start the recipe. Well worth it.
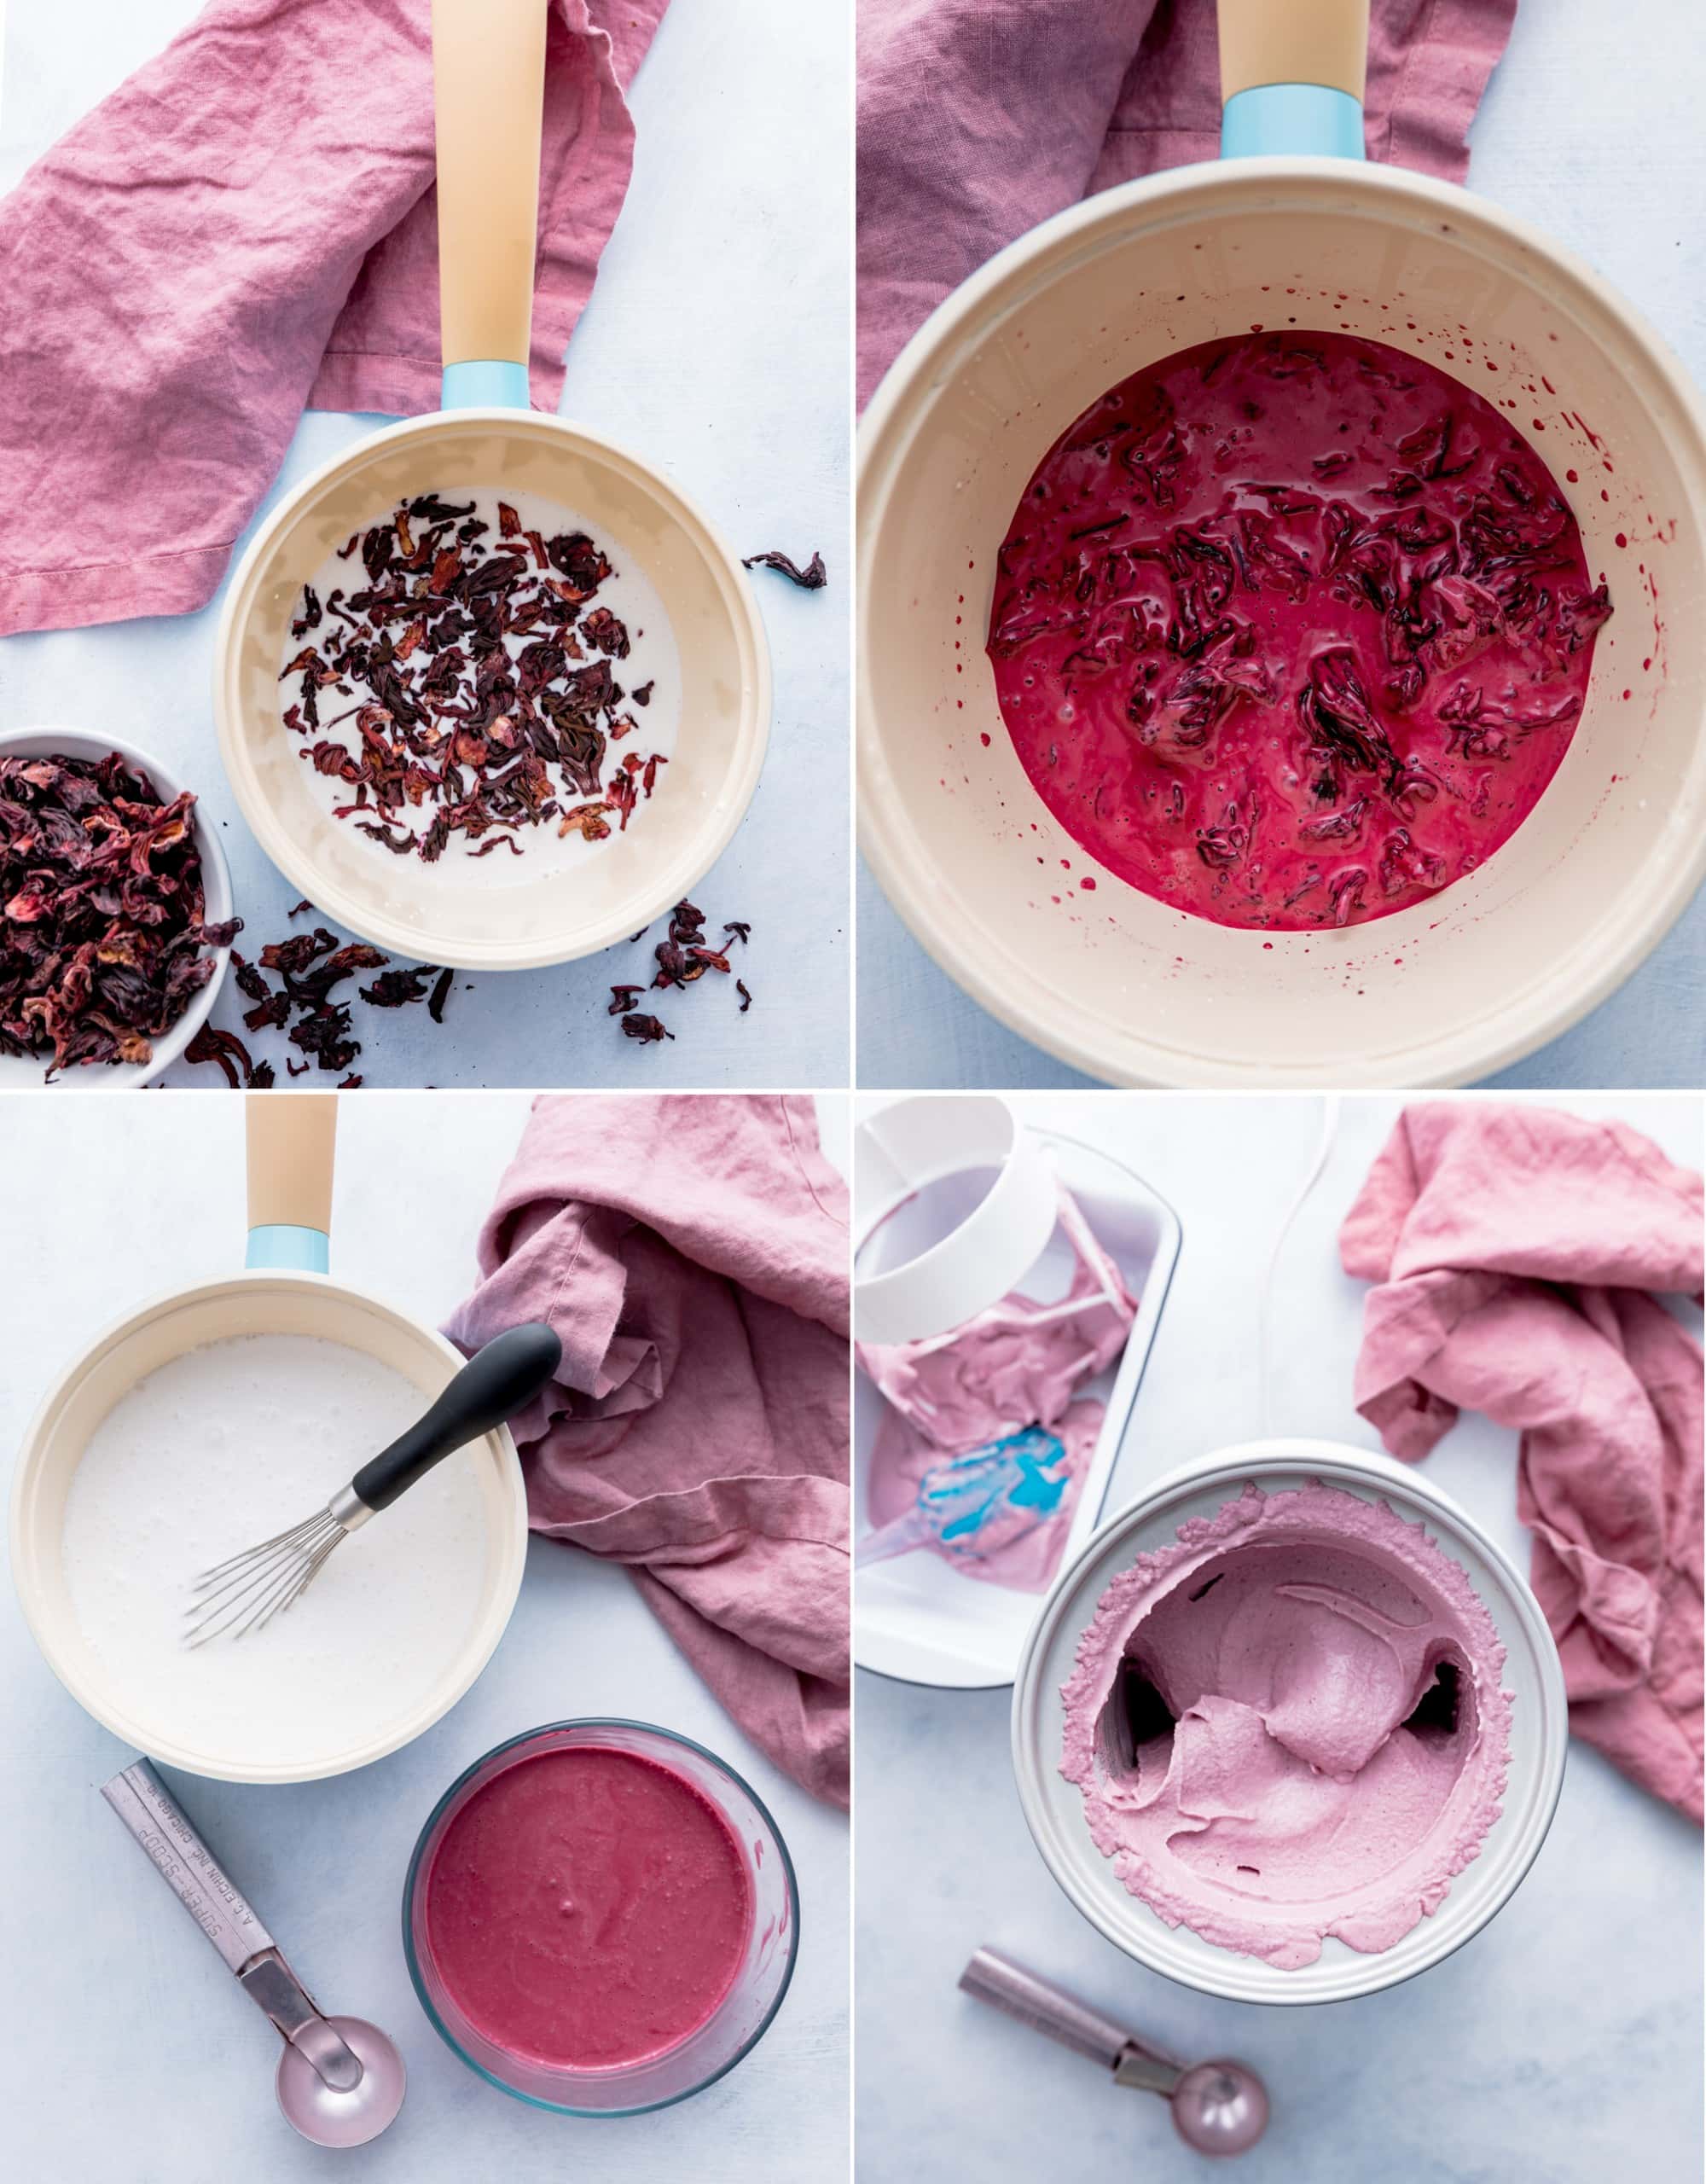
The first step of this ice cream recipe is steeping hibiscus flowers in some of the coconut cream to release flavor and color. I heat the cream and add in the flowers which I smash slightly since the smaller pieces give off more flavor and color.
You can also blitz the dried hibiscus flowers for a second or two in a blender or food processor to make more of a powder. This method will require double straining after steeping.
I churn ice cream with an ice cream maker. Love my little Cuisinart ice cream maker. You can make it no-churn, however I haven't tested it with the no-churn method.
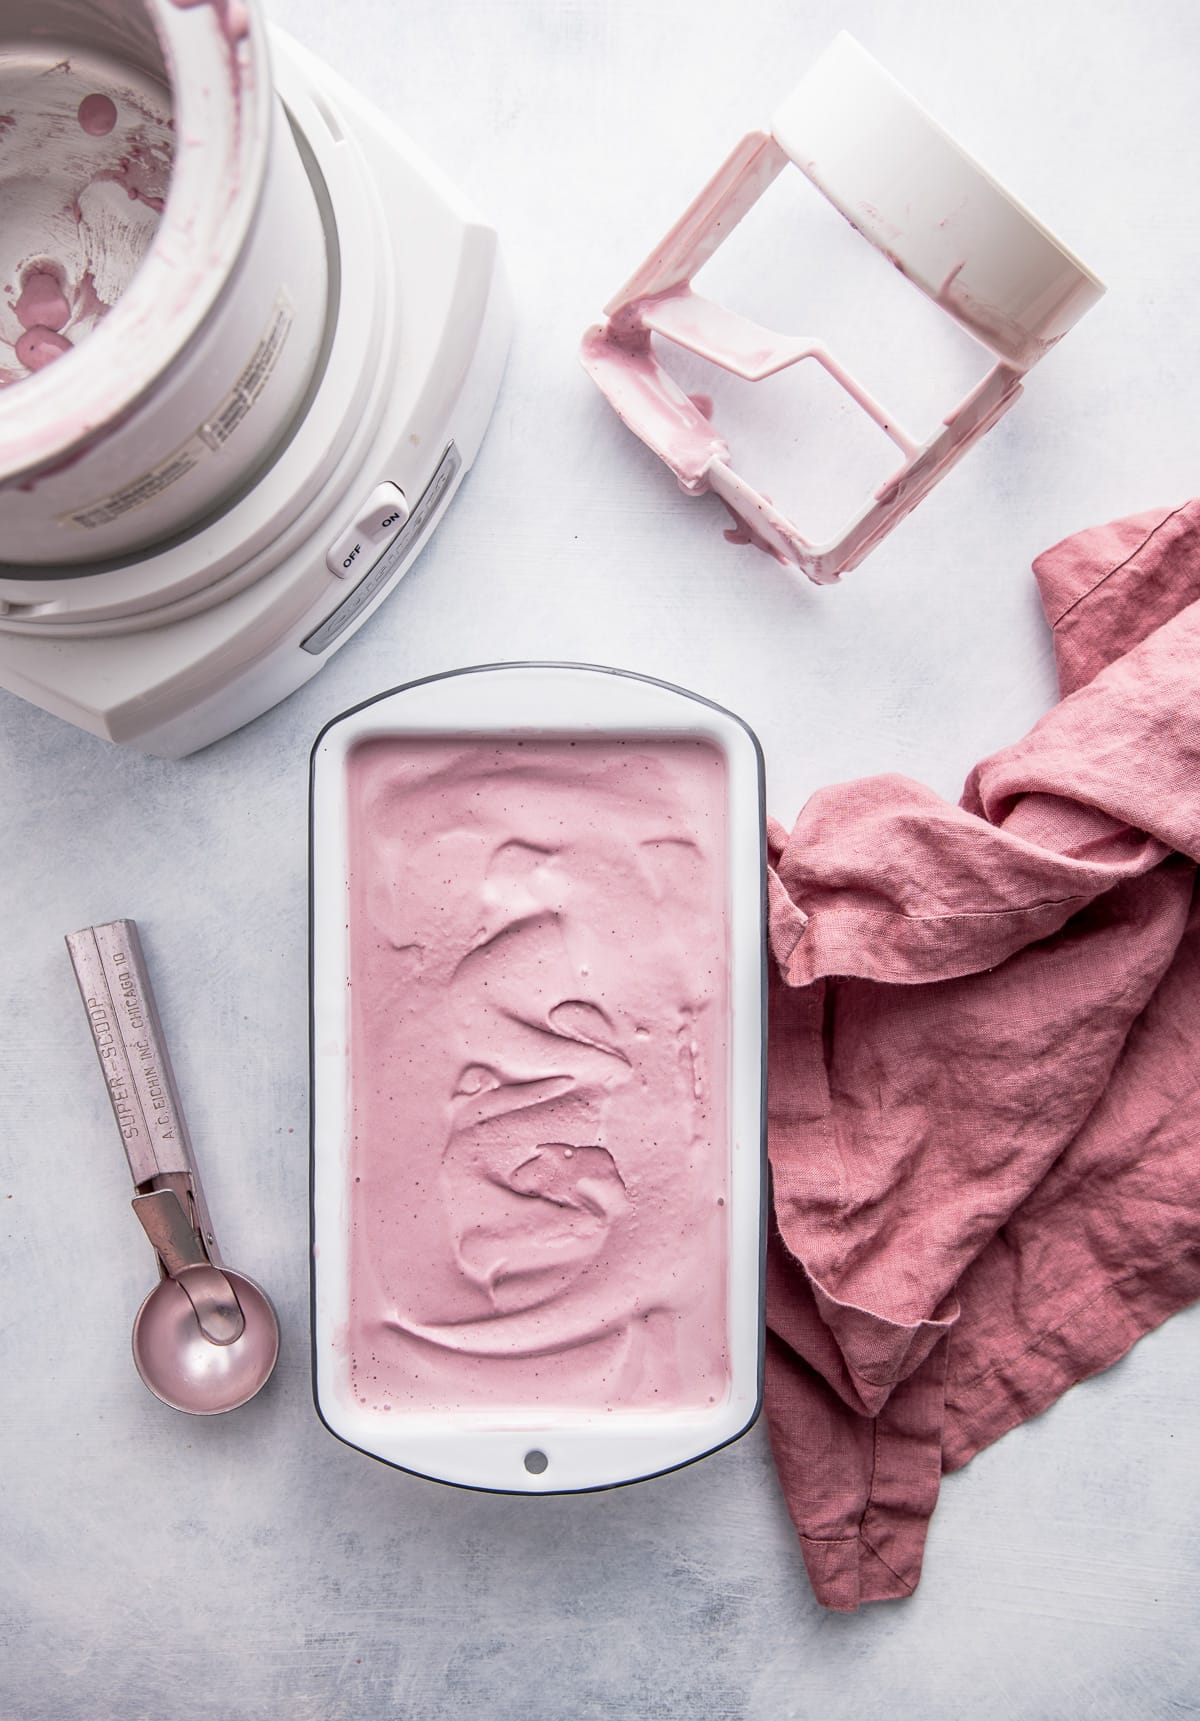
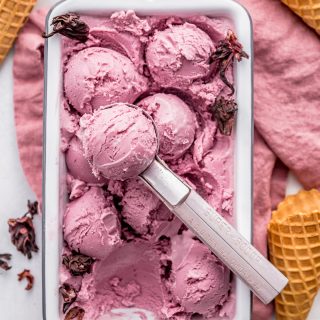
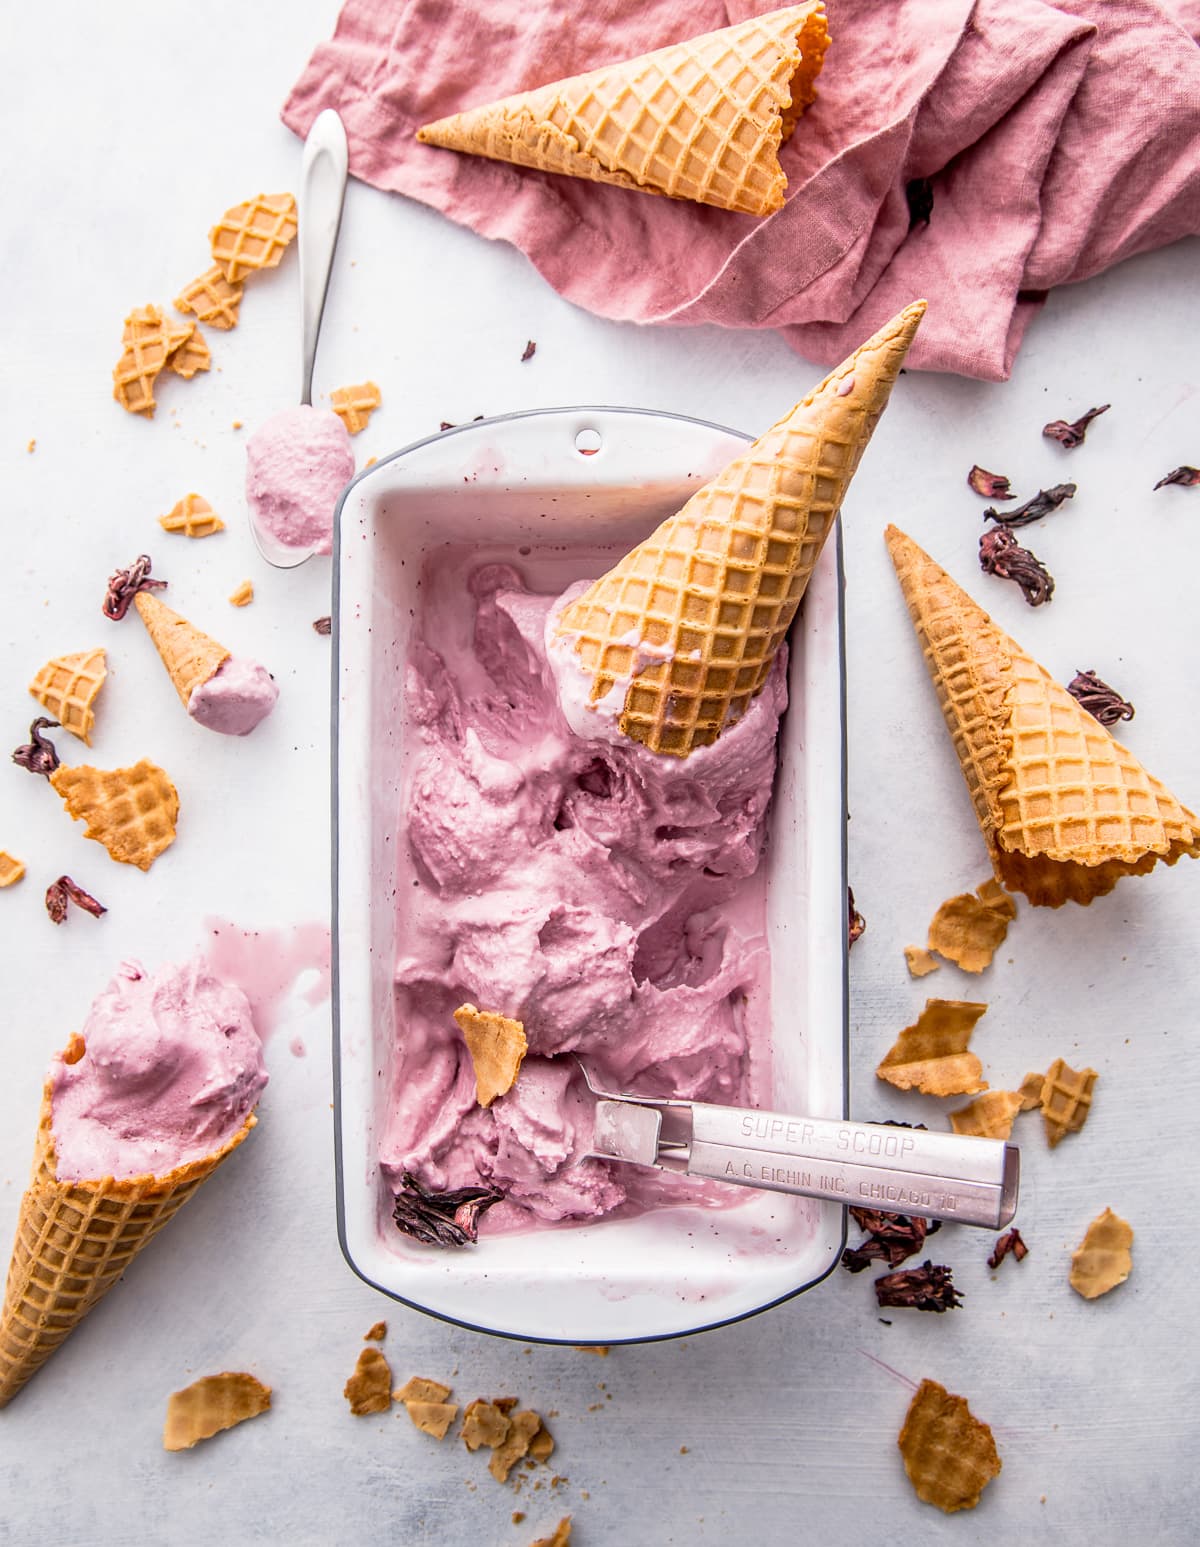
After churning work quickly to remove the ice cream from ice cream maker bowl. I either transfer to the tubs I kept the base in while it was chilling in the fridge or to a loaf tin or other tub.
It will get a little melty again but that is ok. I will firm up nicely in the freezer. Which only takes a few hours.
Some ice cream recipes end up rock hard when frozen and very hard to scoop so one trick is to add a little vodka to keep it from freezing solid. I don't do that with this recipe since it only needs a minute at room temperature to scoop out.
With this recipe missing eggs, I used tapioca starch to thicken the ice cream and give it that classic ice cream texture. Churning in an ice cream maker also helps with the texture. I also add in a little of the hibiscus syrup from my hibiscus simple syrup for another layer of hibiscus flavor.
A few notes about this Vegan Coconut Hibiscus Ice Cream recipe first:
- Use both full fat coconut cream and coconut milk. Lower fat will result in an icier, less creamy ice cream. I am a big fan of Chaokoh and Mae Ploy brands.
- Hibiscus flowers can be found at any well stocked Mexican, Latin or International grocery stores. You could use hibiscus tea bags but make sure that hibiscus is the only ingredient.
- Tapioca starch is used to thicken the ice cream and give it a nice smooth texture. You could also use corn starch, however tapioca lends a much nicer texture. Tapioca can be found in well stocked grocery stores or health food markets as well as online. Typically in gluten free sections.
- I use a Cuisinart ice cream maker for all my ice cream recipes. I keep the bowl in my freezer at all times, but I know not everyone has that much freezer space. Put the bowl in the freezer the night before you make the ice cream. It needs at least 15 hours in the freezer to fully freeze or else the ice cream won't churn properly.
Vegan Coconut Hibiscus Ice Cream
Ingredients
- 2 cups full fat coconut cream, 16 oz/500 ml
- 2 cups full fat coconut milk, 16 oz/500ml
- 1 cup granulated sugar, 7.1oz/200g
- ½ c dried hibiscus flowers, crushed slightly (1 oz/25 g)
- 2 tablespoon tapioca starch
- 1 teaspoon vanilla extract, 5ml
- 2 tablespoon hibiscus syrup, 30ml
Instructions
- If using an ice cream maker, have the bowl completely frozen before churning. Set in the freezer the night before making the ice cream.
- Heat one cup of the coconut cream with the hibiscus flours until just simmering, stir and remove from heat. Let steep for an hour. Strain well into a large bowl. If you used powered hibiscus, strain the cream a second time. Set aside.
- In a sauce pan combine the remaining cream, milk, sugar, tapioca and vanilla. Bring to a simmer over medium heat, stirring well to dissolve the sugar and tapioca then stir with a spatula while scraping the bottom of the pan until the mixture thickens and is very smooth. about 20 minutes total. Add this to the hibiscus steeped cream in the large bowl and stir well to combine. Add in the hibiscus syrup then chill this mixture completely. 3-4 hours up to overnight.
- Prepare your ice cream maker according to directions and add in the chilled ice cream base. Churn until thick, this time will vary depending upon ice cream makers. Mine takes about 20 minutes
- Transfer to a pan, containers, cups whatever you like to keep ice cream in. Freeze for a few hours up to overnight before serving.
Notes
Hope you all enjoy this vegan coconut hibiscus ice cream as much as we do! Thanks for reading.

Leave a Reply