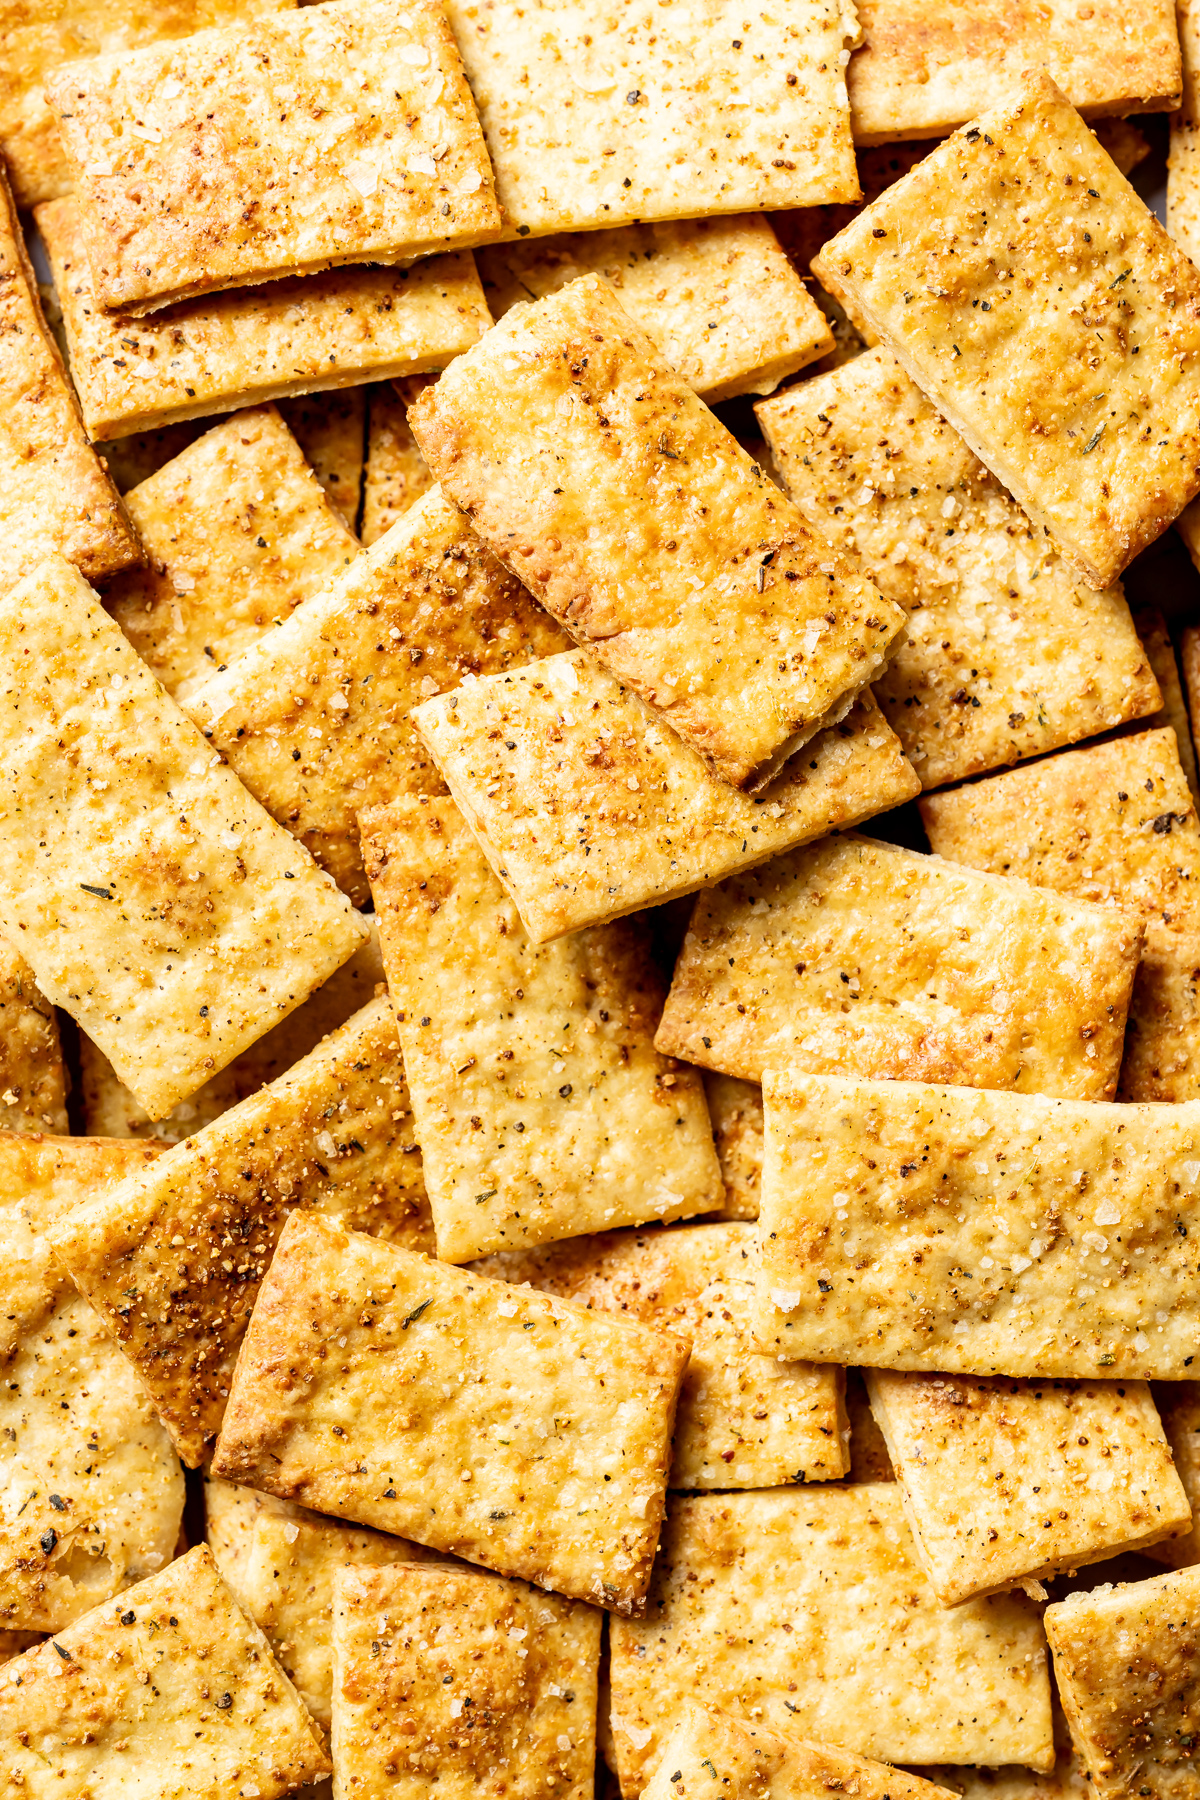
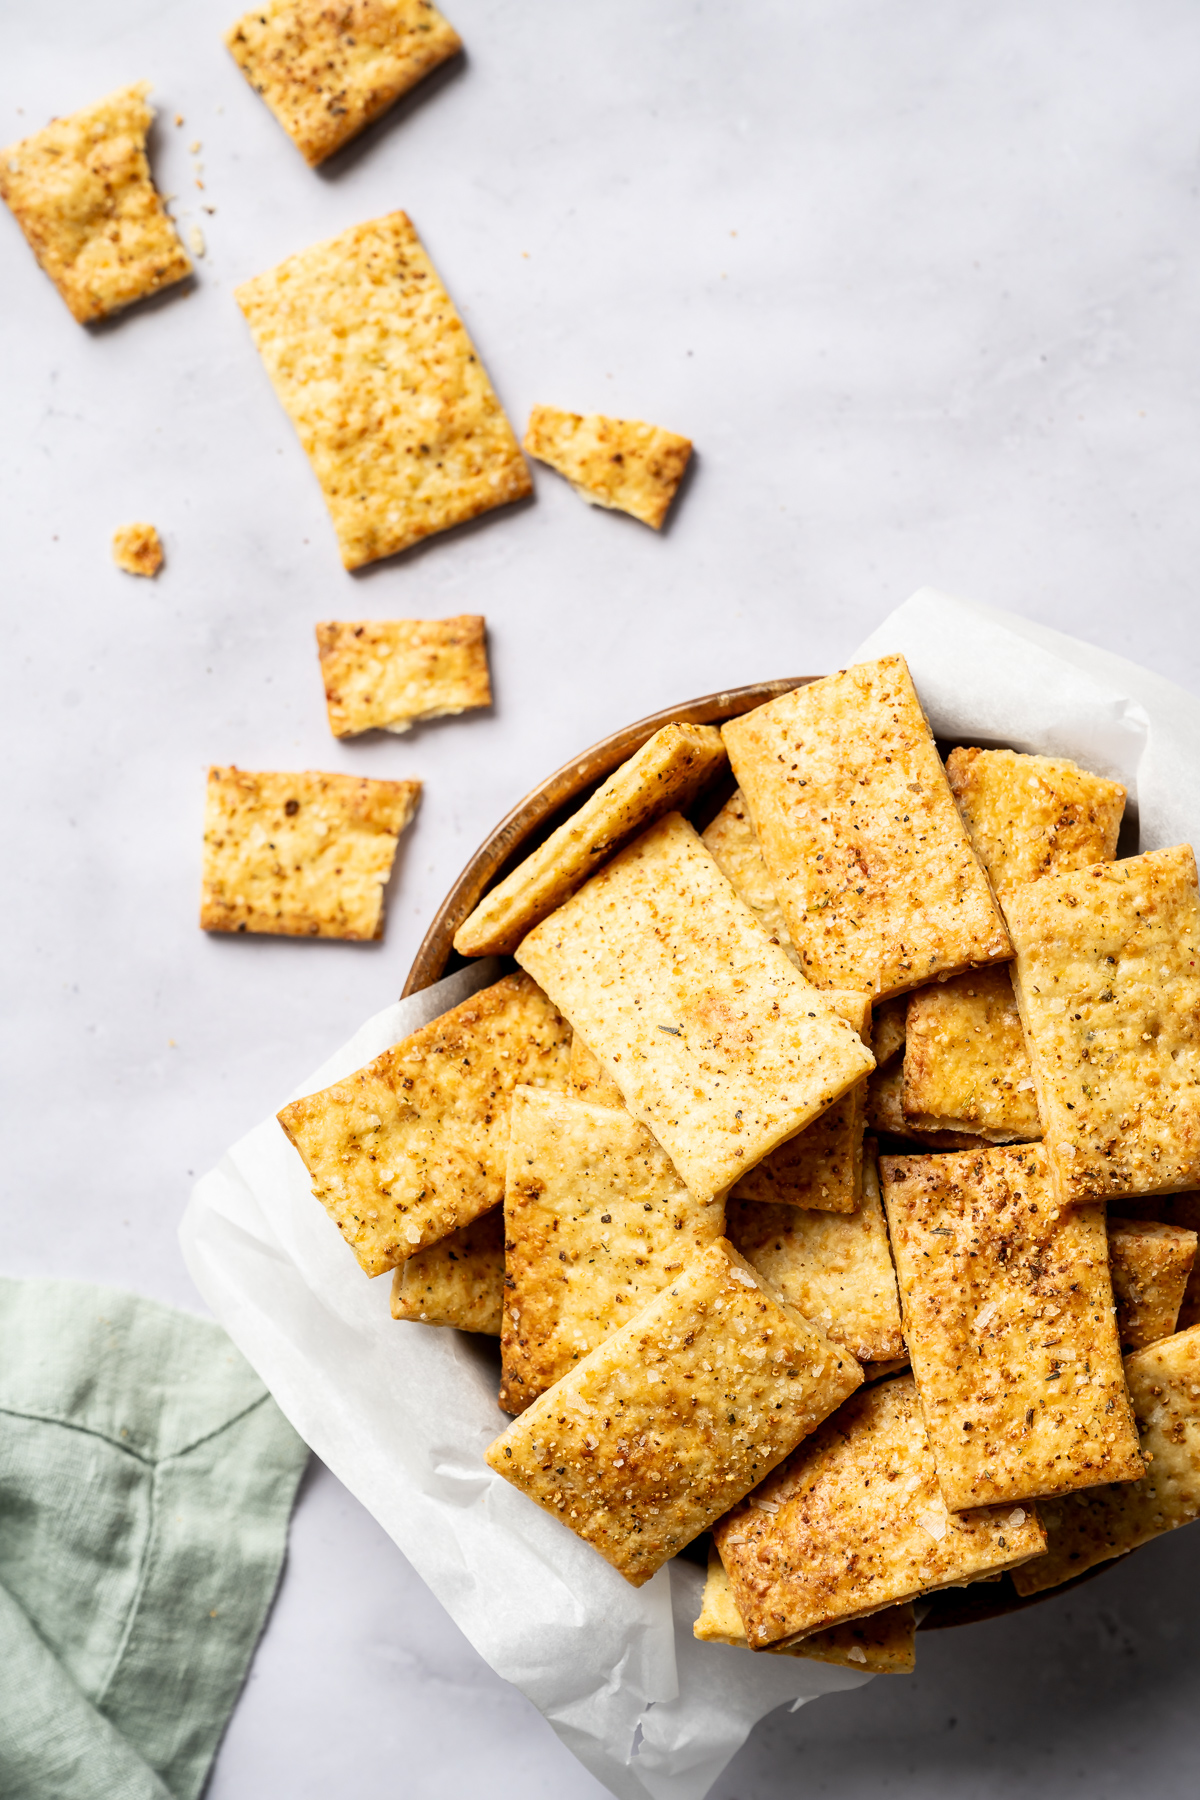
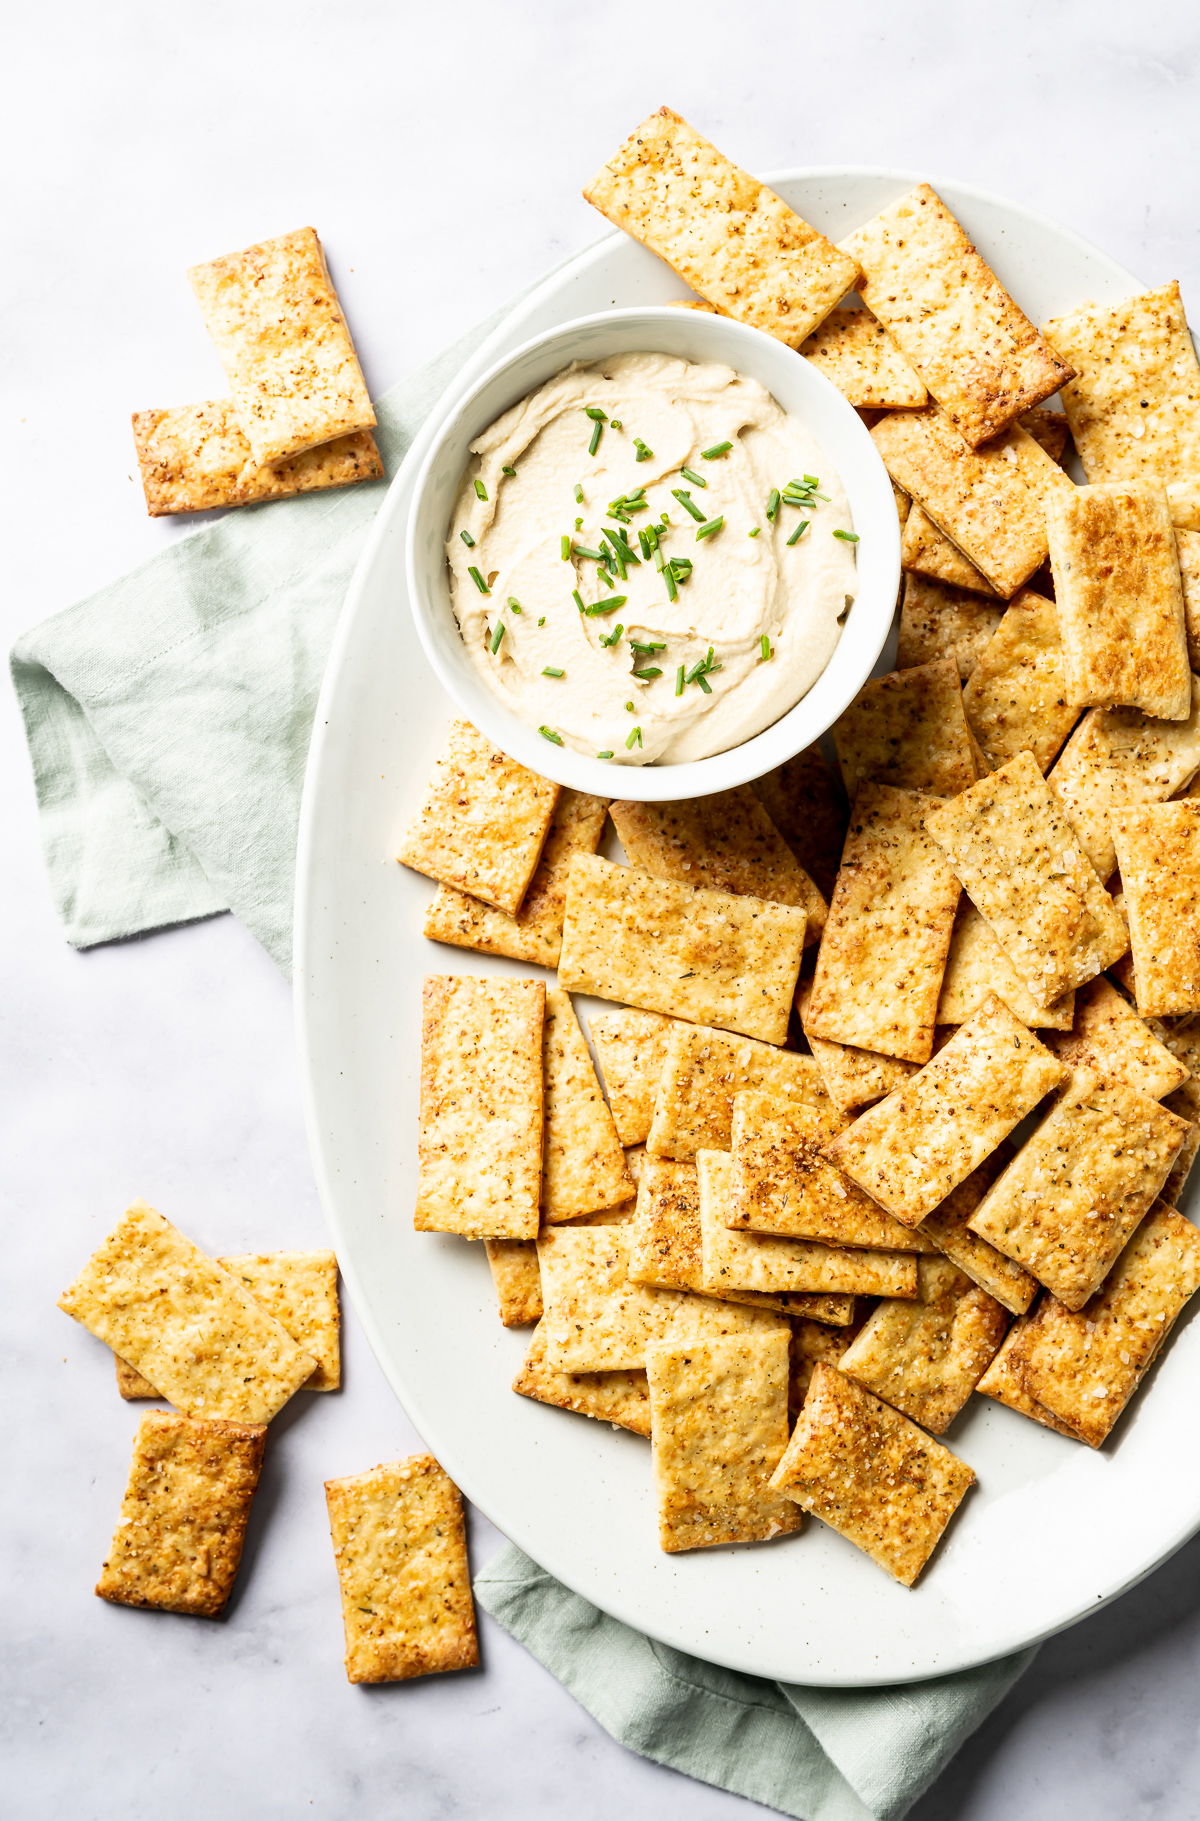
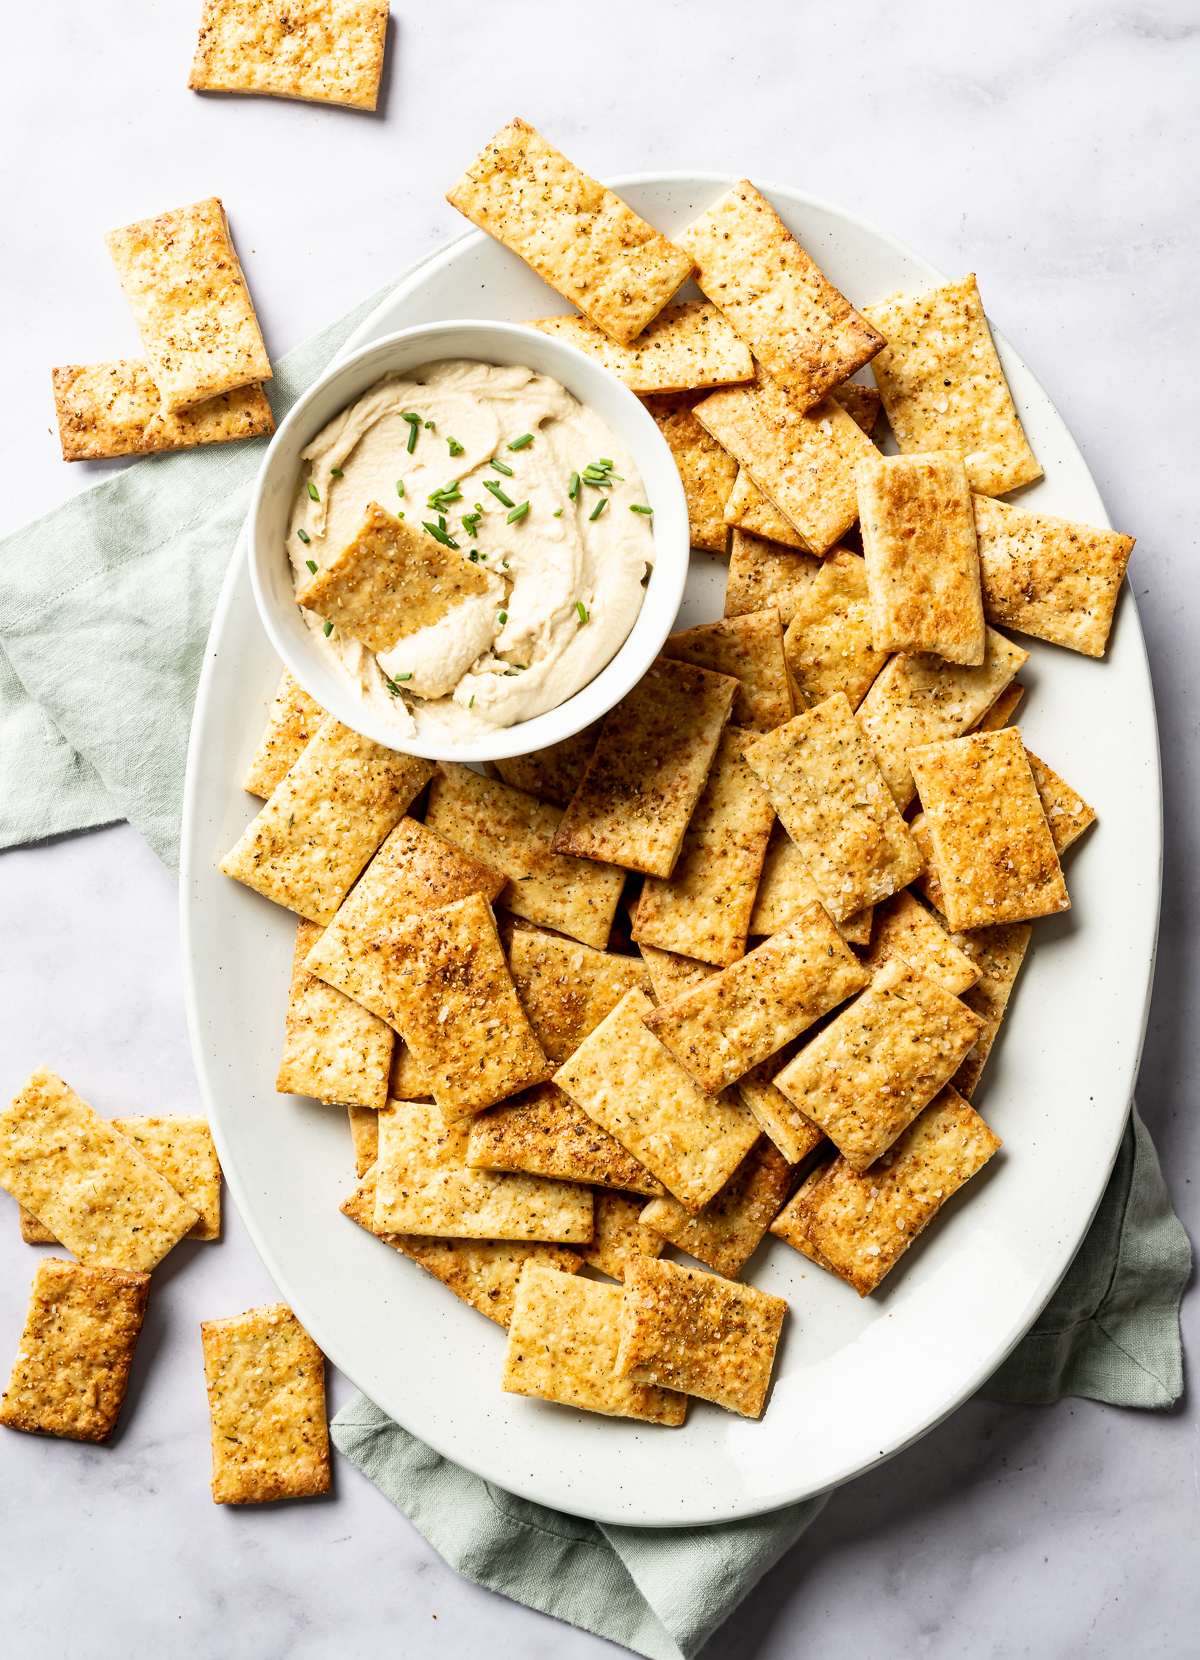
These Homemade Lemon Pepper Olive Oil Cheese Crackers are so easy to make with just a few ingredients, a peppery lemon pepper spice blend and two kinds of cheeses. Swap out store bought crackers on all your seasonal snack trays with these tasty homemade crackers.
This page contains affiliate links. Affiliate links support Pineapple and Coconut at no additional cost to you. If you choose to make a purchase via these links, I earn a small commission to help keep this blog running and it is much appreciated. I am an Amazon and Adorama affiliate.
Have you ever made homemade crackers before? They are as easy as making homemade cookies - maybe even easier! No waiting for ingredients to get to room temp, no chilling dough overnight either.
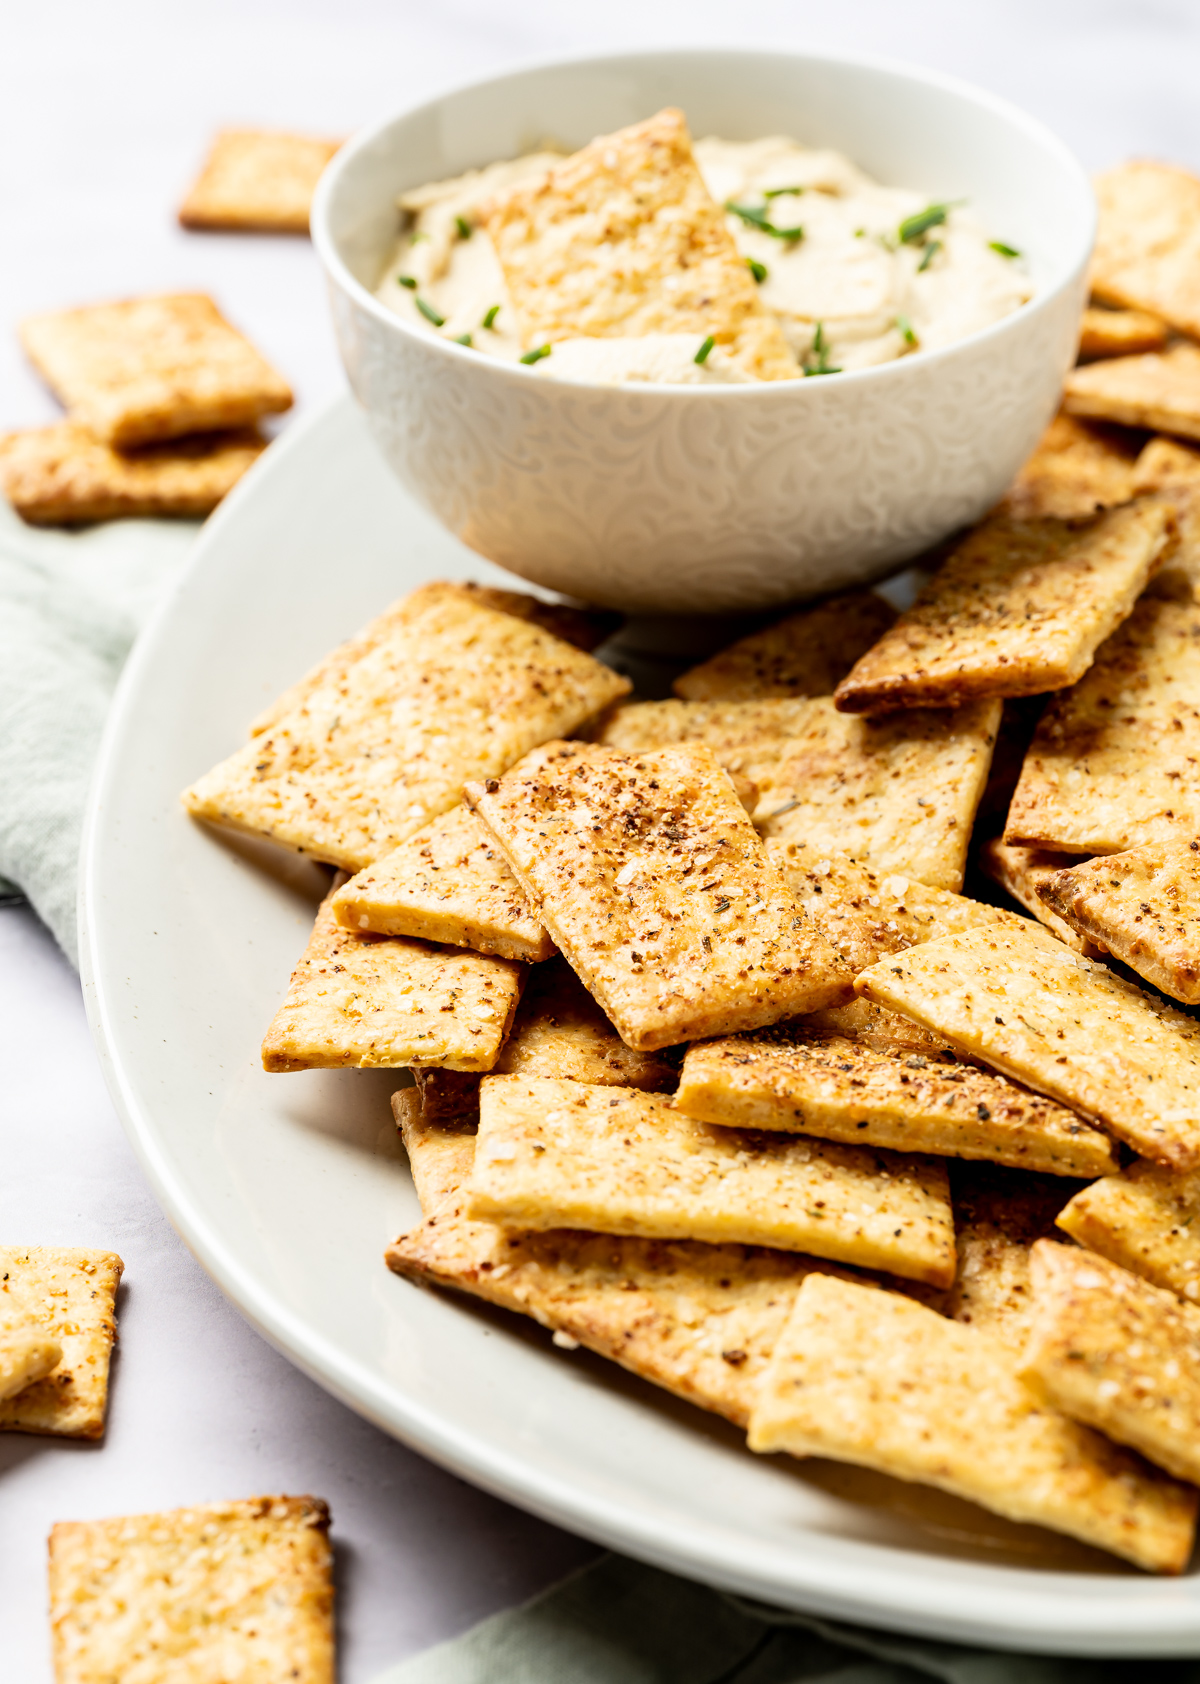
Others consider fall to be baking season, pumpkin season, apple season, even soup season. And it is - But! It is also snack season so bring on all the snack boards and these homemade cheese crackers are a perfect item to have on snack boards to eat with dips, cheeses and more.
This cheese cracker recipe is adapted from King Arthur Baking.
Jump to:
Ingredients
These olive oil cheese crackers are made with just a few ingredients. I did test them several time to get them exactly how I wanted them with adjusting ingredients and ingredient amounts. King Arthur's recipe uses butter and I didn't care for those since they came out more like a rough puff pastry than a snappy cracker.
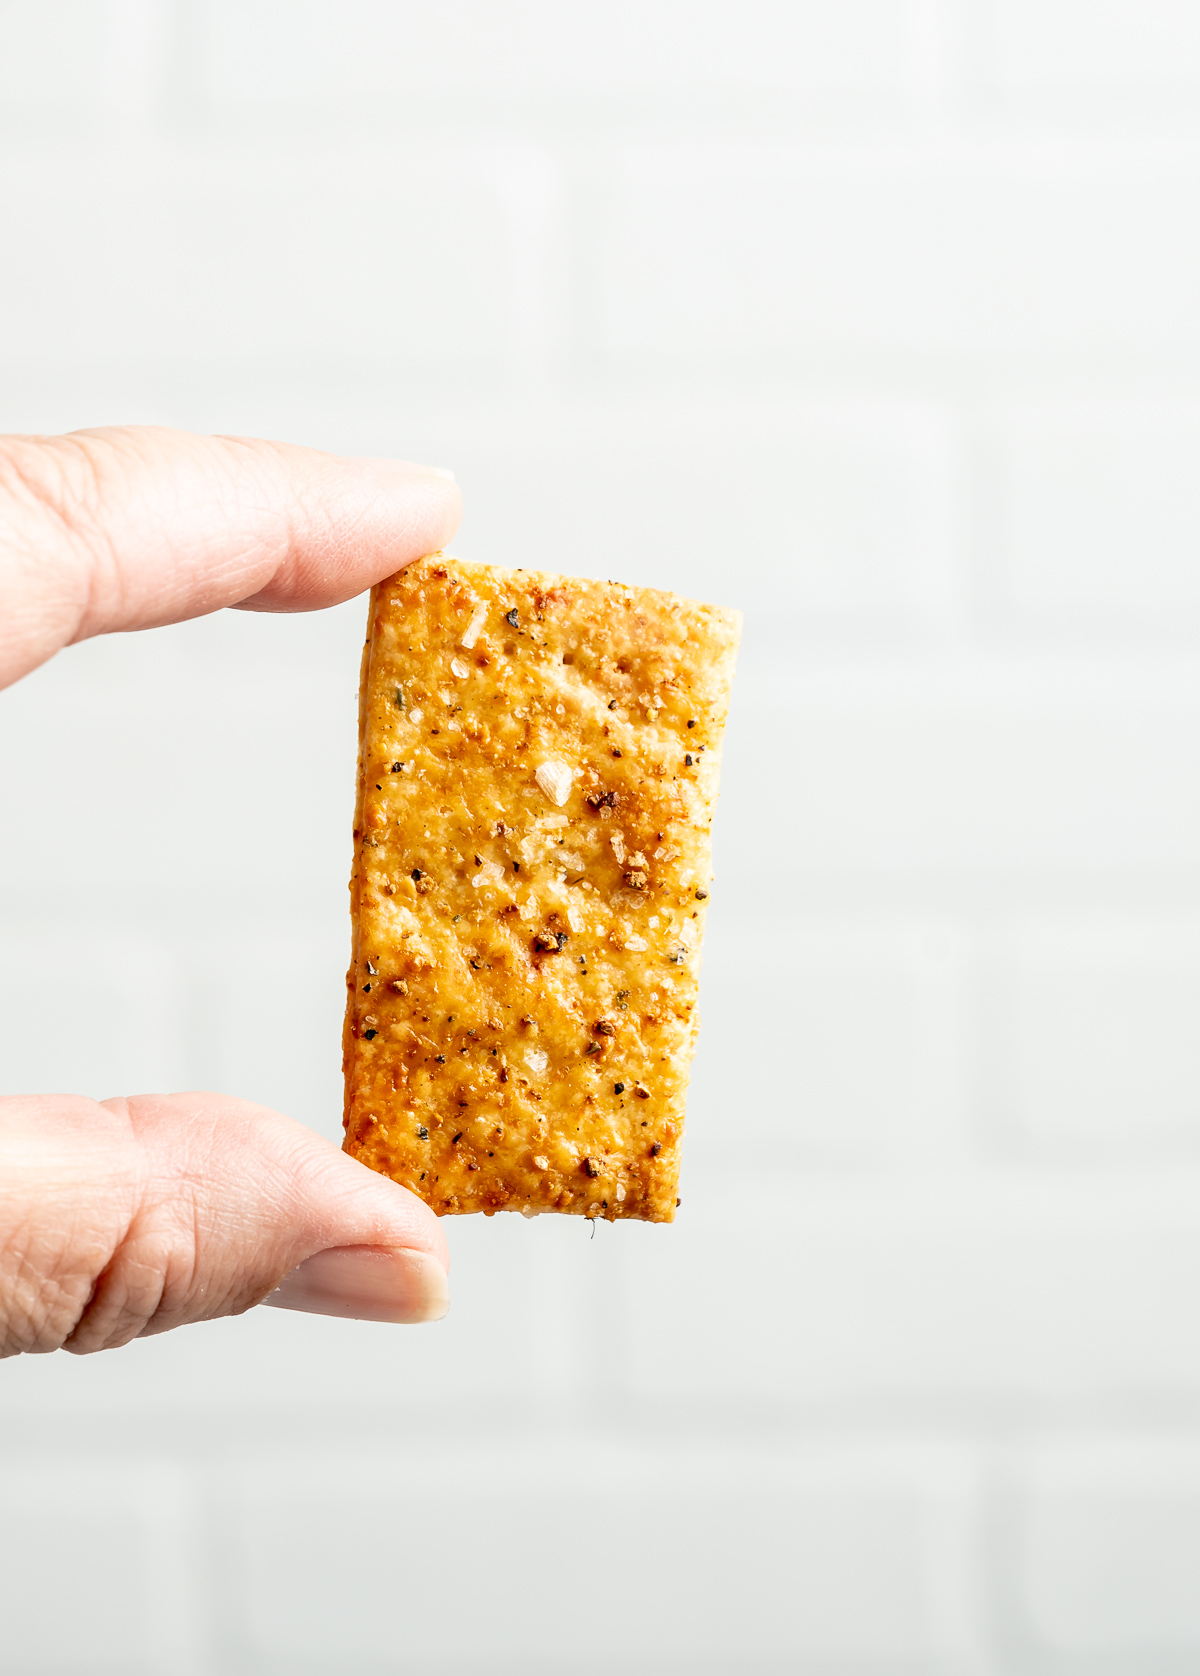
I tested with olive oil and I much prefer the snap of these olive oil cheese crackers over buttery cheese crackers.

- Flour - I used all purpose
- Cheese - I used parmesan and white cheddar
- Olive Oil - Good quality. I use Olio del Cardinale
- Lemon zest
- Milk - can use non-dairy milk or water
- Lemon Pepper Spice Blend - Alchemy Spice Co.
- Kosher Salt
- Maldon Salt Flakes
- Egg - for egg wash
See recipe card for quantities.
Instructions
Lots of process photos here for a simple recipe but I wanted to show what the dough looks like during the process.
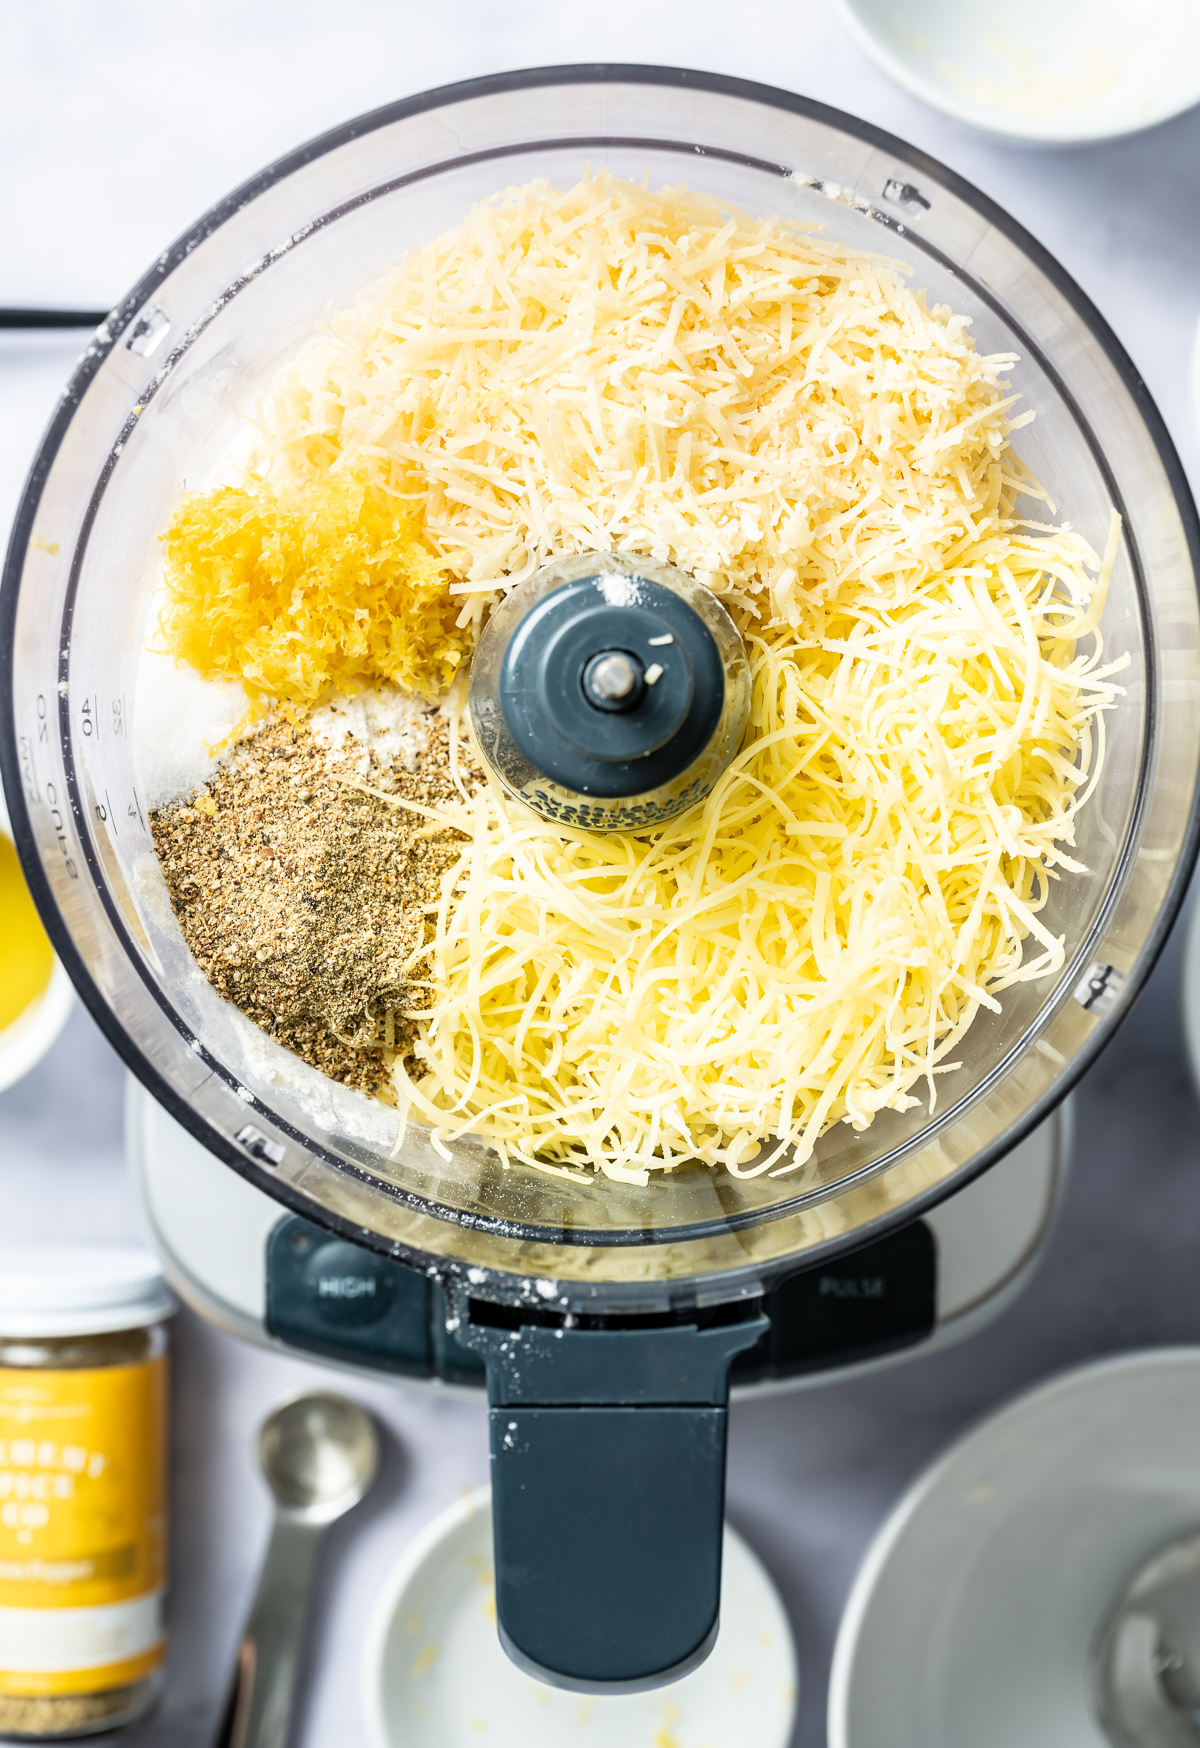
Combine the flour, lemon pepper seasoning, lemon zest and cheeses in food processor.
Pulse a few times to just combine.
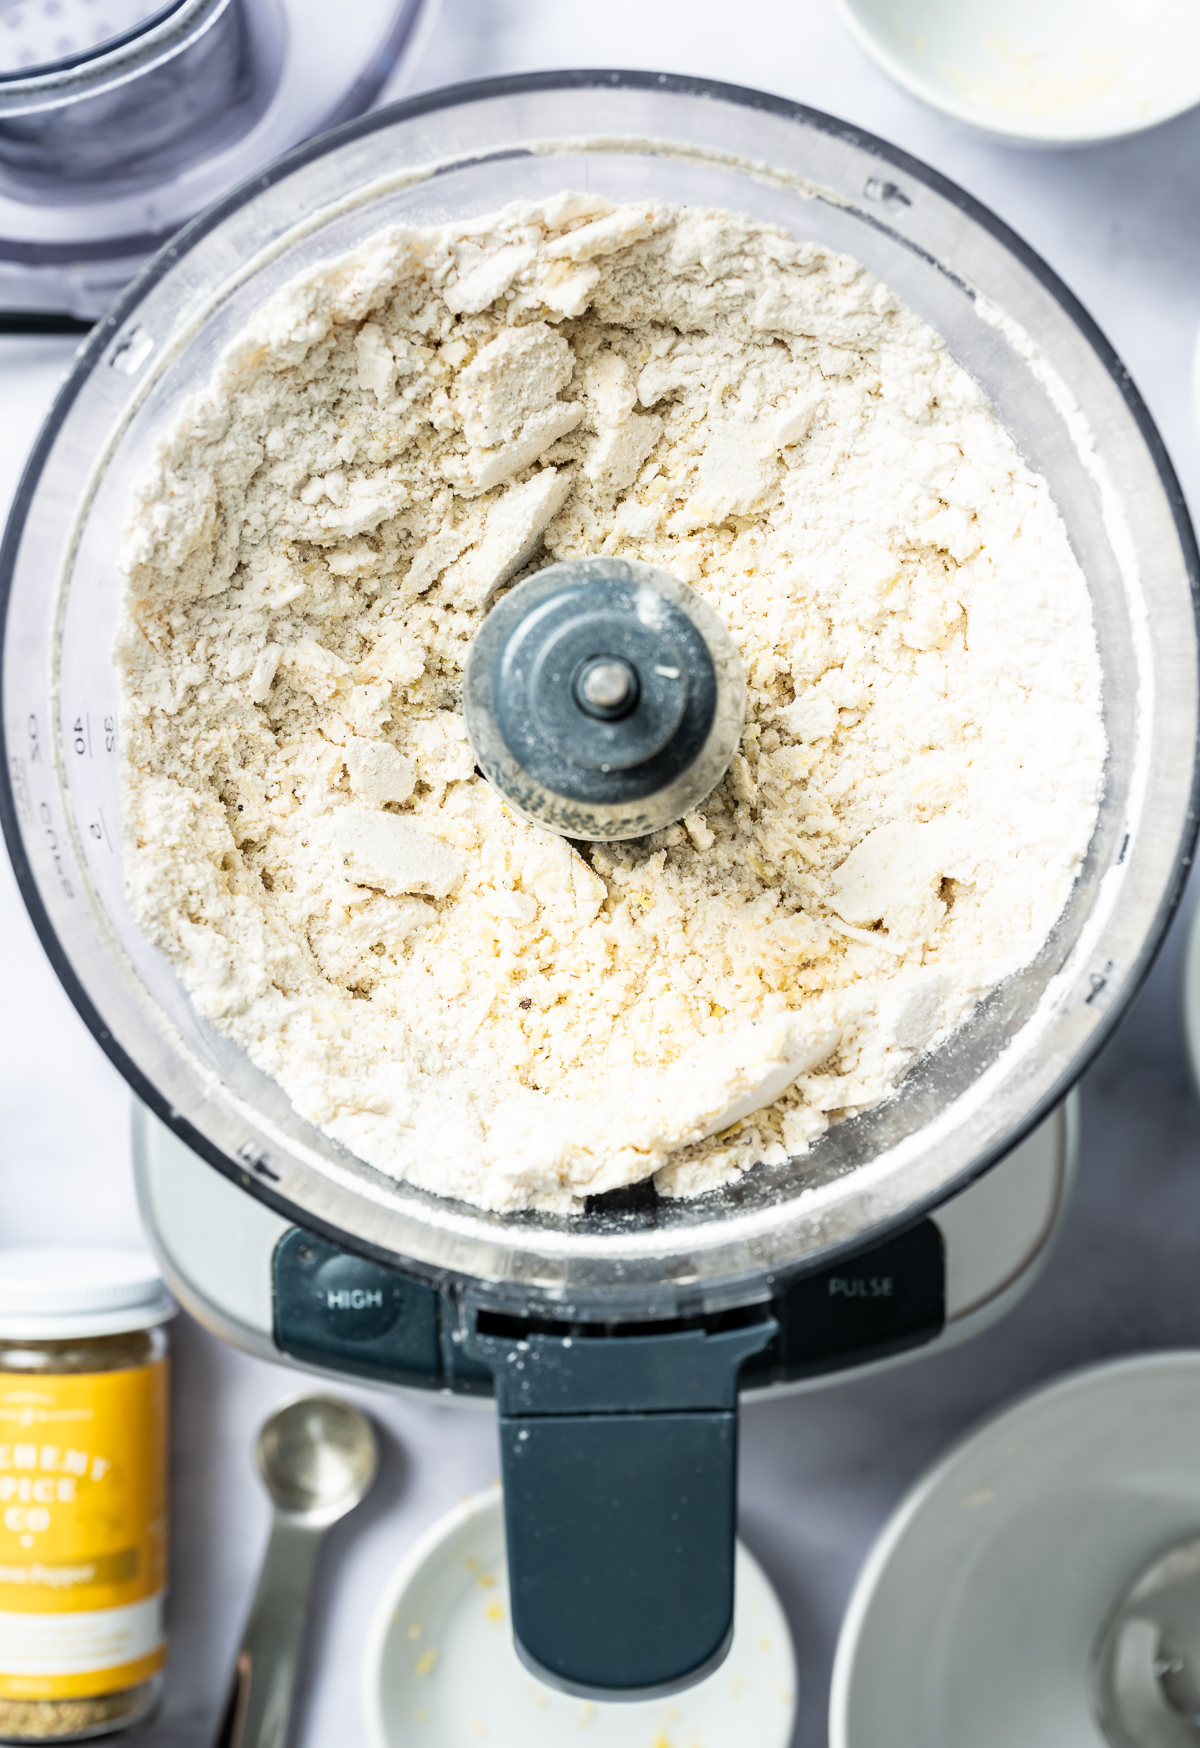
Add in the olive oil and pulse again.
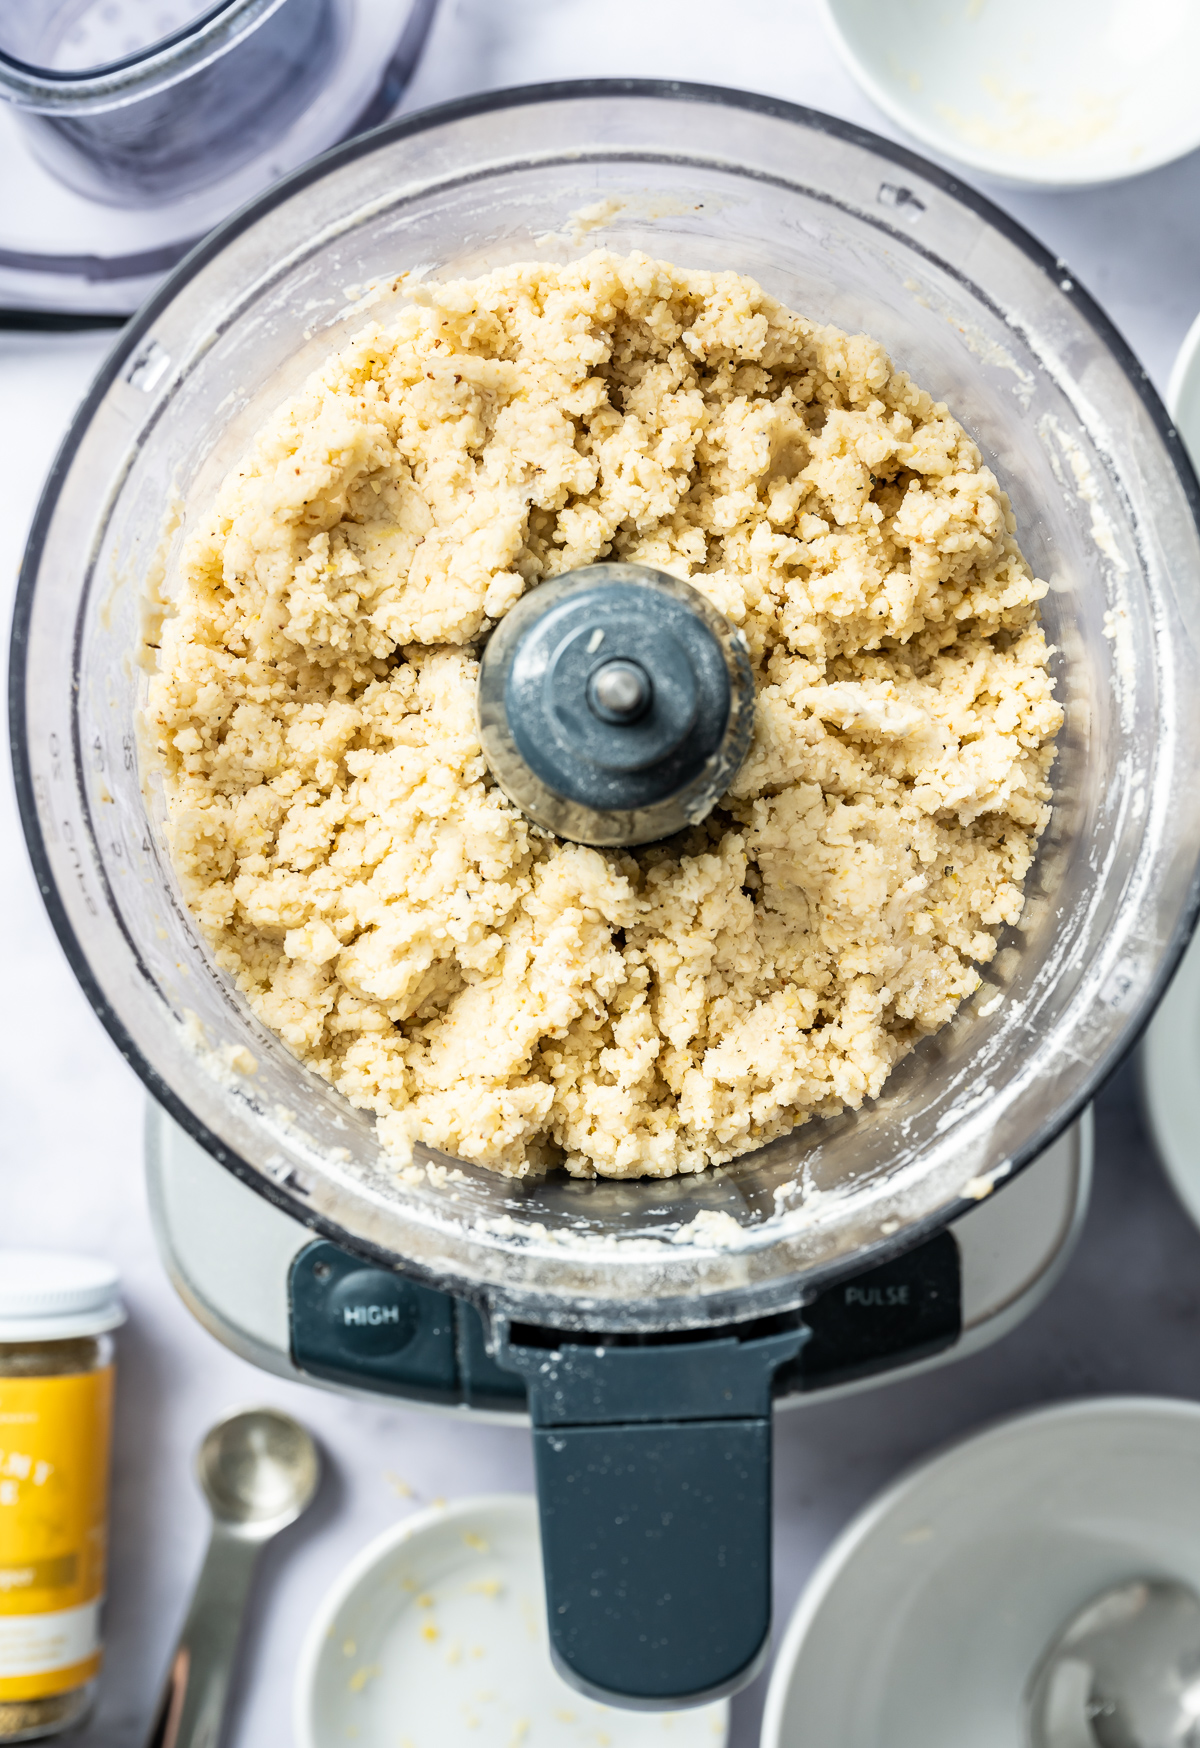
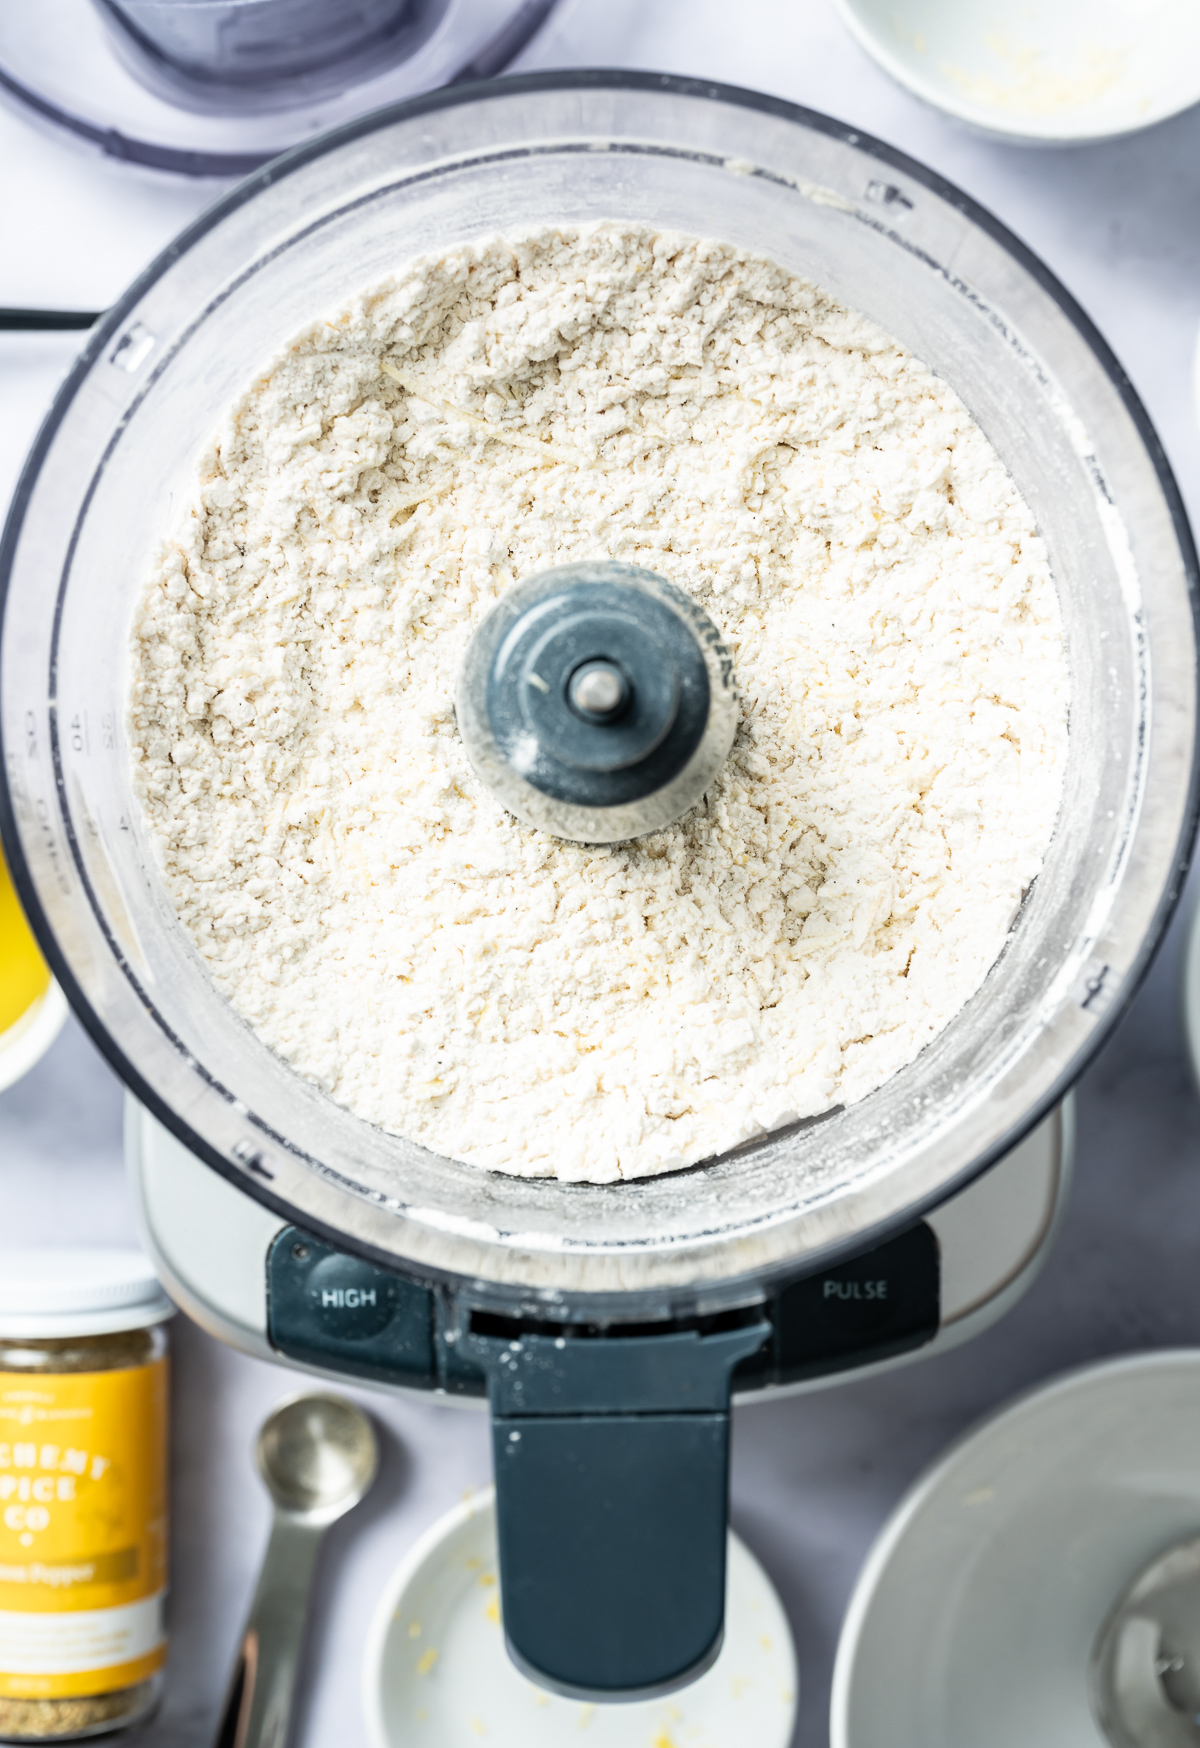
Add the milk and process until the dough comes together. It won't form a ball of dough in the food processor and thats ok.
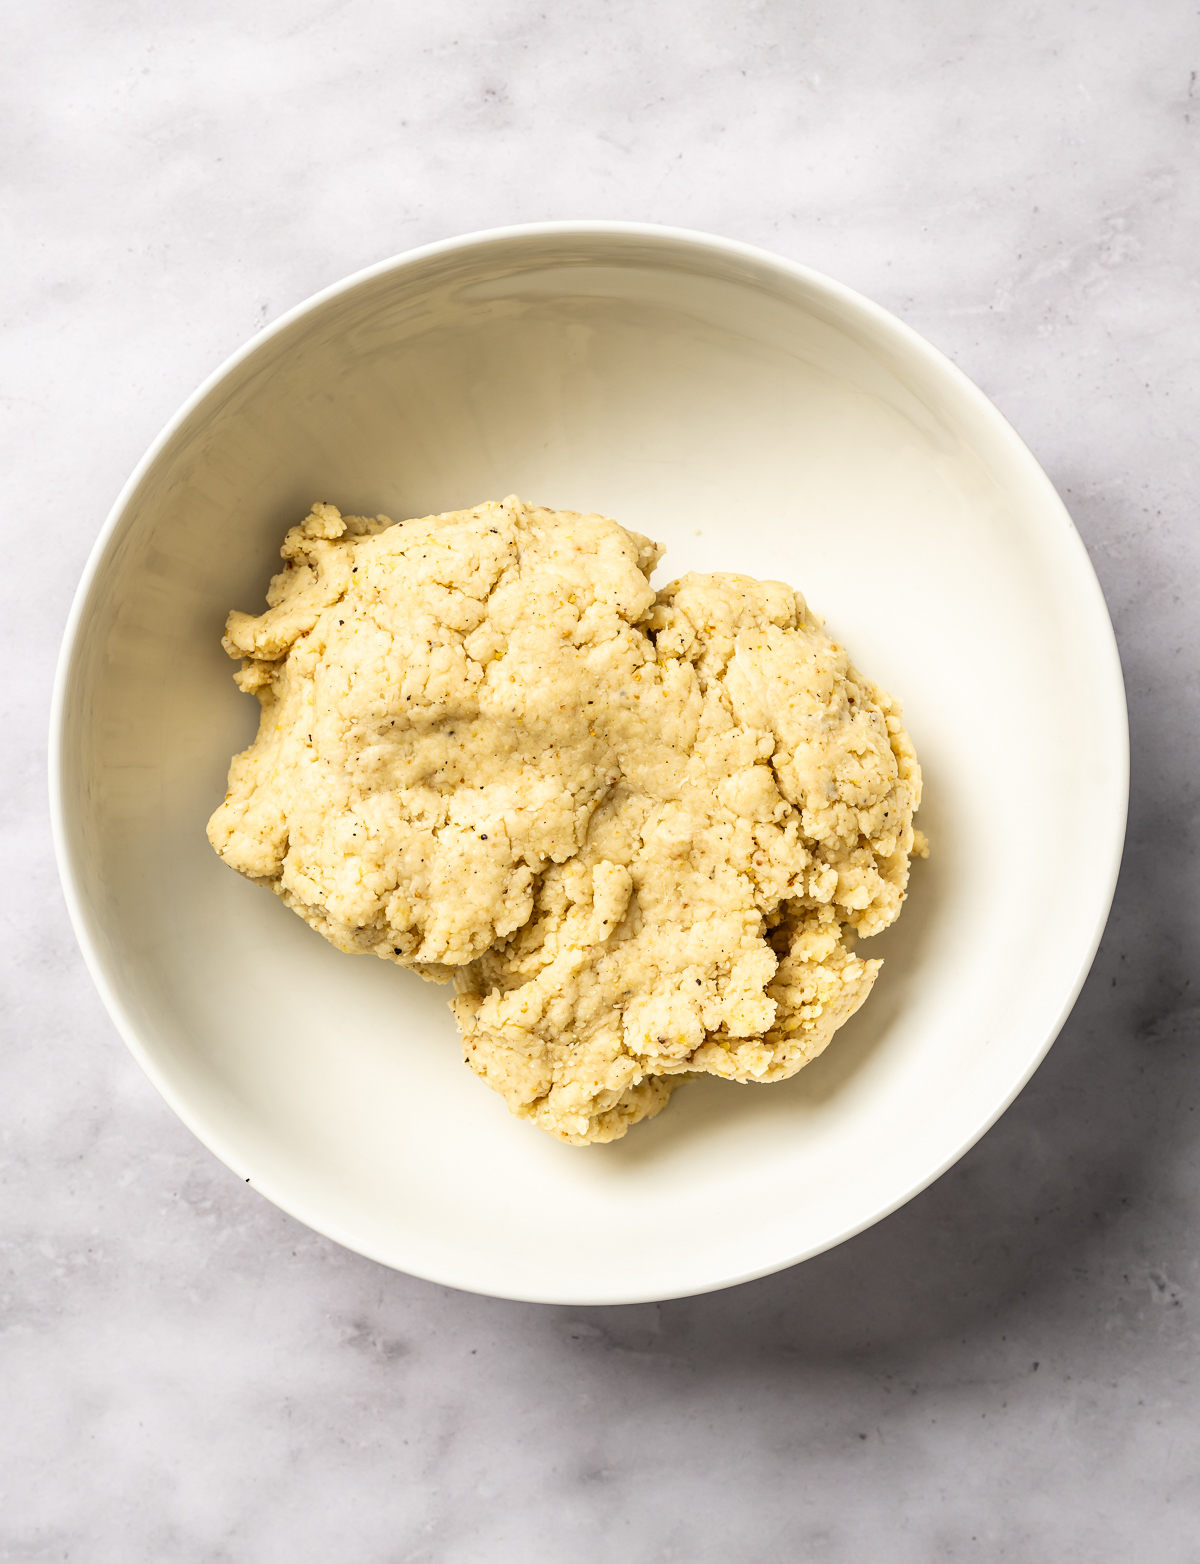
Add all the dough to a bowl, or a clean surface, and knead together. About one minute.
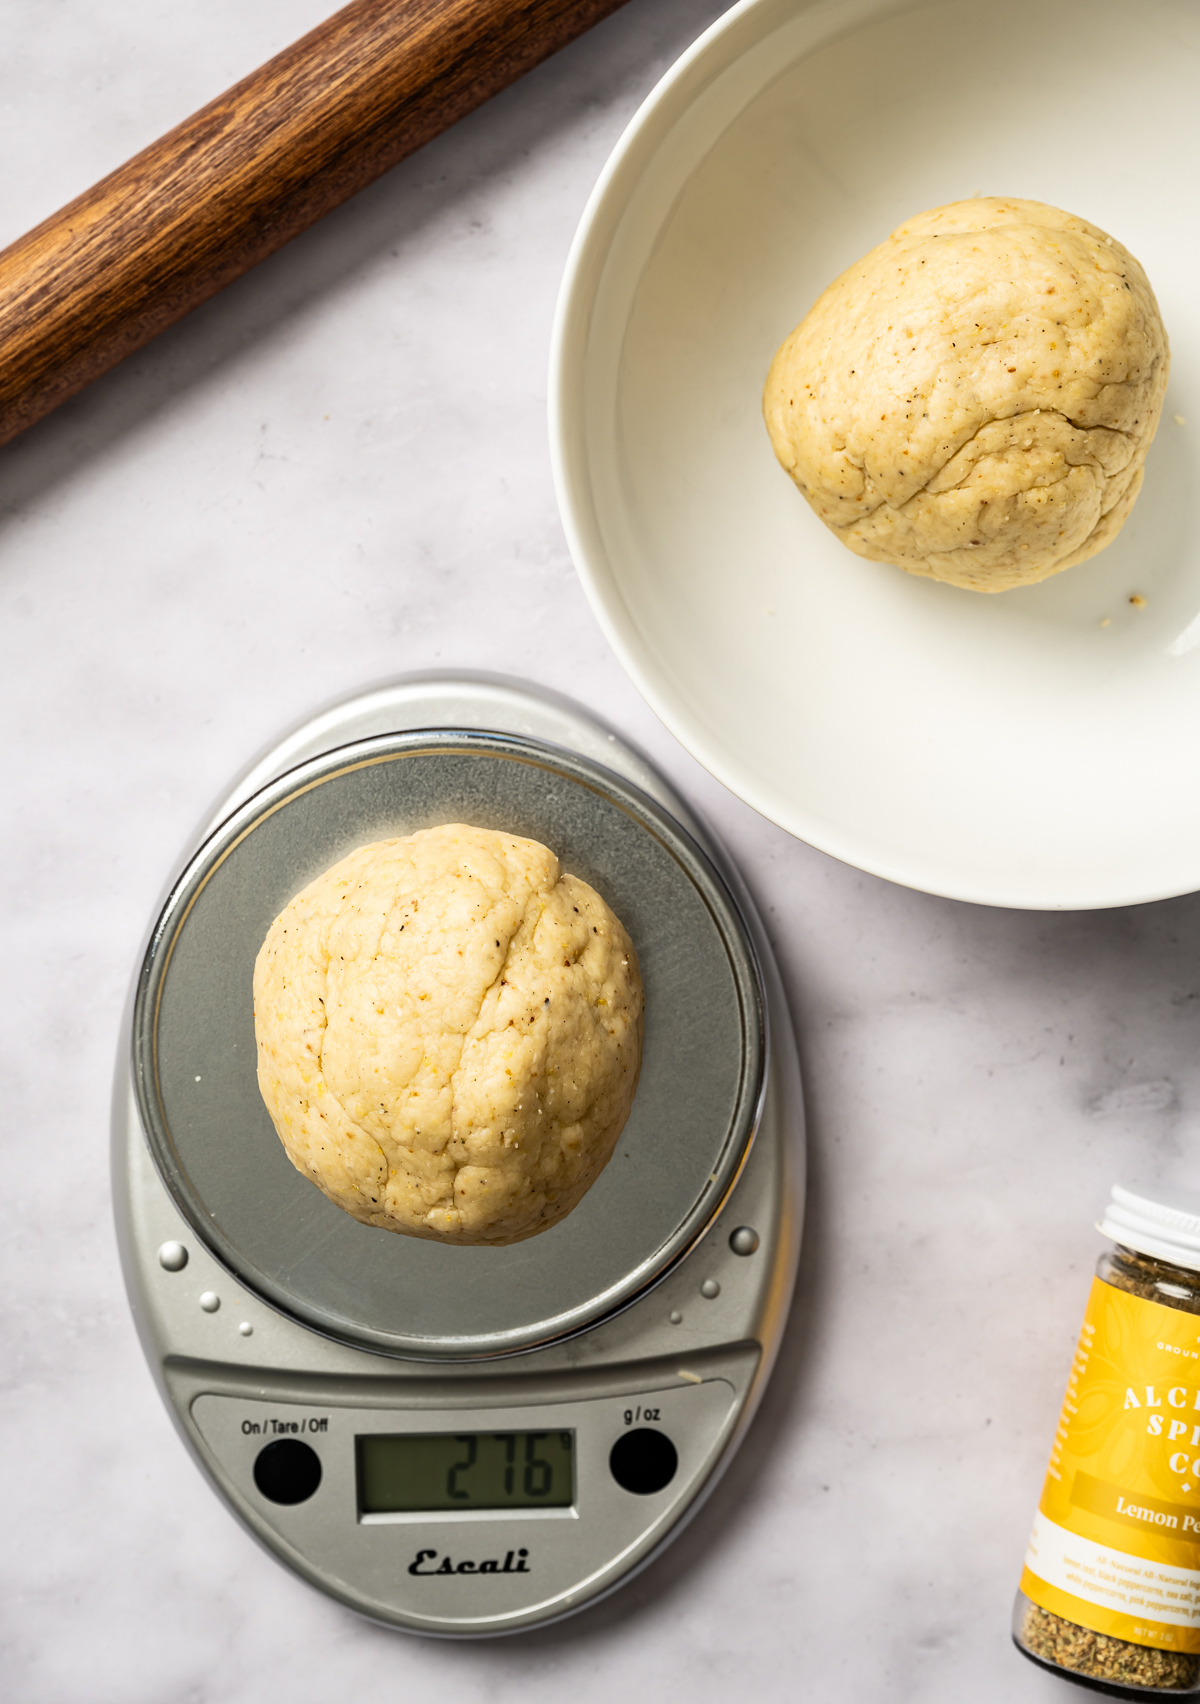
Divide into two evenly sized dough balls and place in a bowl. Let the dough rest 20 minutes to hydrate.
Rolling and cutting:
You want to roll the dough as thin as possible a scant ⅛th inch (3 mm). Thicker crackers will be softer after baking.
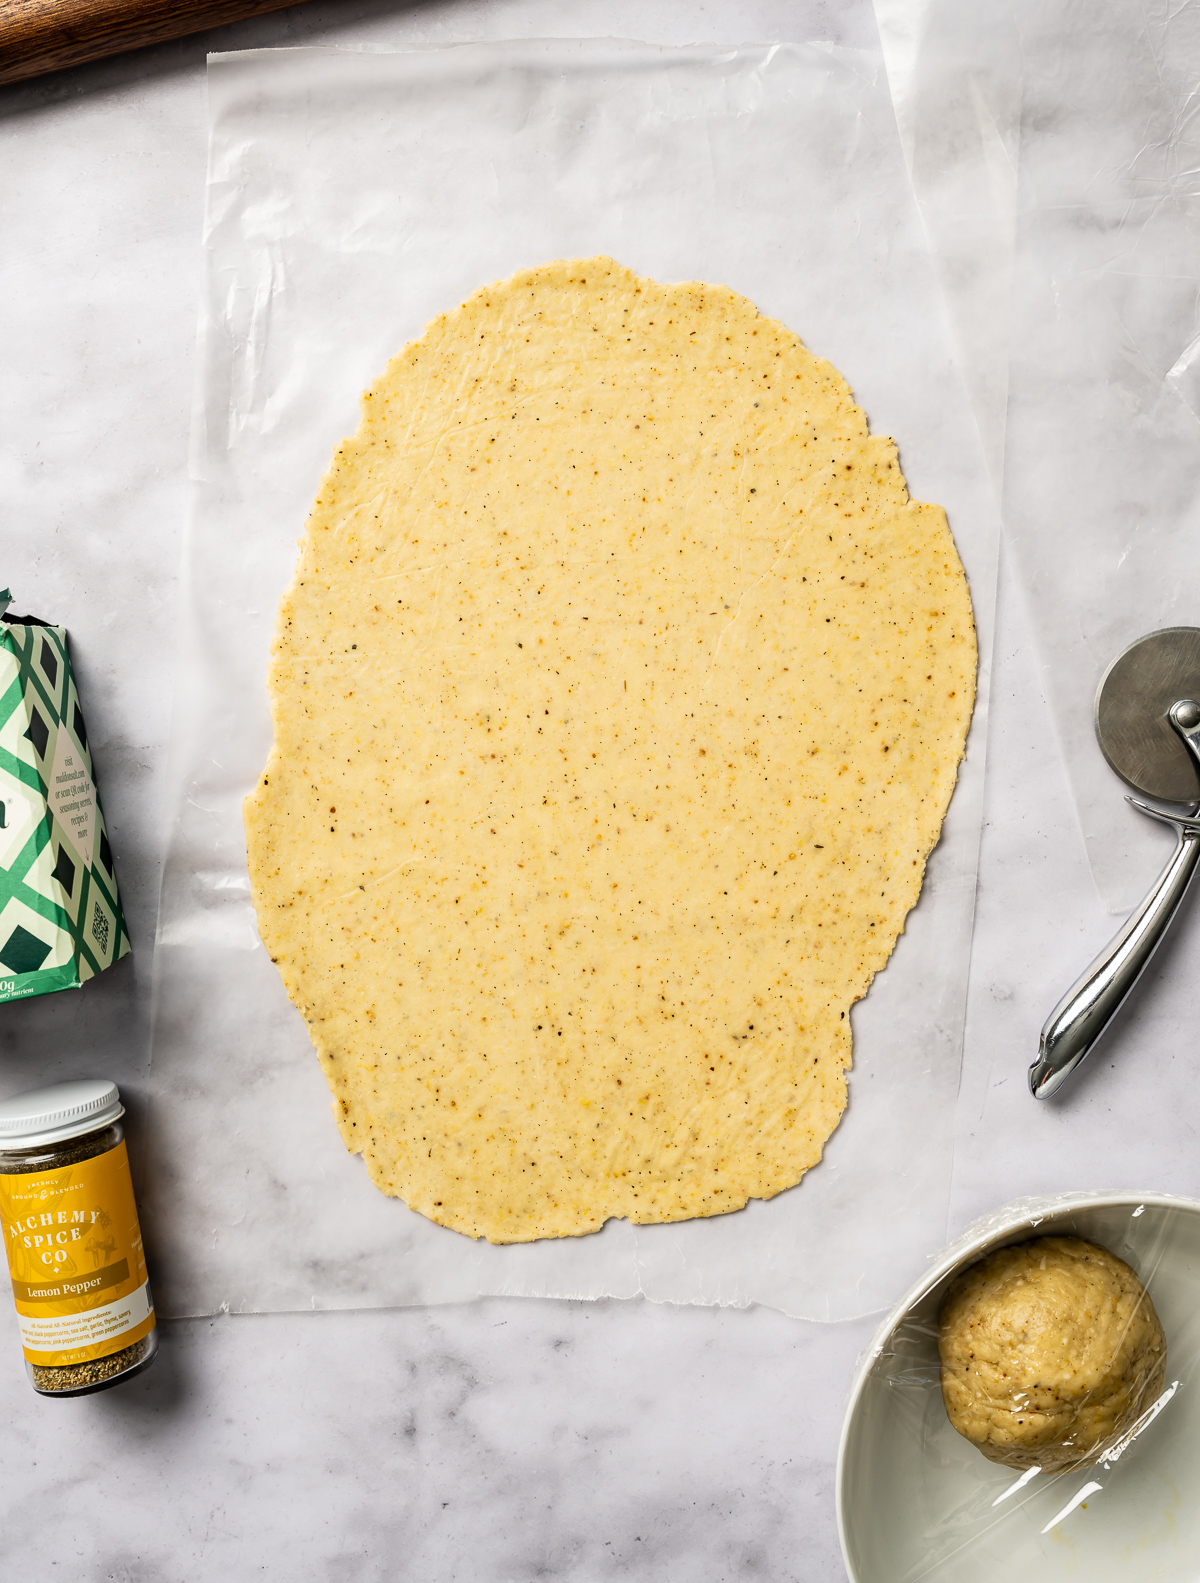
When ready to bake. Roll one dough ball out at a time between two pieces of wax paper. Try to make a rectangle - you can trim to make a perfect rectangle if you want. Transfer to a piece of parchment paper before cutting and baking.
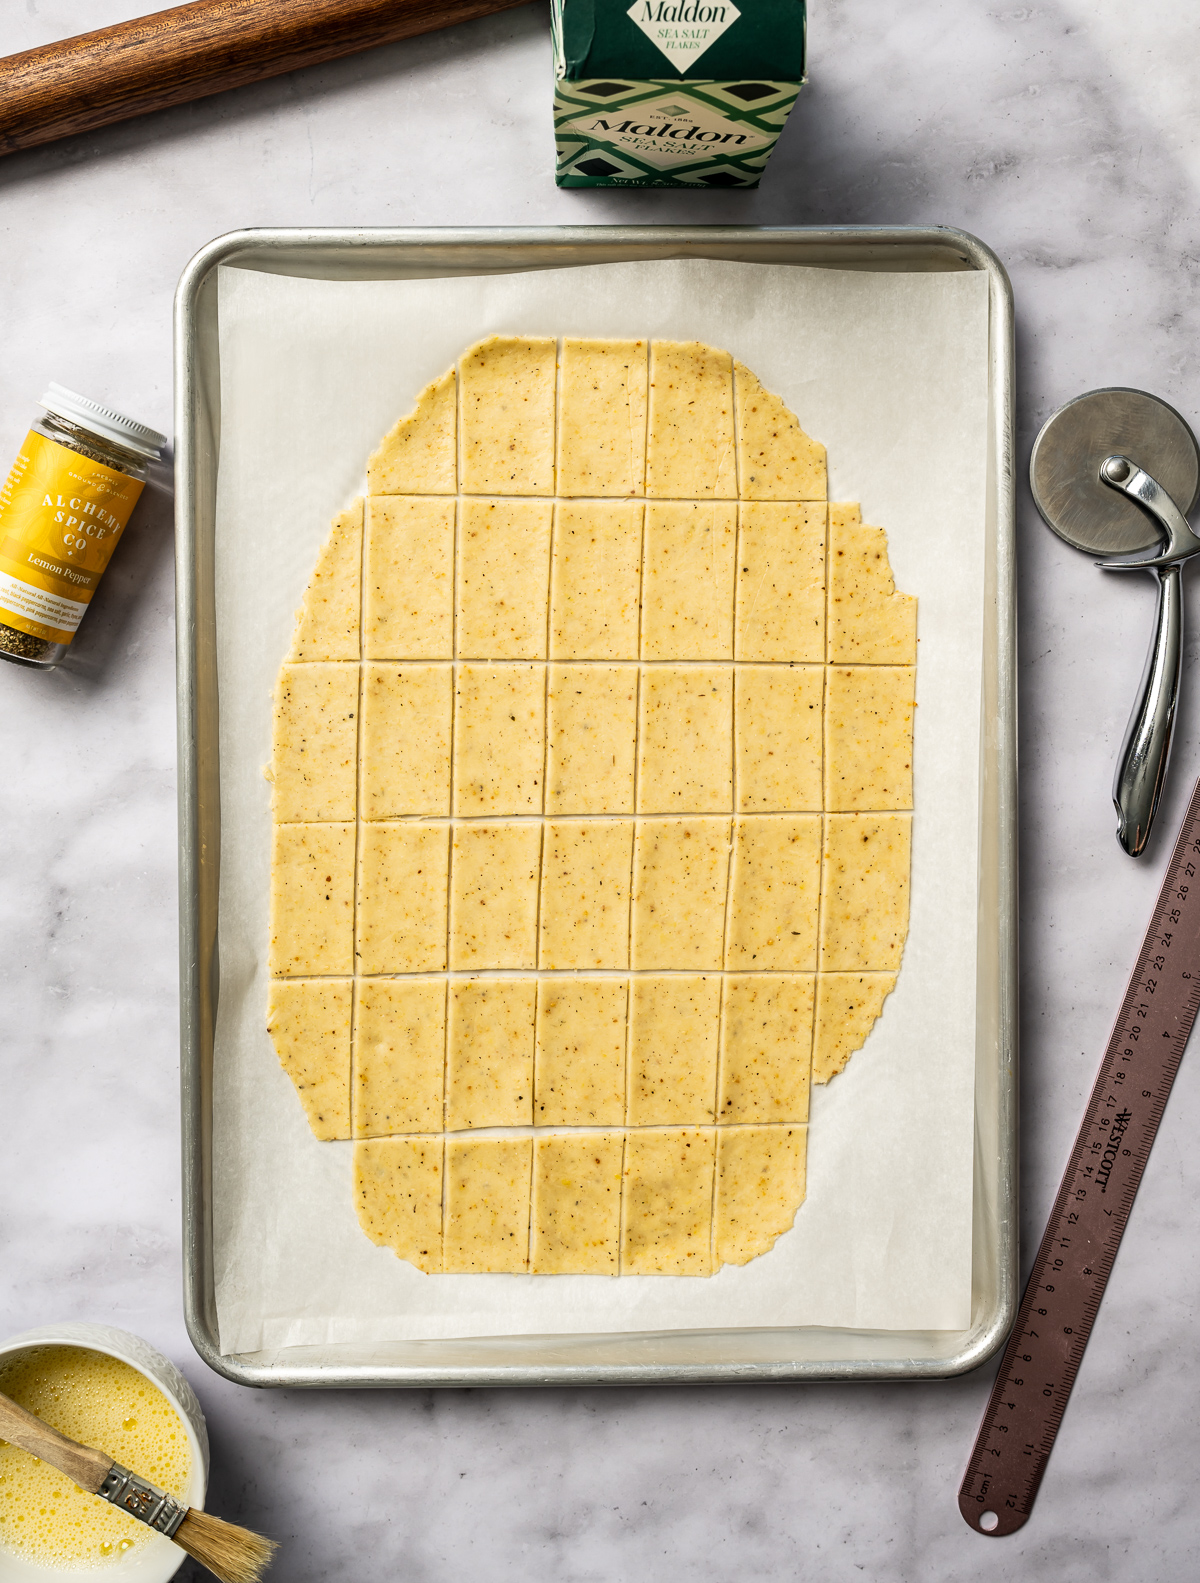
I will freeze the dough for a few min to make it easier to cut. Cut into even sized pieces - you can do squares or rectangles. I find using a pizza or pasta cutter works best for this.
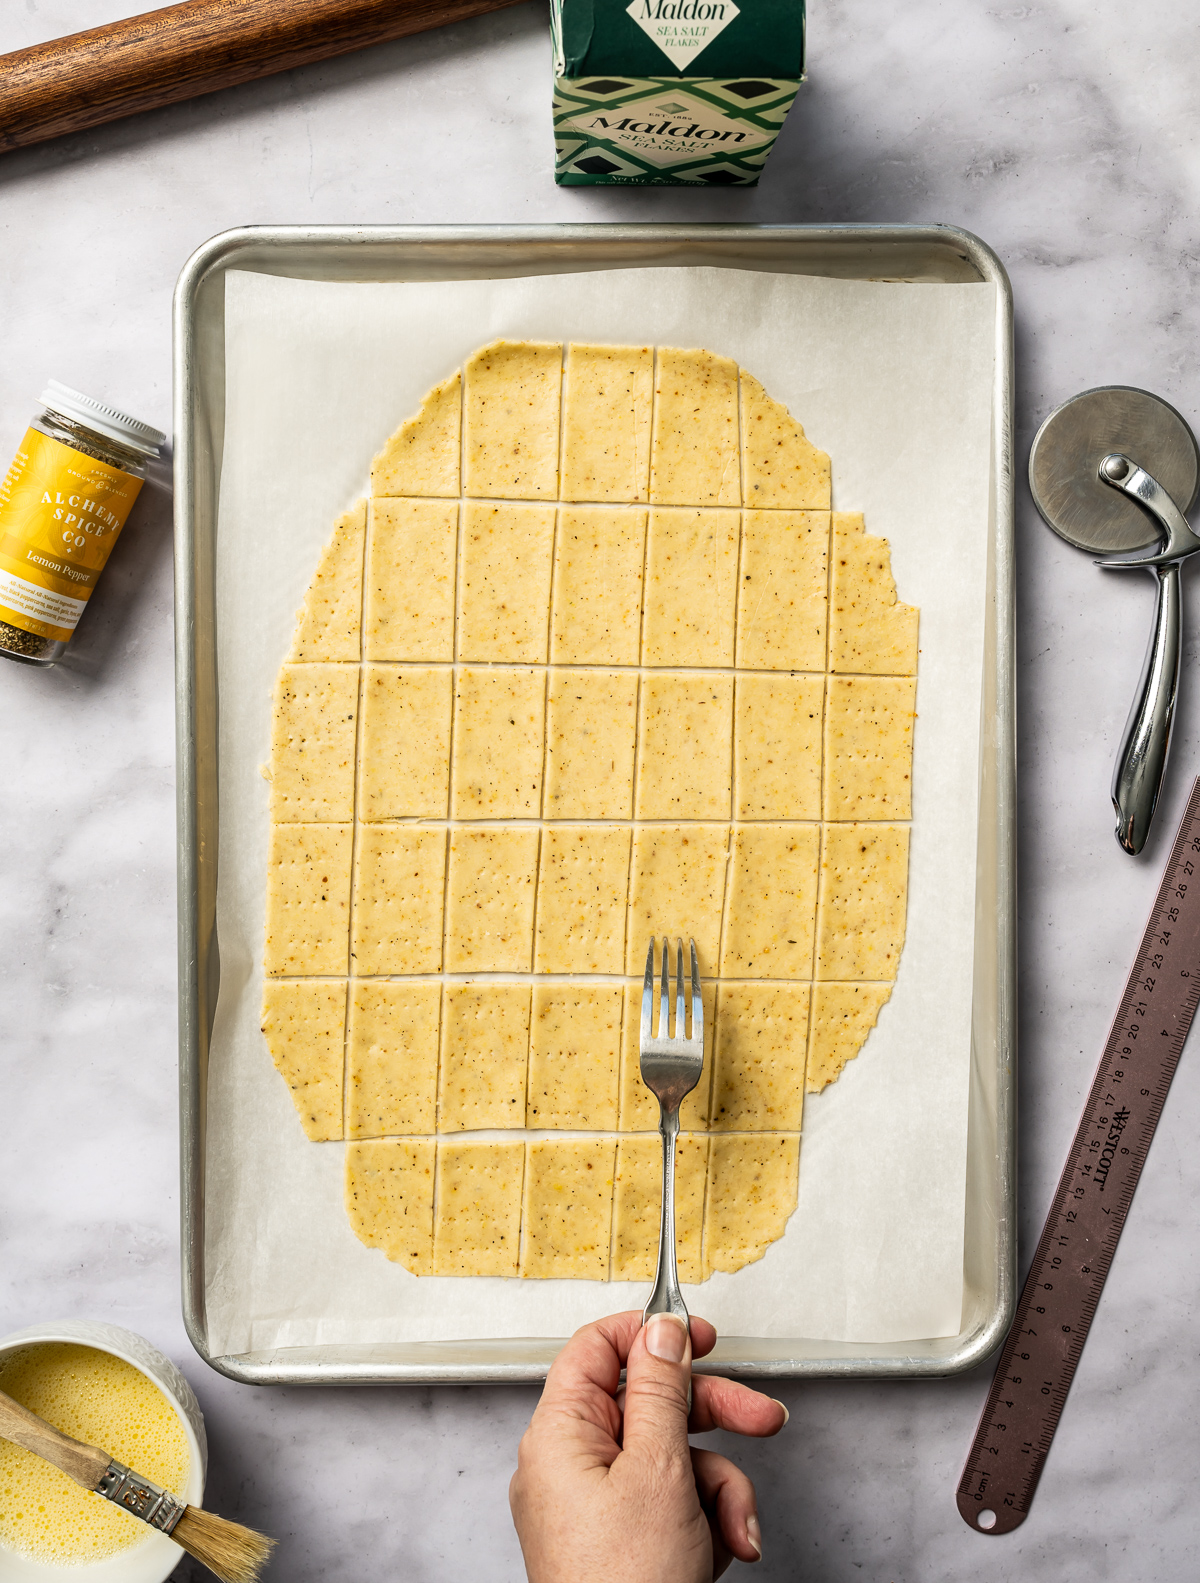
Pierce the dough with a fork - I do three per cracker - so they don't puff when baking
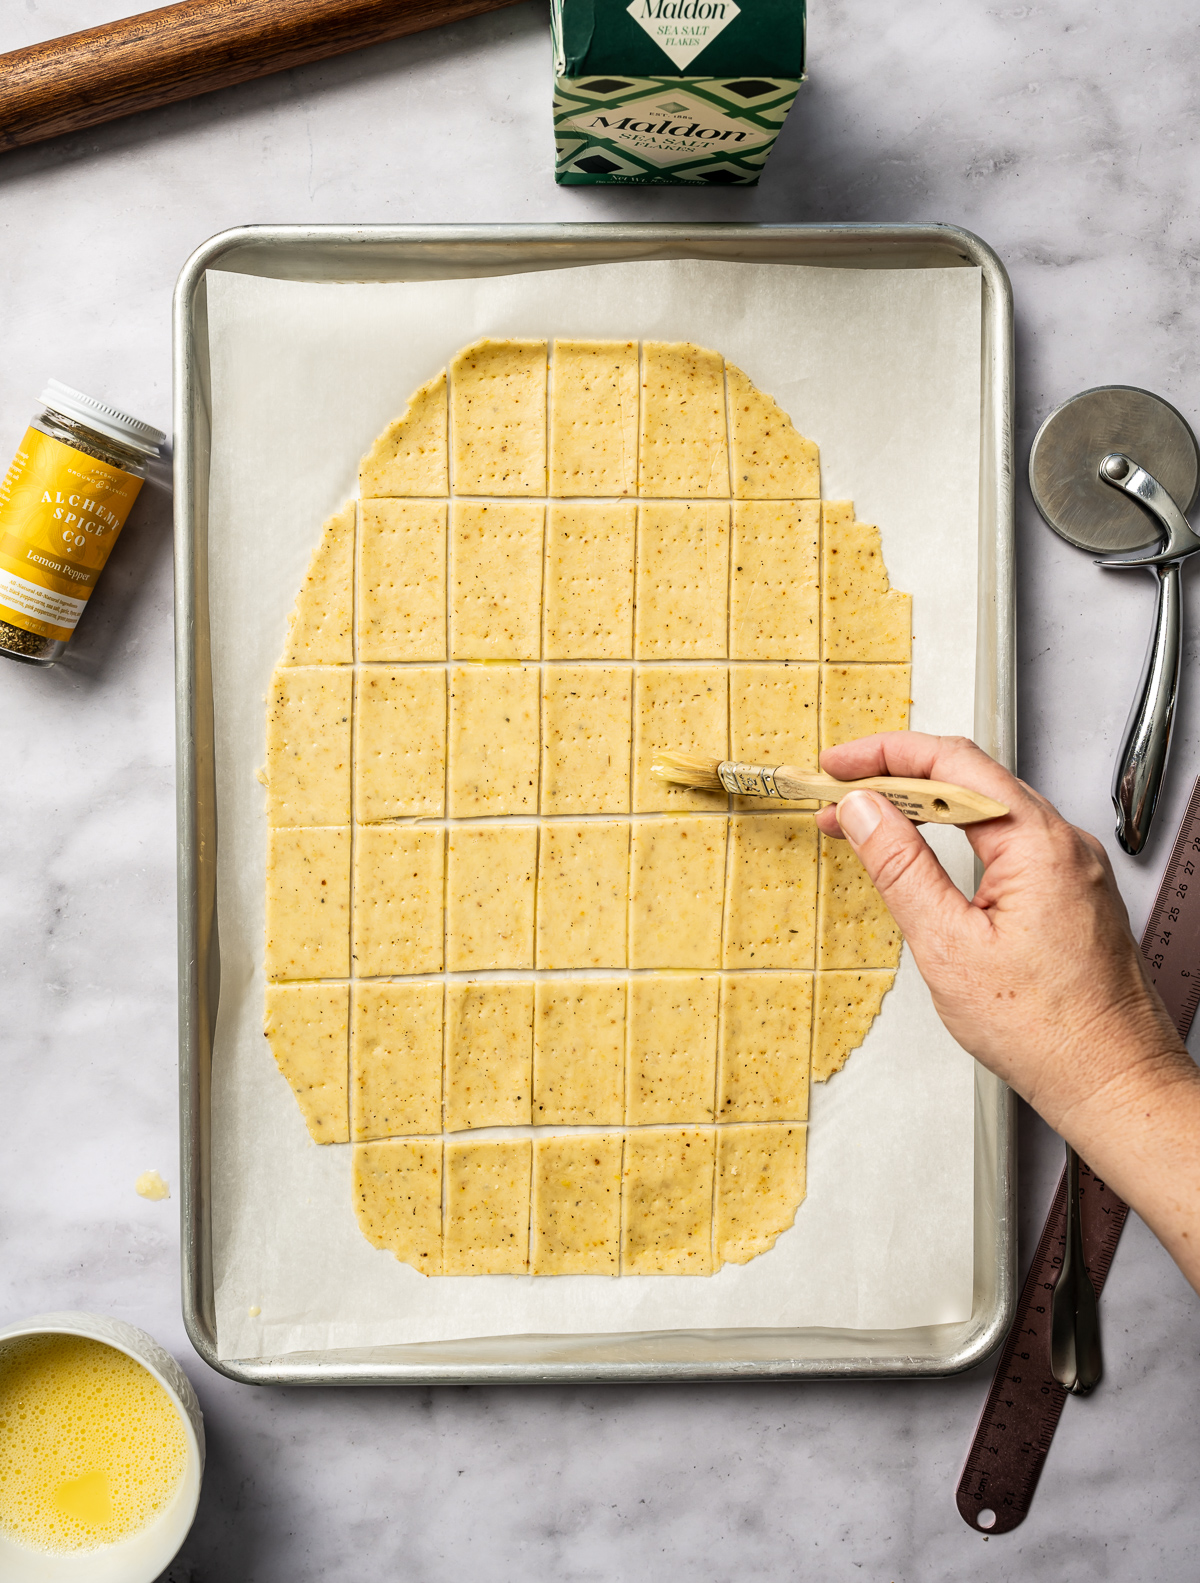
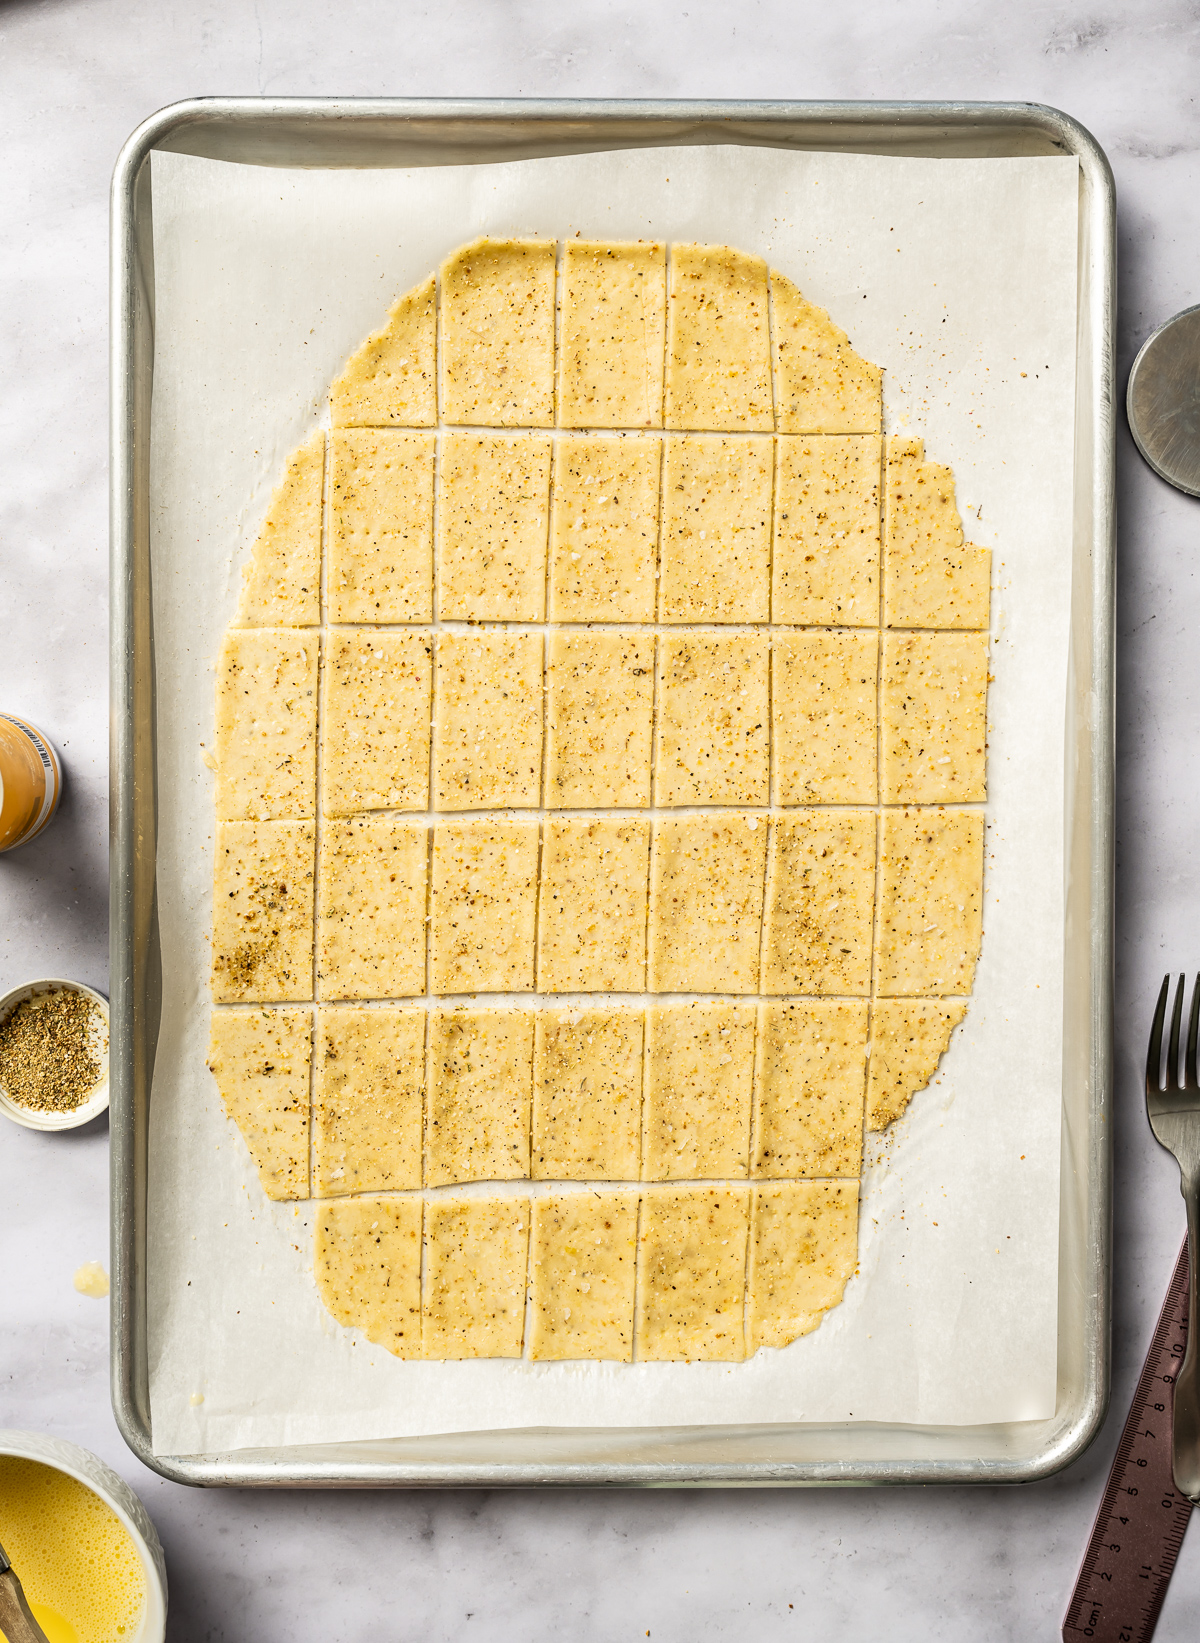
Brush with egg wash. This makes for a nice, shiny top to the cracker as well as help the seasonings stick better.
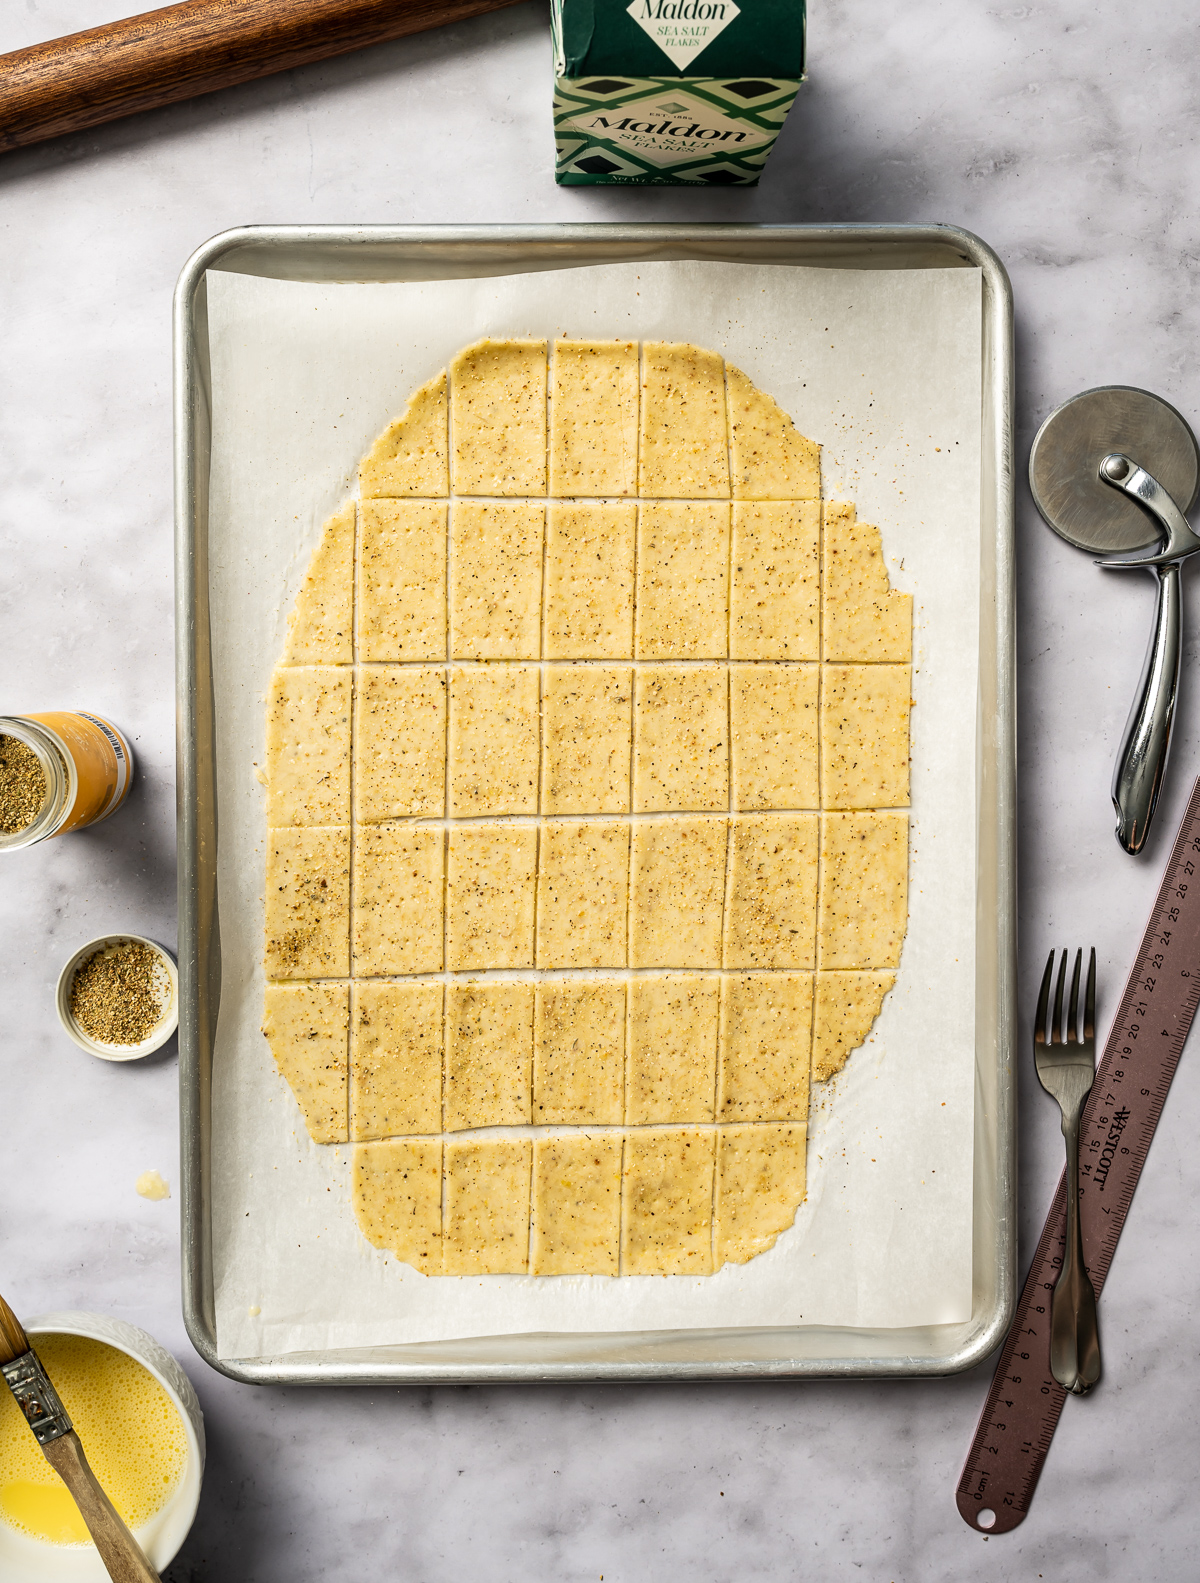
Season with more lemon pepper blend.
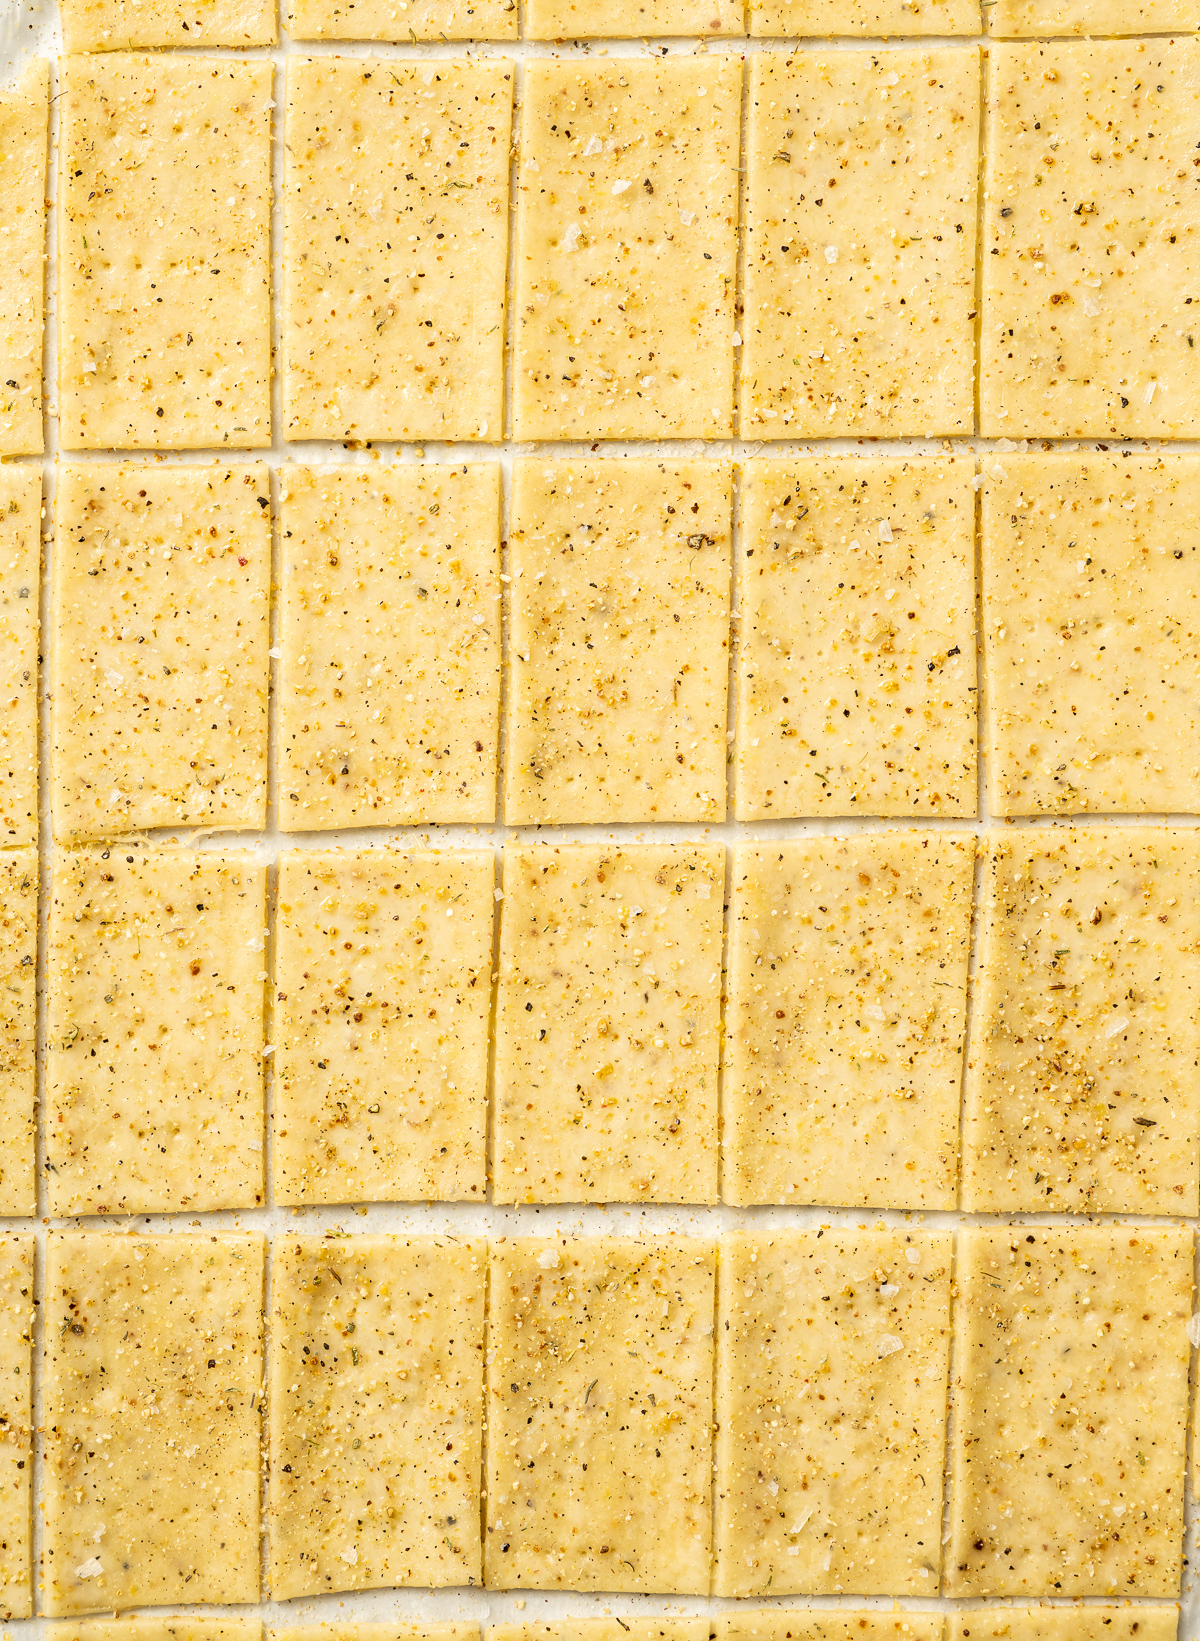
Evenly seasoned.
Sprinkled with some Maldon salt and bake.
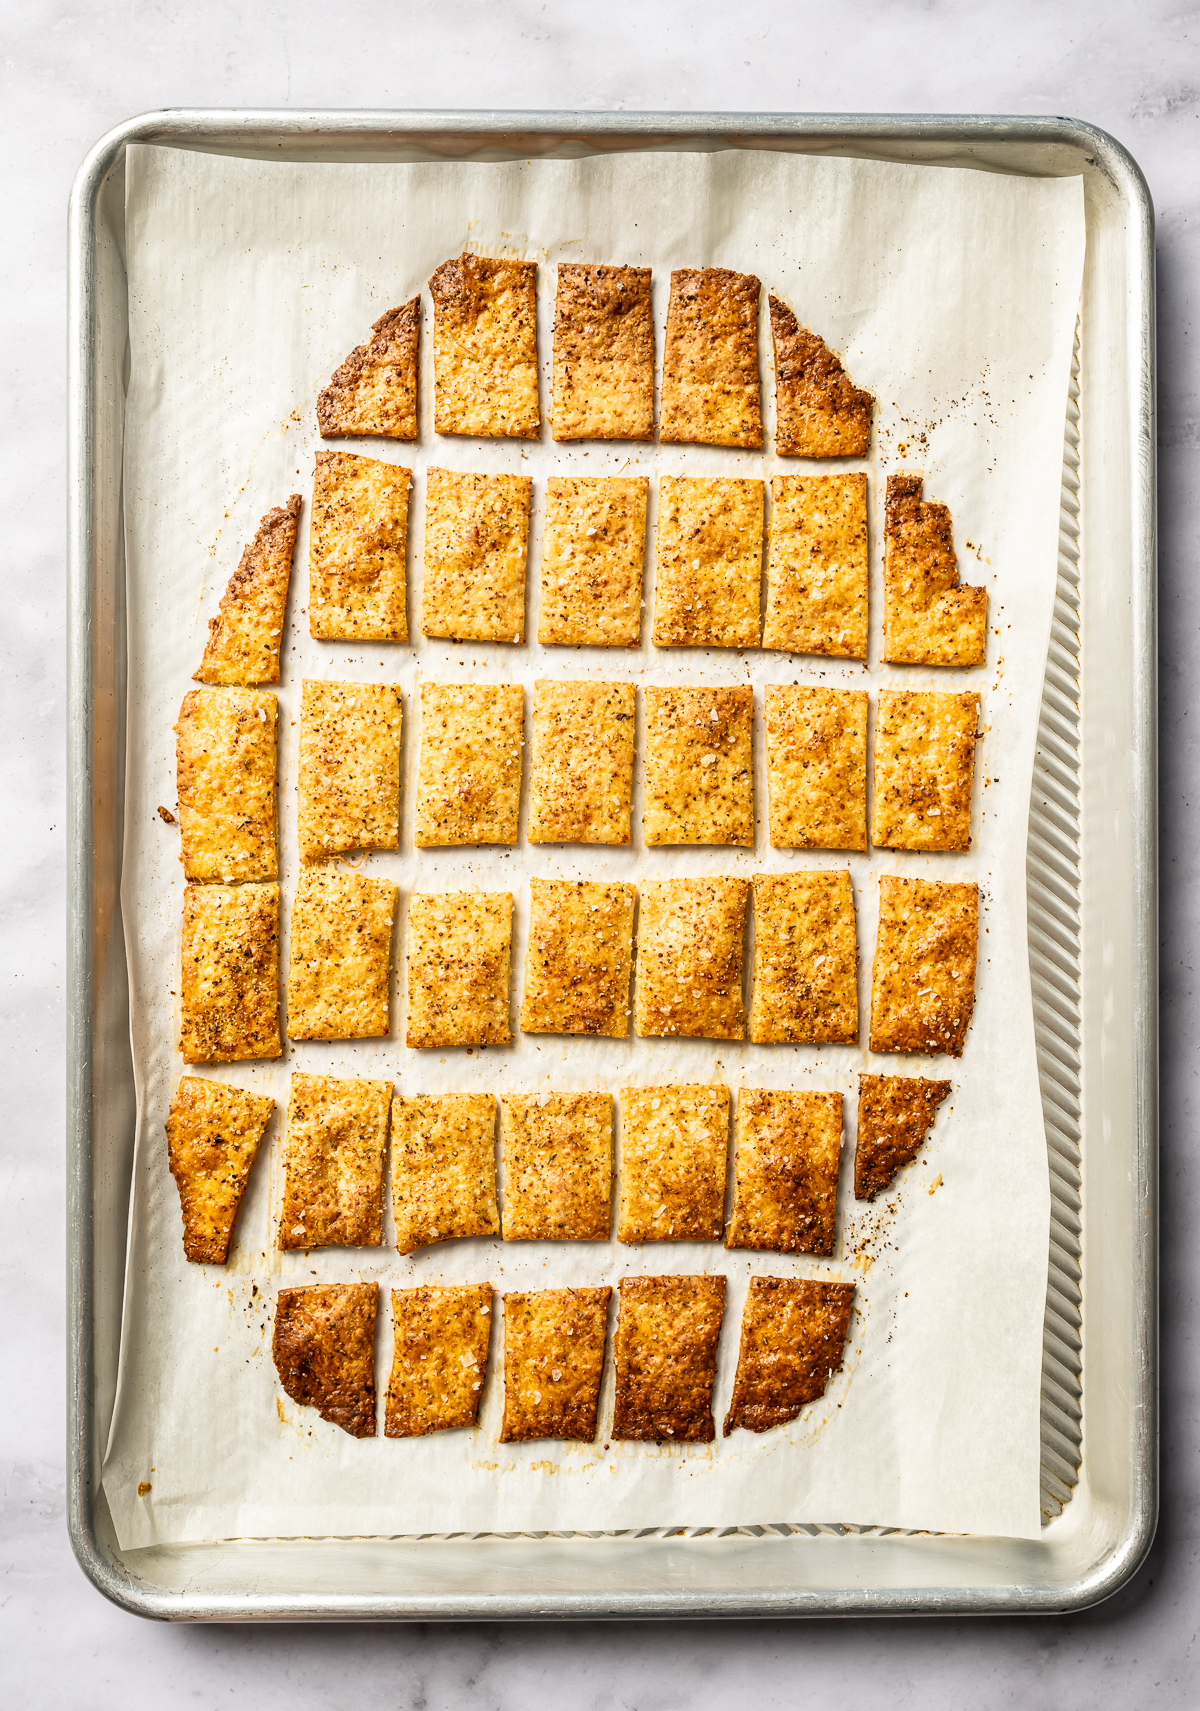
The crackers on the edges will get more brown - you can start to remove these ones from the tray first if you like.
Repeat with the other ball of dough.
Rolling out the dough:
If you want to have as many crackers as you can try to roll out the dough to a perfect square or rectangle, or trim off any of the irregular shaped pieces, knead back into a ball to roll out again. Whatever you like.
I don't mind the little irregular shapes but as you can see above the edges get more brown so I let the non-rectangular pieces get the extra browning so all the evenly cut pieces are more evenly baked.
Substitutions
These crackers can be made with any kind of flour or hard cheese.
- Flour - you can substitute the flour for gluten free, whole wheat, spelt etc. Or do half all purpose half another flour such as whole wheat, spelt, rye etc.
- Cheese - Any hard cheeses work such as parmesan, cheddar, gouda. Don't go with anything soft or super melty such as goat or mozzarella.
- Vegan- you could use vegan cheese and just use a vegan milk wash instead of egg. Same with replacing the milk in the recipe - you can also substitute water.
- Spices/Seasonings - experiment with any kind of spices or seasoning blends you like.
These crackers are really easy to make into any variety you like.
Equipment
You will need a food processor to make these crackers. The cheese and flour need to be mixed together to break up the cheese into smaller pieces as well as incorporate the oil and milk. You can try in a bowl but the results may not be the exact same.
I love my Cuisinart 8 cup food processor. It is perfect for making these crackers as well as dips, sauces and more.
Pizza/Pasta cutter - I found cutting the crackers worked best with a pizza cutter. You can use a plain of fluted edge cutter.
Storage
Store the crackers in an airtight container or bag at room temperature up to a week. Because these are homemade crackers they will soften a little as the week goes on. You can place the crackers on a tray and reheat at 400 Deg f ( 204 Deg C) for 3-5 minutes to crisp back up.
Top tip
I like to freeze the dough between rolling out, cutting shapes then the egg wash and seasoning. Similar to how I make roll out cookies because the dough can be a little sticky. Once rolled out between to pieces of wax paper, I will freeze then remove one of the pieces of wax paper and place the dough on a piece of parchment paper. Then I will carefully remove the other piece of wax paper before cutting.
Weighing ingredients Vs using cups:
I use my food scale and weigh out ingredients in grams because this is the most accurate way to get the best quality baked goods. Cups aren't accurate because not only are all cups not the same the sizes vary from brand to brand as well as from different countries. I have done tests with different brands of measuring cups and they all came out with different weights after I did the spoon and level as well as scoop method and then weighed in grams.
Baking is a science and science needs accuracy. Weighing is accurate and precise. Not to mention a lot easier. Another issue with cups is that I have no control over how people use measuring cups to measure dry ingredients especially flour. You could pack in way too much which would result in a sub-par baked good. Too much flour could throw everything off. Same with not enough. Not to mention also some ingredients are difficult to measure in cups such as nuts, dried fruit, chocolate etc. This is why weighing in grams is the most accurate.
I also use grams for most liquid measure since 100 grams equals 100 ml of water. Smaller amounts of items measured in teaspoons I usually leave as teaspoons, tablespoons are sometimes listed in grams as well but for the most part the different tablespoons I have used have all resulted in the same amount. Aside from cute, decorative ceramic tablespoons and teaspoons are never accurate. Those are better as decoration than for being used for baking.
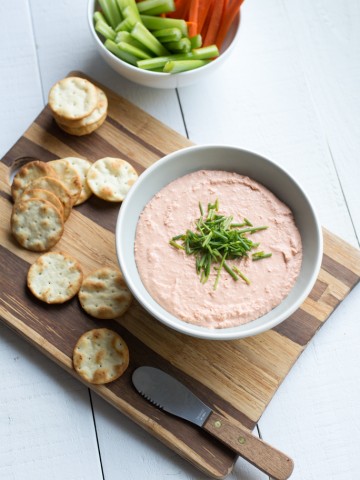
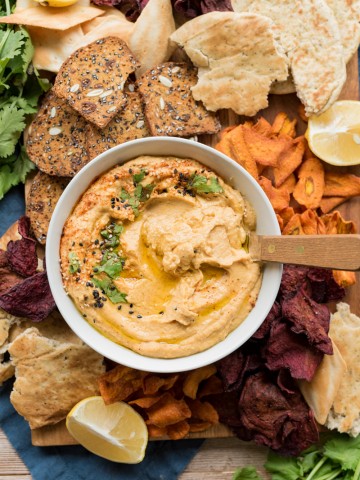
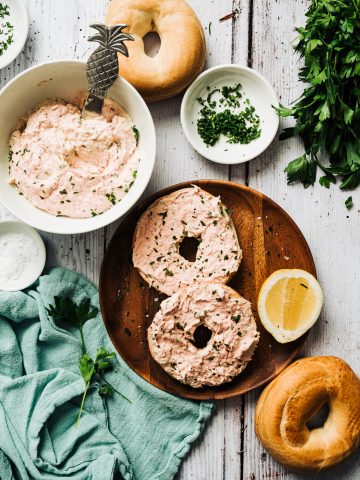
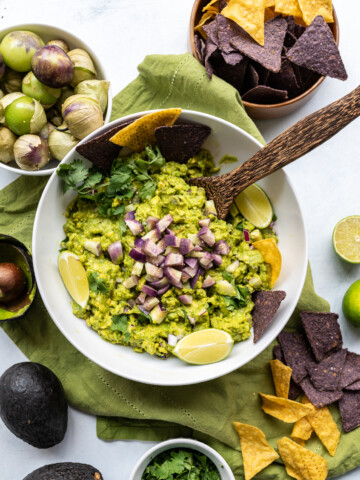
Dips for crackers:
Looking for other recipes like this? Try these:
Recipe:
Lemon Pepper Olive Oil Cheese Crackers
Ingredients
- For the crackers:
- 260 g All purpose flour
- 60 g Parmesan Cheese,, finely shredded
- 60 g White Cheddar Cheese,, finely shredded
- 2 teaspoons Lemon Zest
- 2 teaspoons Lemon Pepper seasoning
- ½ teaspoon Kosher salt, (omit if seasoning has salt)
- 3 Tablespoons Olive Oil
- 120 g Milk
- Egg wash:
- 1 Egg
- 1 Tablespoon milk or water
- For topping:
- Lemon Pepper seasoning
- Maldon Salt flakes
Instructions
- In a food processor pulse together the flour, cheeses, salt, lemon zest and lemon pepper seasoning. Add in the olive oil and pulse again. With the food processor on low, slowly pour in the milk ( or water) in a thin stream until fully mixed in. Let the dough come together for a few more seconds. It will look a little crumbly and that's ok
- Turn the dough out on to a clean surface or in a bowl and knead with your hands for another 30 seconds to one minute to form a smooth ball. Divide evenly into two dough balls, place in a bowl then let rest for 20 min.
- Set out 2 sheets of wax paper and two sheets of parchment paper.
- Heat oven to 400 Deg F.
- Roll one dough ball between two sheets of wax paper. Place on a baking sheet and place in freezer (if possible) for 20 min.
- Peel off one of the sheets of wax paper and place the rolled out dough on a piece of parchment paper. Remove the other piece and cut the dough into equal sized pieces. I cut mine about 1.25x2.5 inches.
- Whisk the egg and milk ( or water) together and brush over the top of the cut out crackers. Lightly sprinkle with a little pf the lemon pepper seasoning and some Maldon salt flakes
- Bake at 400 Deg for 15-20 minutes. Rotating the pan every 5 minutes, until the crackers are golden and set.
- You will notice the crackers on the edges start to brown faster than the center ones, you can remove these with a thin spatula as the crackers bake to keep everything the same color.
- Once done, let the crackers cool for a minute on the pan then transfer to a wire cooling rack. Repeat with the other dough ball. You can roll out, freeze and cut out the other crackers while the first batch is baking and cooling.
- Reuse the wax paper and the parchment once its cooled or use new sheets of wax and parchment papers.
- Keep the crackers in an airtight container or resealable bag up to a week at room temperature.
- To crisp the crackers back up: (they will get softer as the week goes on) heat oven to 400 Deg F, spread the crackers out on a baking sheet and heat for 3-5 minutes. Let cool and enjoy!
Leave a Reply