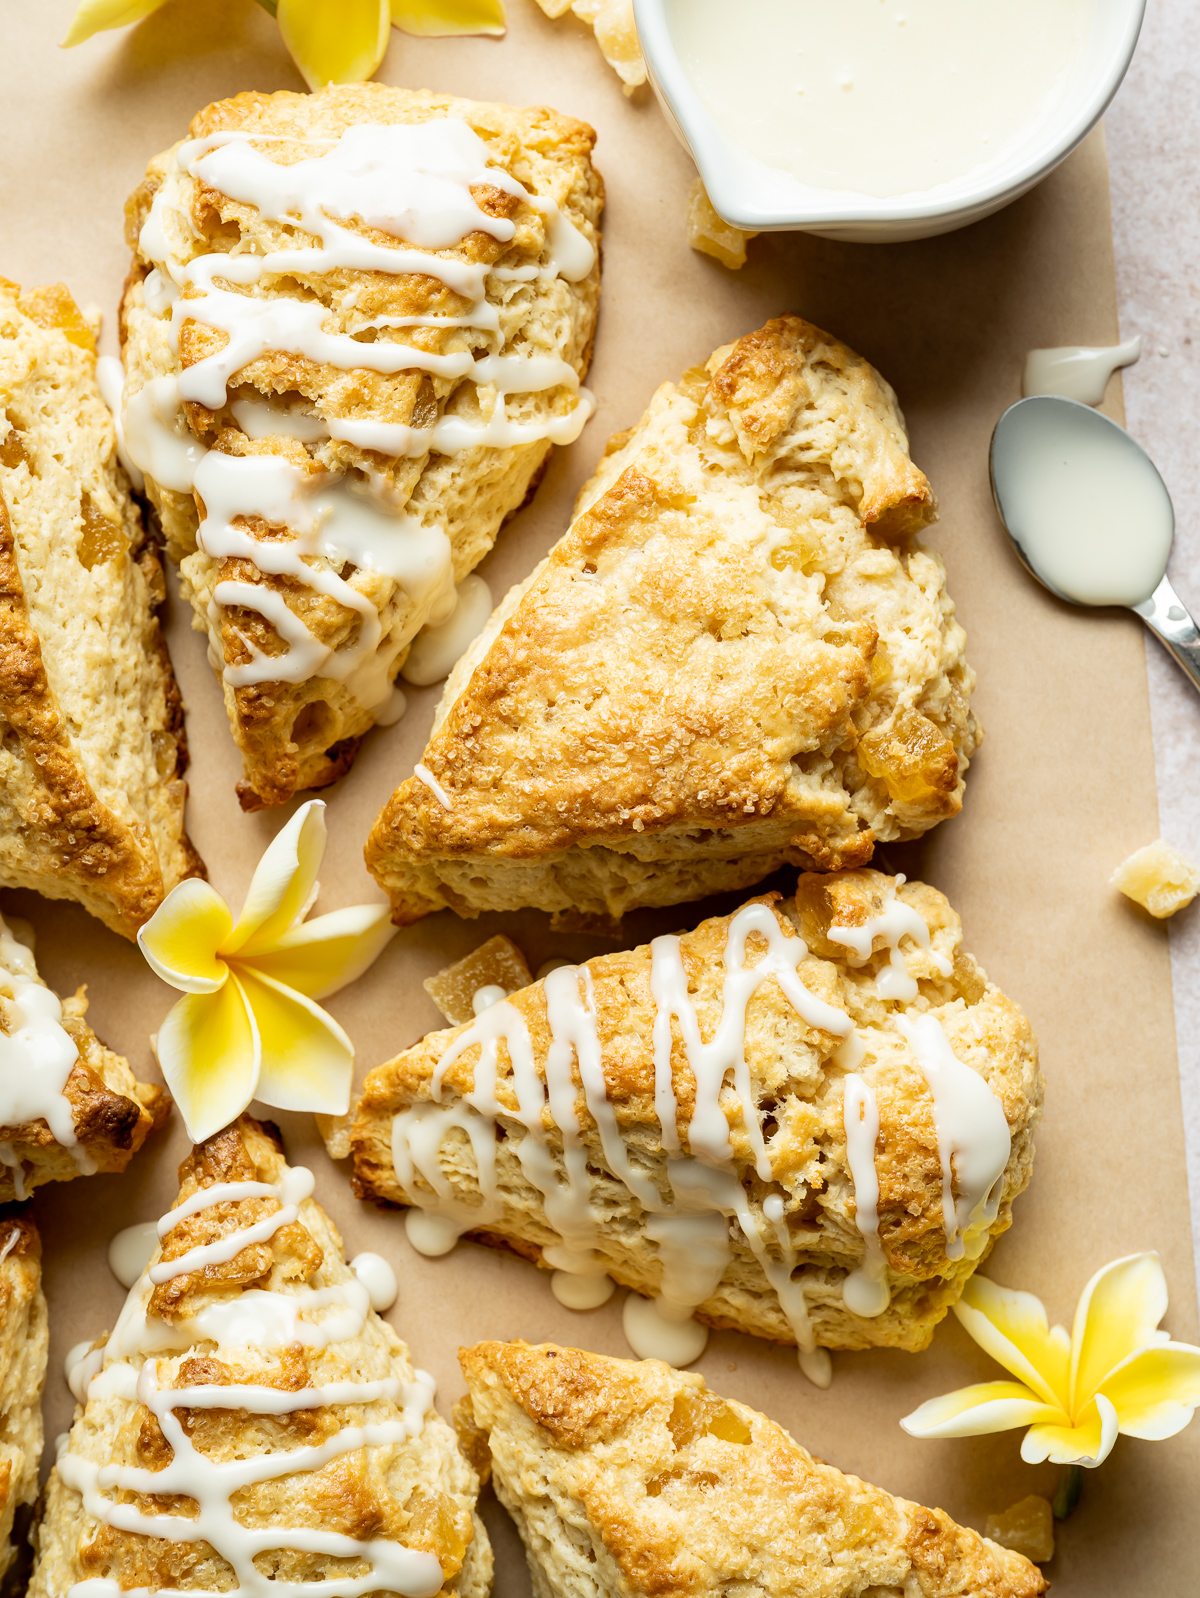
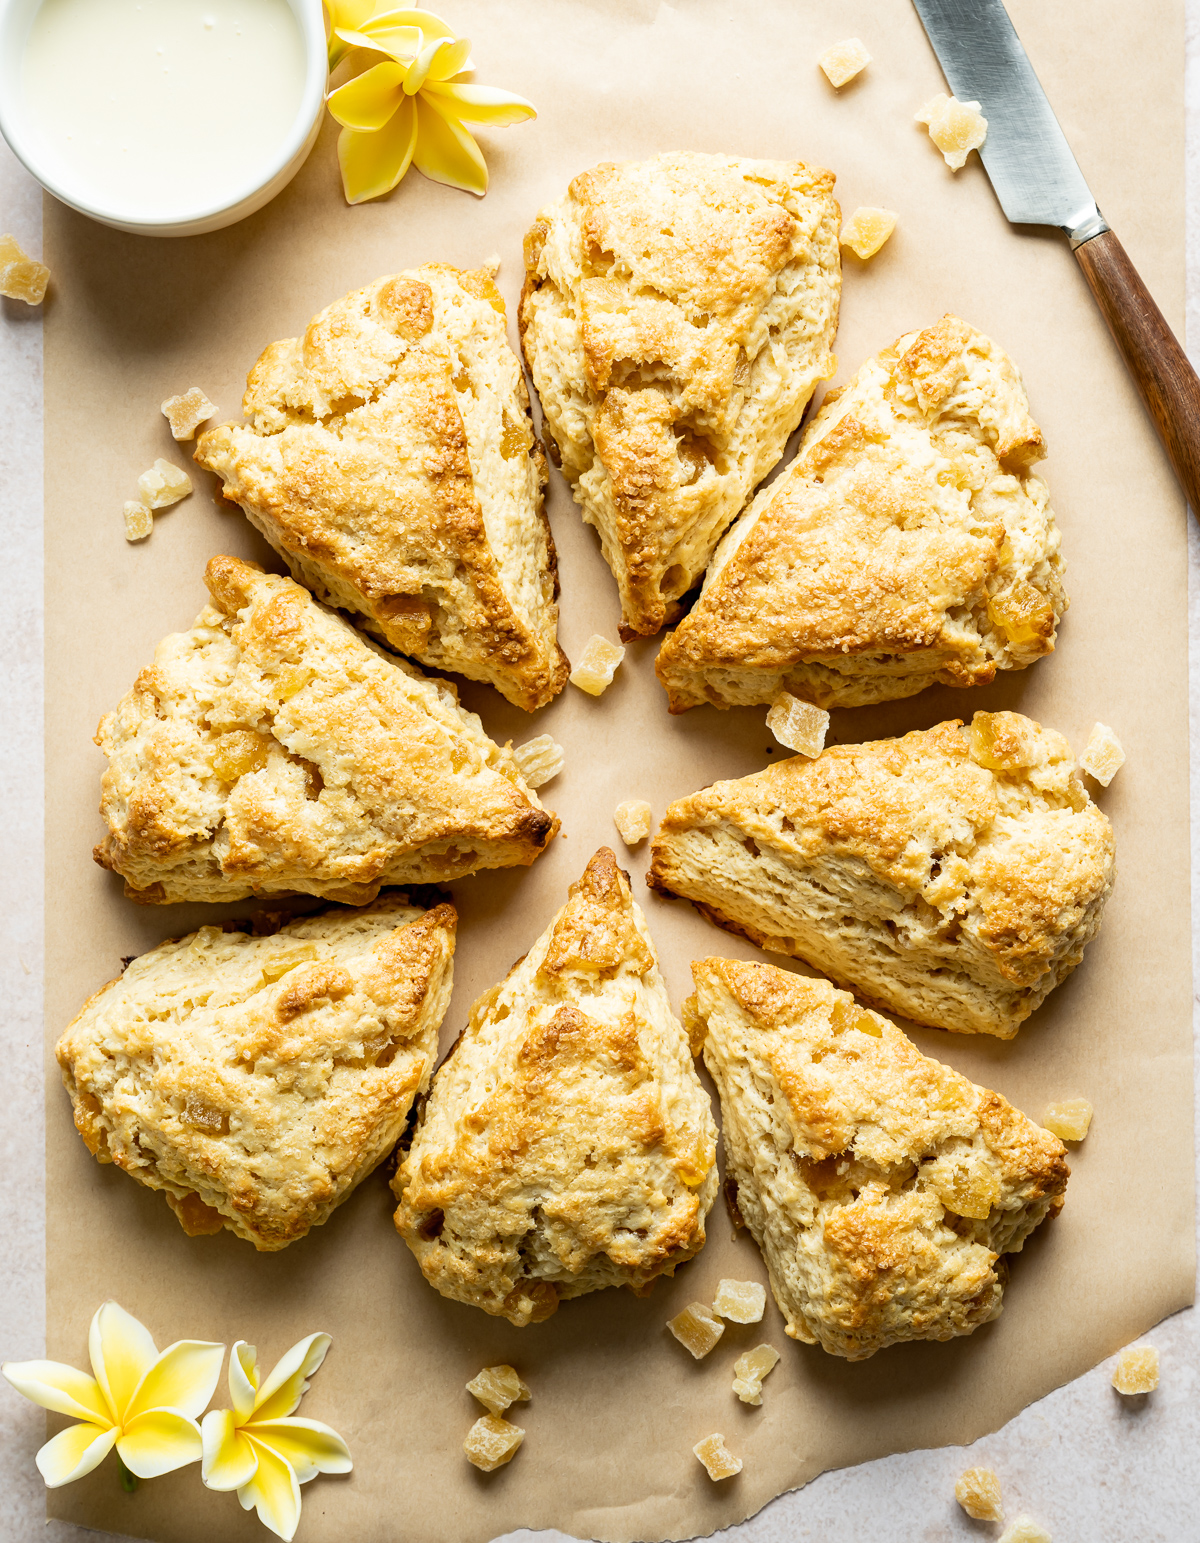
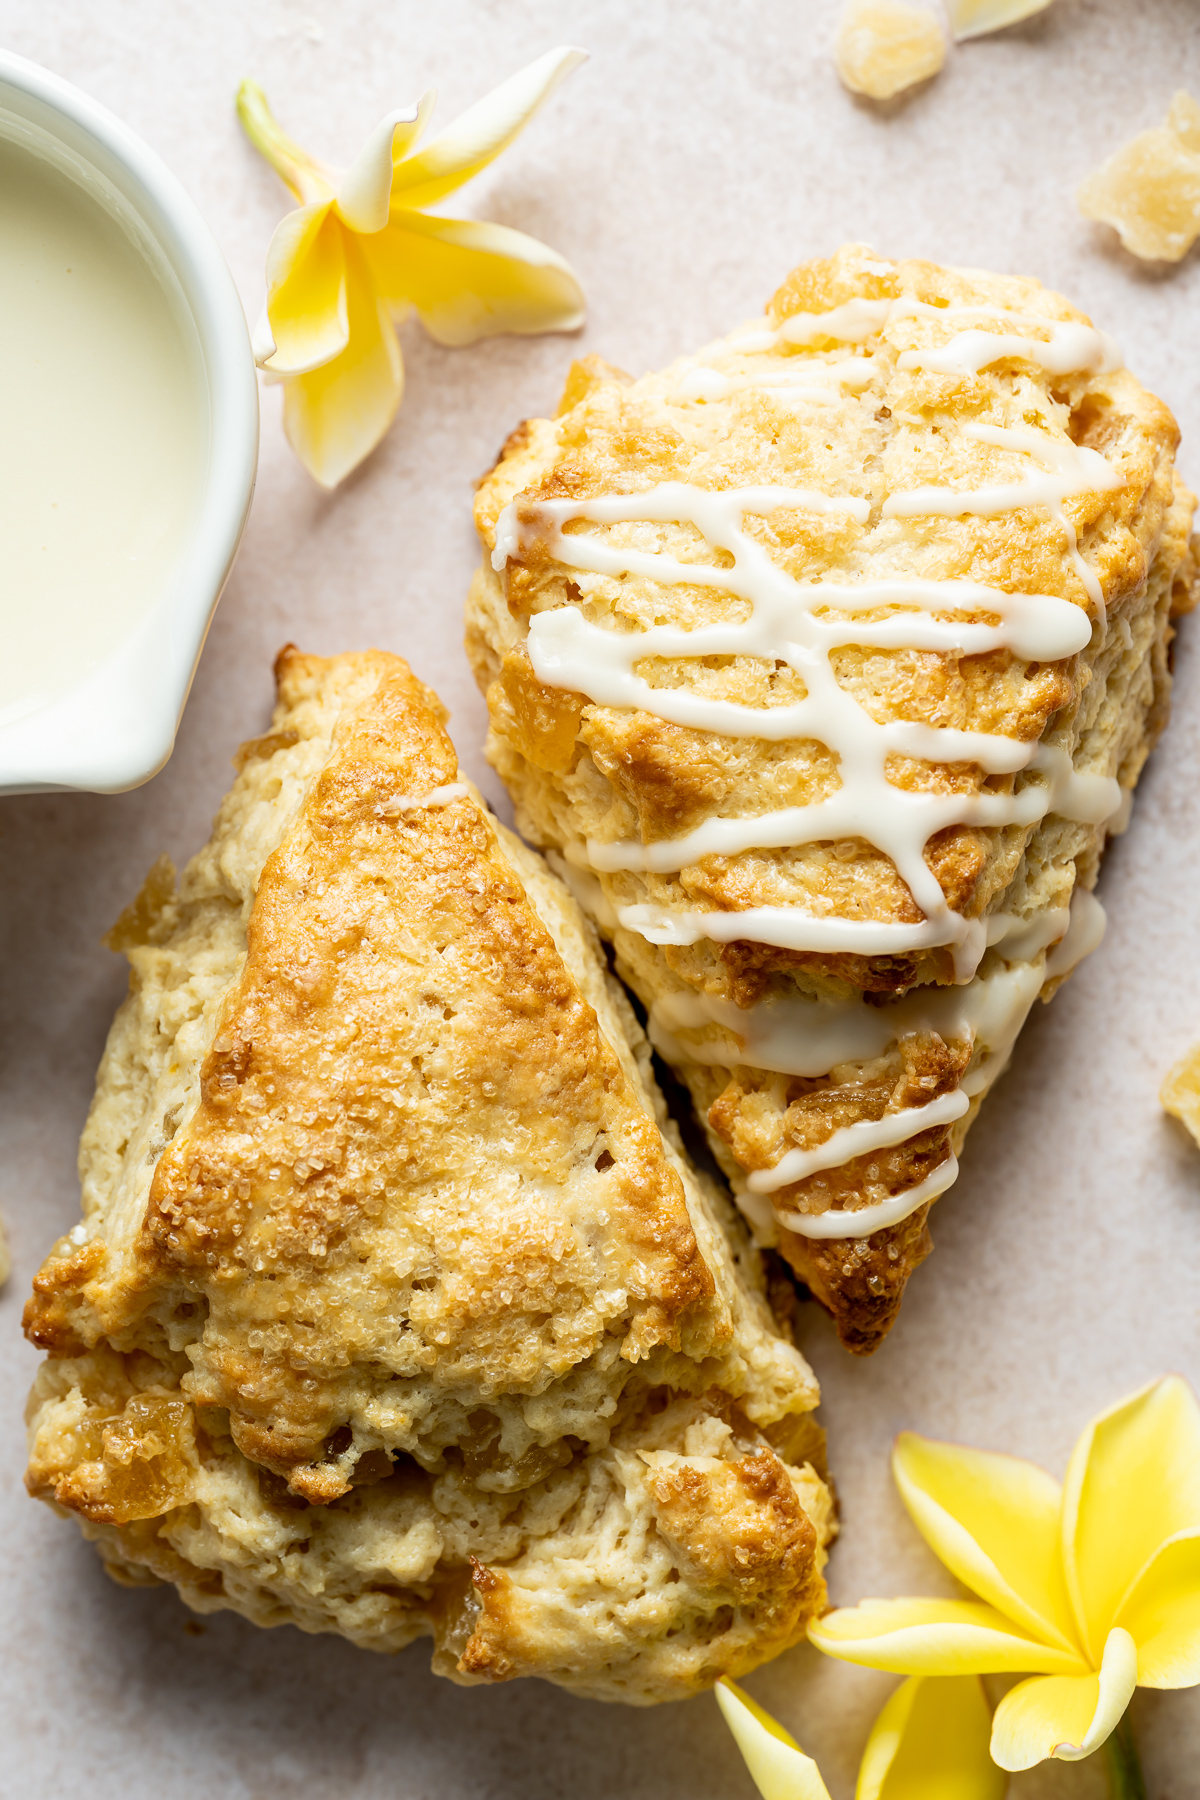
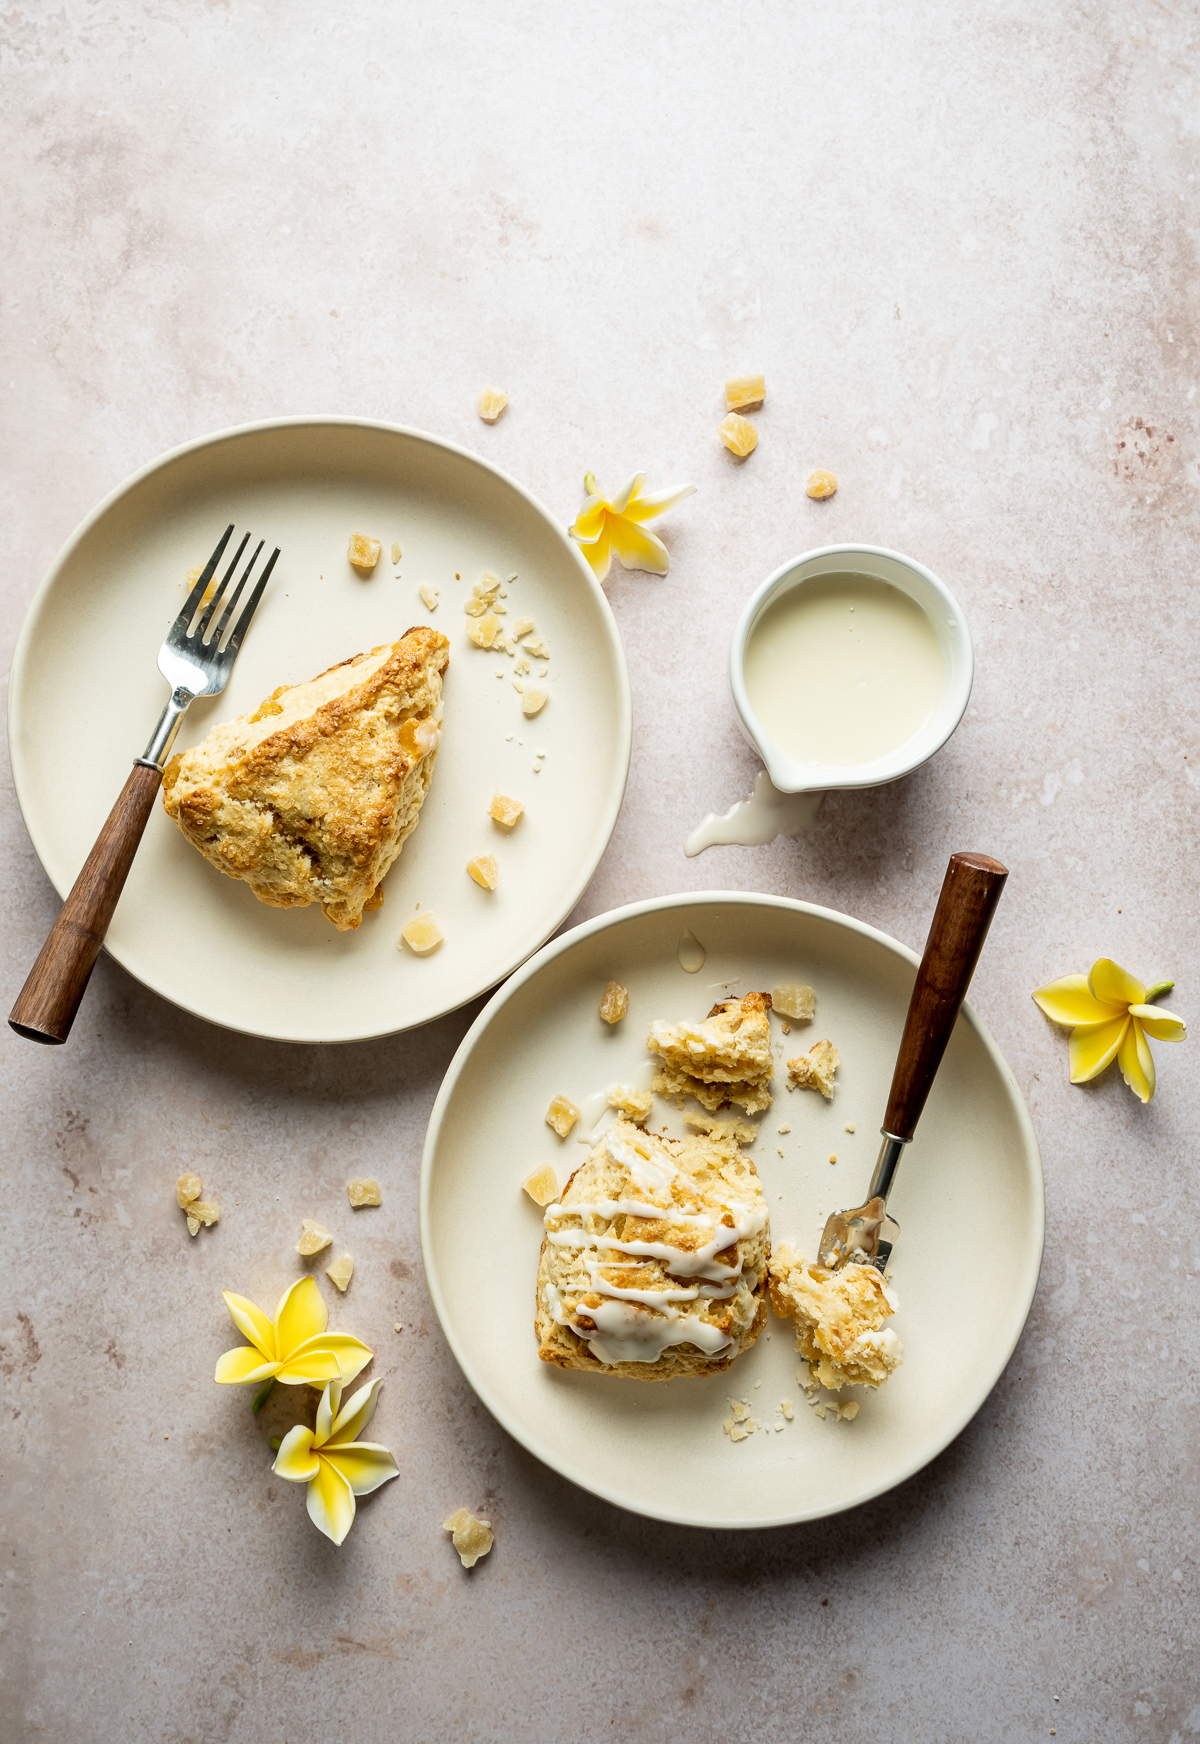
I think I finally perfected my scone recipe with these to live for pineapple scones made with dried pineapple bits, topped with crunchy raw sugar and optional pineapple glaze. These are perfect for a sweet after breakfast or brunch treat or for dessert.
This page contains affiliate links. Affiliate links support Pineapple and Coconut at no additional cost to you. If you choose to make a purchase via these links, I earn a small commission to help keep this blog running and it is much appreciated. I am an Amazon and Adorama affiliate.
Jump to:
One thing I love about pineapples is that they are available year round, not a have to wait for their season to use them. Same when using dried pineapple bits - they are always in season.
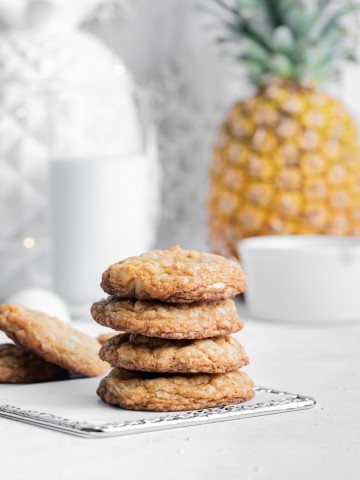
I am a huge fan of using dried fruit or flowers in my baking such as dried pears and dried ginger in my chewy molasses cookies with pear and ginger, pineapple in my pina colada cookies, hibiscus in my coconut hibiscus shortbread cookies.
Ingredients:
- All purpose flour
- baking powder
- kosher salt - I like Diamond brand best
- brown sugar (light or dark)
- heavy cream
- sour cream - full fat
- pineapple juice
- egg - 1 large
- vanilla extract
- butter
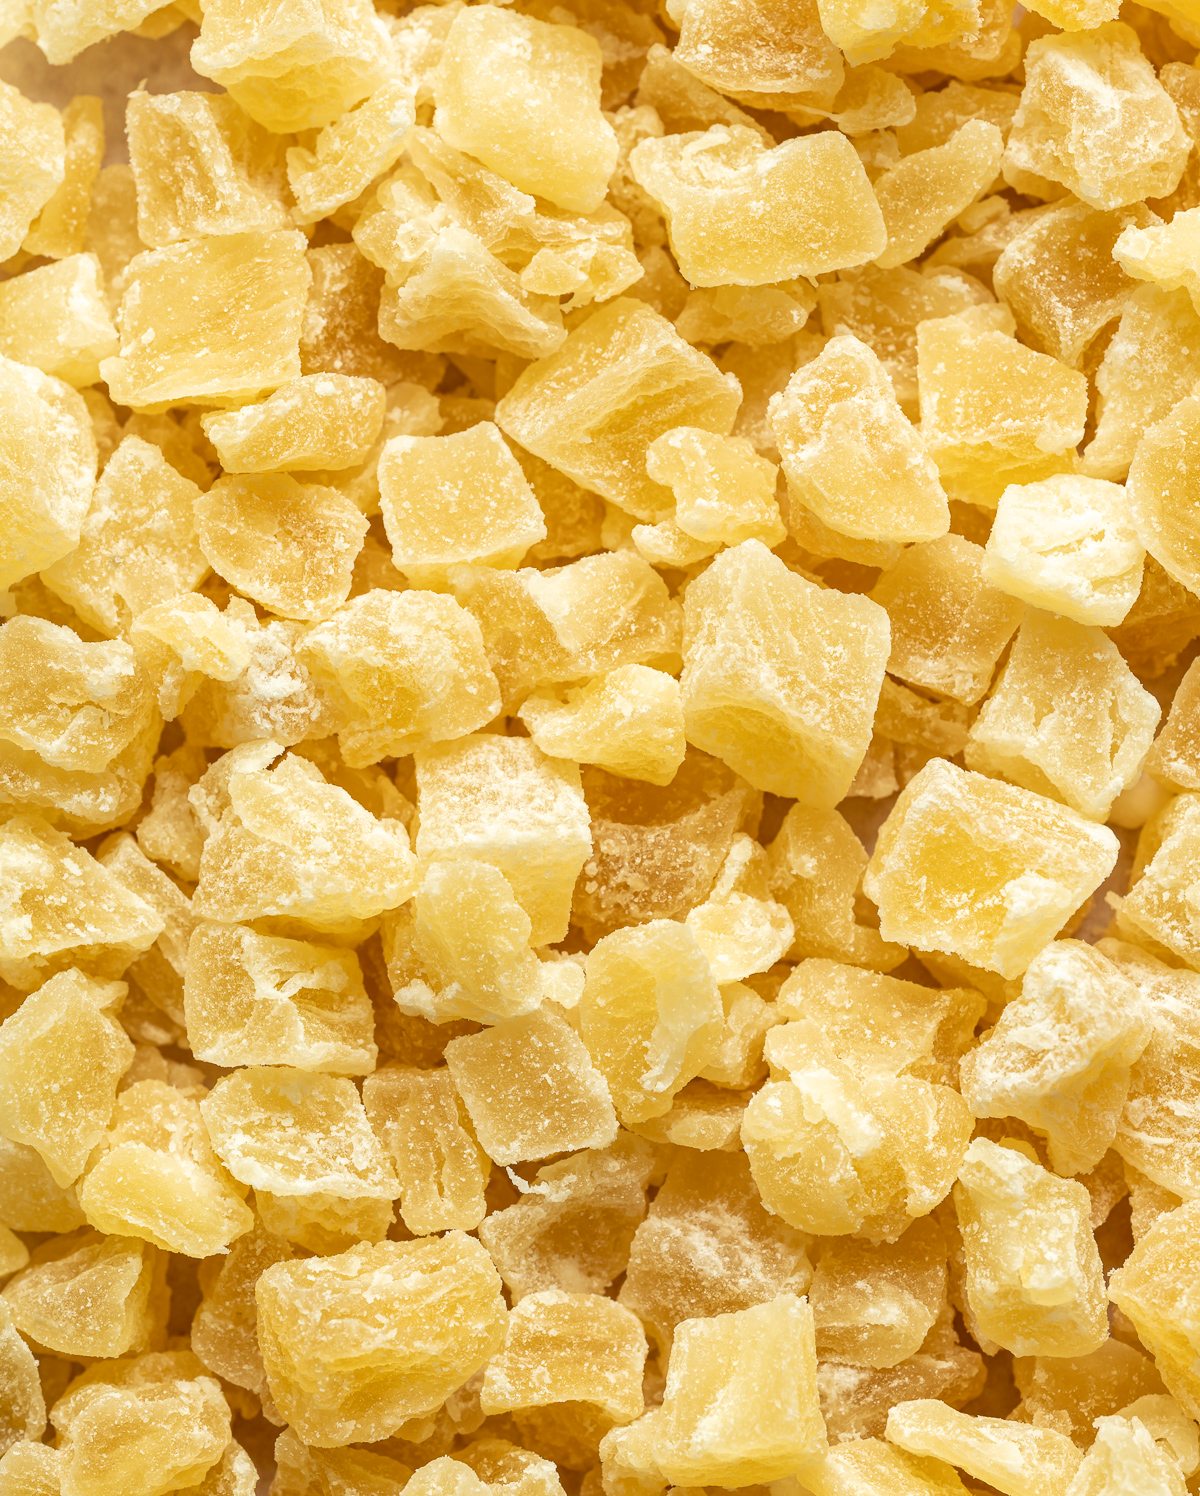
- diced candied pineapple pieces
- turbinado sugar - also known as sugar in the raw
- confectioner's sugar - for optional glaze
See recipe card for quantities.
Instructions:
I am going to keep the bulk of the instructions for these pineapple scones in the recipe card but here are a few of the steps that are VERY important-
- Have the ingredients as cold as possible to keep the butter from melting too quickly - no need to bring anything to room temperature.
- Work quickly to combine the frozen grated butter with the flour mix - lifting as you rub together with your fingers to aerate the mix as well as combine to get it looking a little like wet sand.
- Start mixing all the ingredients together with a spatula or even a butter knife. You will use your hands to knead the scone dough a little but want to keep mixing with your hands to a minimum.
- A few presses and folds of the dough ensure some extra flakiness to the dough without being over worked.
- Chilling the dough before cutting into wedges to ensure clean cuts as well as freezing after cutting before baking will make sure the butter doesn't all melt out during baking.
Hint: Freeze your butter first - have a few sticks of butter in the freezer the night before to be able to easily grate for the recipe. I always keep a few pounds of butter in my freezer - if space allows.
Substitutions/Variations
I have only tested the recipe as stated in the recipe card. If you want to change up anything please do so at your own risk.
- Gluten Free - you can use a 1:1 swap for a gluten free all purpose blend that you trust and have used. I haven't tested these pineapple scones with gluten free flour so I can't guarantee same results.
- Fresh pineapple - I only used the candied pineapple - you can try with fresh or even frozen pineapple bits - but again the results might be different.
- Other flavors - you could easily make these with other dried fruits or leave the dried fruit out - add in lemon or other citrus zest, swap the pineapple juice for either more cream or other fruit juice. The base recipe is really easy to add to it to make it any flavor you like. Same with swapping the pineapple for something like fresh blueberries.
Equipment
These pineapple scones are made with just a few pieces of equipment. No need for a stand mixer or anything like that. These are the items I use to make scones ( affiliate links).
- Food Scale - a must have for all of my baking recipes. My recipes are metric for the most accurate measuring
- Box grater - the kind used normally for cheese
- Mixing bowls - medium to large
- Spatula - I love GIR spatulas
- Half-sheet baking pan - USA pans are my fave
- Parchment paper - any kind
- Cooling rack - any kind
Storage
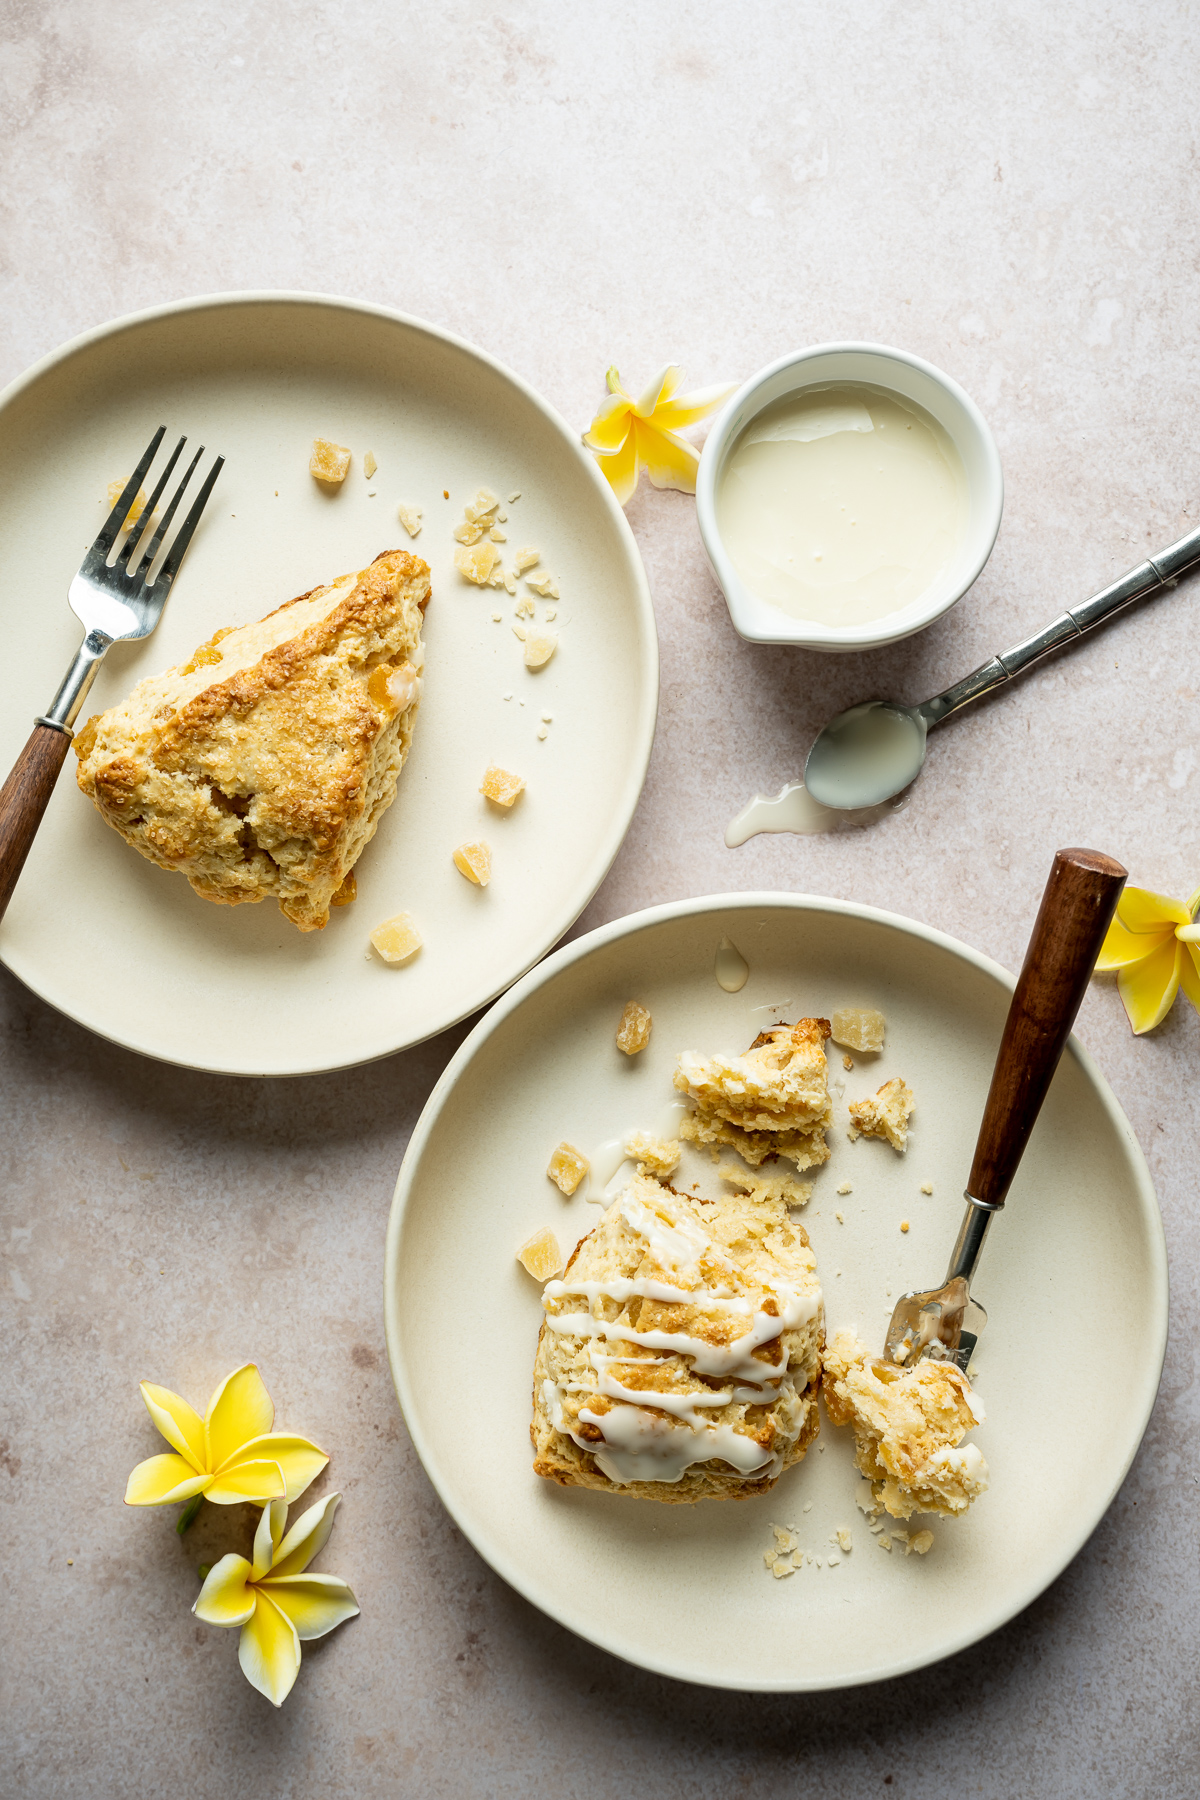
Keep the baked pineapple scones in an airtight container up to three (3) days room temperature. Same container or a freezer bag kept frozen up to three (3) months. They are best eaten same day or even the day after baking.
Pro tip:
I like to bake scones in a hot oven 425F (218 C) to get a quick rise and get a nice golden crust. Baking from frozen in a hot oven ensures there are flaky layers and no butter melting out.
You know they are done when they are golden on top as well as when you press the tops they are firm but the middle still has a little give.
FAQ:
Super fresh ingredients, everything very cold when mixing. High temperature for oven - not over baking.
Not enough liquid ingredients, over mixing, over baking. Measuring instead of weighing - see below as to why using a food scale in baking is so important.
I always use all purpose flour. I have found this is the best for perfect scones. I don't suggest using bread flour or cake flour. Results will not be the same.
Yes. Always yes. The dough is rested after shaping into a round as well as after cutting into wedges. It is chilled in the freezer after cutting into wedges before baking
Other scone and pineapple recipes:
Looking for other recipes like this? Try these:
Weighing ingredients Vs using cups:
I use my food scale and weigh out ingredients in grams because this is the most accurate way to get the best quality baked goods. Cups aren't accurate because not only are all cups not the same the sizes vary from brand to brand as well as from different countries. I have done tests with different brands of measuring cups and they all came out with different weights after I did the spoon and level as well as scoop method and then weighed in grams.
Baking is a science and science needs accuracy. Weighing is accurate and precise. Not to mention a lot easier. Another issue with cups is that I have no control over how people use measuring cups to measure dry ingredients especially flour. You could pack in way too much which would result in a sub-par baked good. Too much flour could throw everything off. Same with not enough. Not to mention also some ingredients are difficult to measure in cups such as nuts, dried fruit, chocolate etc. This is why weighing in grams is the most accurate.
I also use grams for most liquid measure since 100 grams equals 100 ml of water. Smaller amounts of items measured in teaspoons I usually leave as teaspoons, tablespoons are sometimes listed in grams as well but for the most part the different tablespoons I have used have all resulted in the same amount. Aside from cute, decorative ceramic tablespoons and teaspoons are never accurate. Those are better as decoration than for being used for baking.
Pineapple Scones Recipe:
"Recipe"

Pineapple Scones
Equipment
- 1 Food Scale (one that uses grams as well as ounces)
- 1 box grater
- 2 mixing bowls
- 1 spatula
- 1 half sheet baking pan
- parchment paper
Ingredients
- 125 g butter ,frozen
- 390 g all purpose flour ,cold
- 1 Tablespoon baking powder (14g)
- ½ teaspoon Kosher salt
- 100 g brown sugar ,light or dark
- 127 g heavy cream ,cold
- 120 g full fat sour cream ,cold (full fat Greek yogurt would also work)
- 55 g pineapple juice ,cold
- 1 large egg ,cold
- 1 teaspoon vanilla extract
- 170 g candied pineapple pieces
- 2 tablespoons heavy cream
- 1-2 tablespoons turbinado sugar
Optional Glaze:
- 120 g confectioners sugar
- 2-3 Tablespoons pineapple juice
Instructions
- Set out a large baking sheet pan and line with parchment paper. Do not heat up your oven yet, there is some chilling time happening first.
- Grate the frozen butter onto a plate or in a bowl and set back in the freezer.
- In a large mixing bowl combine the flour, baking powder, salt and brown sugar. Whisk together really well and set in the refrigerator or freezer for a few minutes while you weigh and measure the rest of the ingredients.
- In a medium bowl whisk together the heavy cream, sour cream, pineapple juice, egg and vanilla.
- Take the large bowl with the flour out of the refrigerator, or freezer, and add the frozen grated butter. Using both hands, sort of fluff the flour with the butter to coat the butter and mix but don’t press any of it together. Rub the flour and butter together with your hands until it looks like damp sand. Just quickly mix to coat all of the butter in flour and it is evenly distributed. Work quickly to keep it all cold and to keep your hands from warming up the mixture.
- Next, add in the cream mixture to the flour mixture, about a quarter of it of it, and mix with a spatula or even a butter knife. Add in the pineapple pieces, then continue with the rest of the cream adding in a little at a time until the dough comes together and no dry flour remains in the bowl. It will be a little sticky but that is ok. There will be a point where you will start mixing with a hand to get it all incorporated.
- Lightly flour a clean surface and place the dough on it. Press the dough into a rectangle, not too flat, and for the left side over the middle then the right side over on top of that. Next fold it down in half from top to bottom. You will have a square of dough. Repeat with pressing to a rectangle then the folds once more. If your mixing bowl is big enough, you could do the folds in the bowl.
- Next shape the dough into an 8 inch circle. I like to use a cake pan for this to make it easier. I lightly flour it, press the dough in and press until it reaches all the sides, or you can just press it on your counter and use a ruler or even a cake circle to measure 8 inches across. Set the round dough on a baking sheet lined with parchment paper and chill for 20 min. After 20 minutes, cut the dough into 8 equal triangles.
- Place the scones back on the tray and freeze for 40 minutes. At this point preheat your oven to 425 Deg F with a rack placed in the middle. Brush the tops of each scone with a little heavy cream and sprinkle with raw sugar. Bake for 18-22 minutes until the tops are starting to turn golden. You can press on the tops of the scones with your finger and it should be firm but the center has a little give. They are done.
- Remove scones from oven and let cool on pan for 5 minutes then transfer to wire cooling rack to cool completely before glazing.
- If glazing, whisk the confectioners sugar and pineapple juice until smooth then drizzle over the scones with a spoon.
- Scones last in an airtight container up to a few days in the freezer for a few months. They never last more than 3 days at my house - we eat them all up!



Leave a Reply