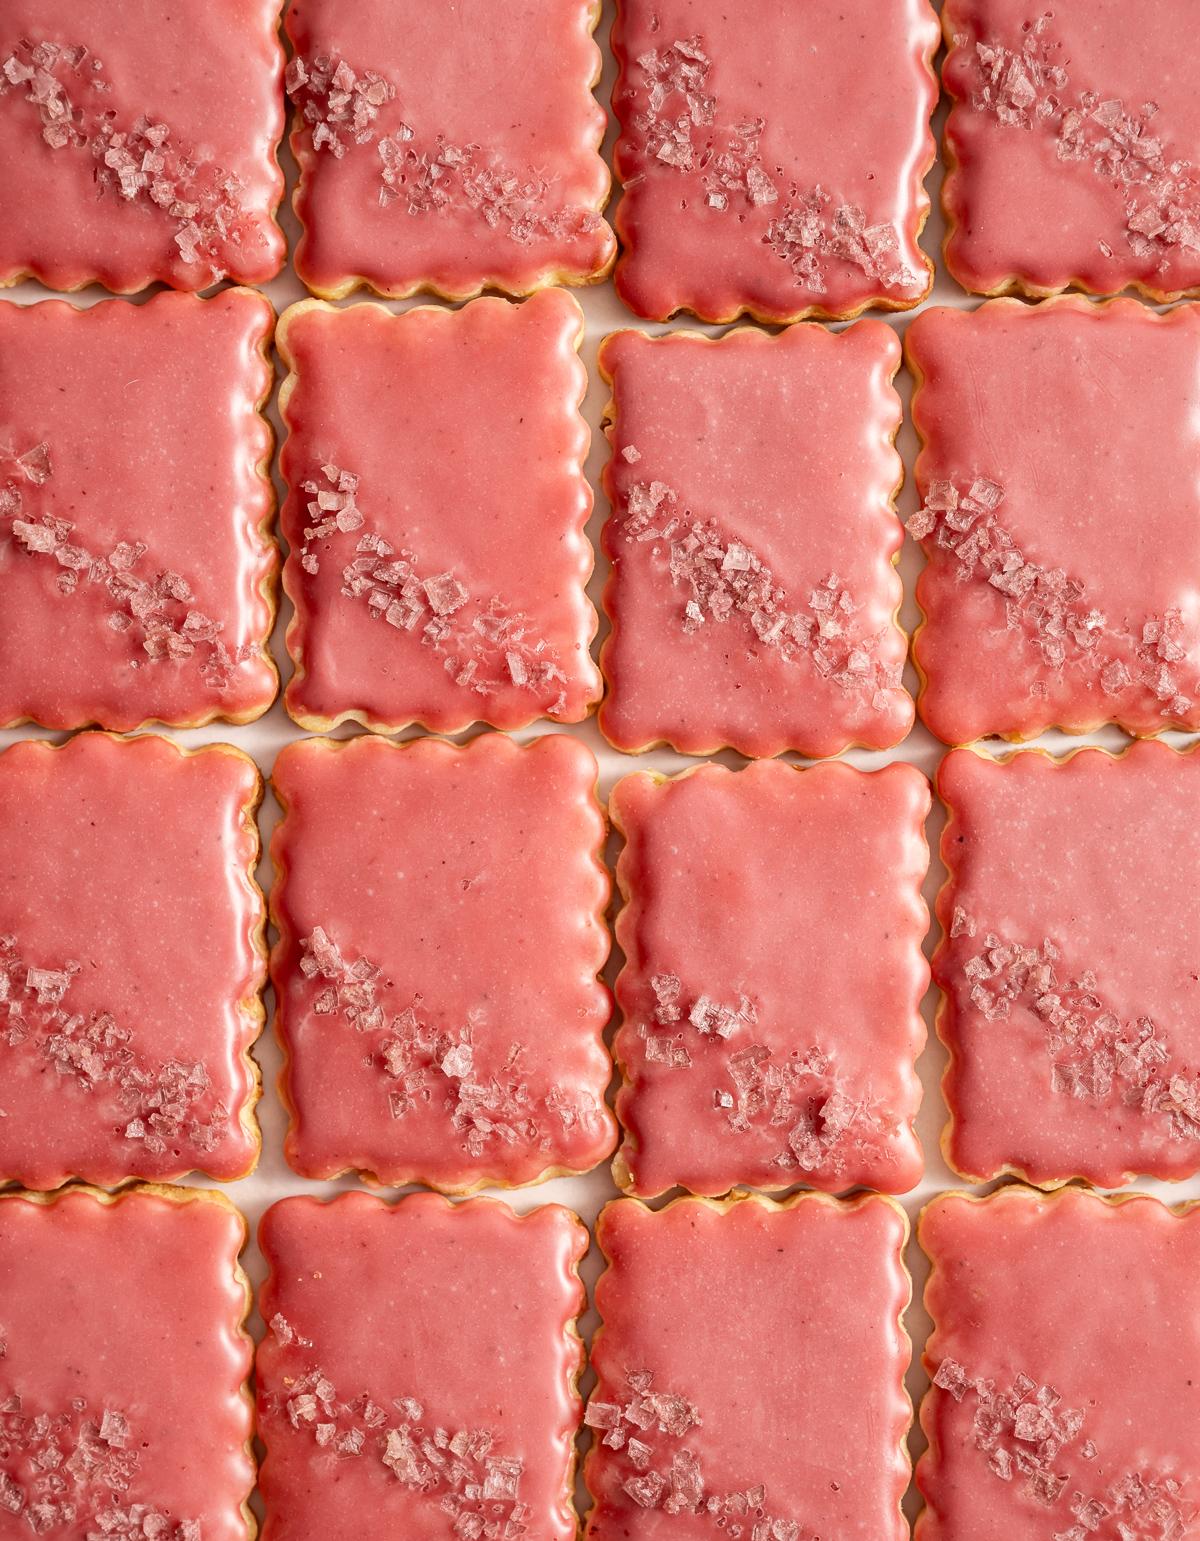
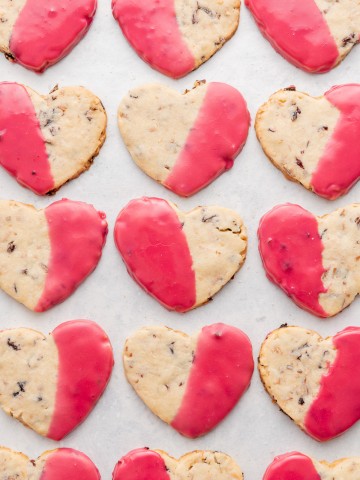
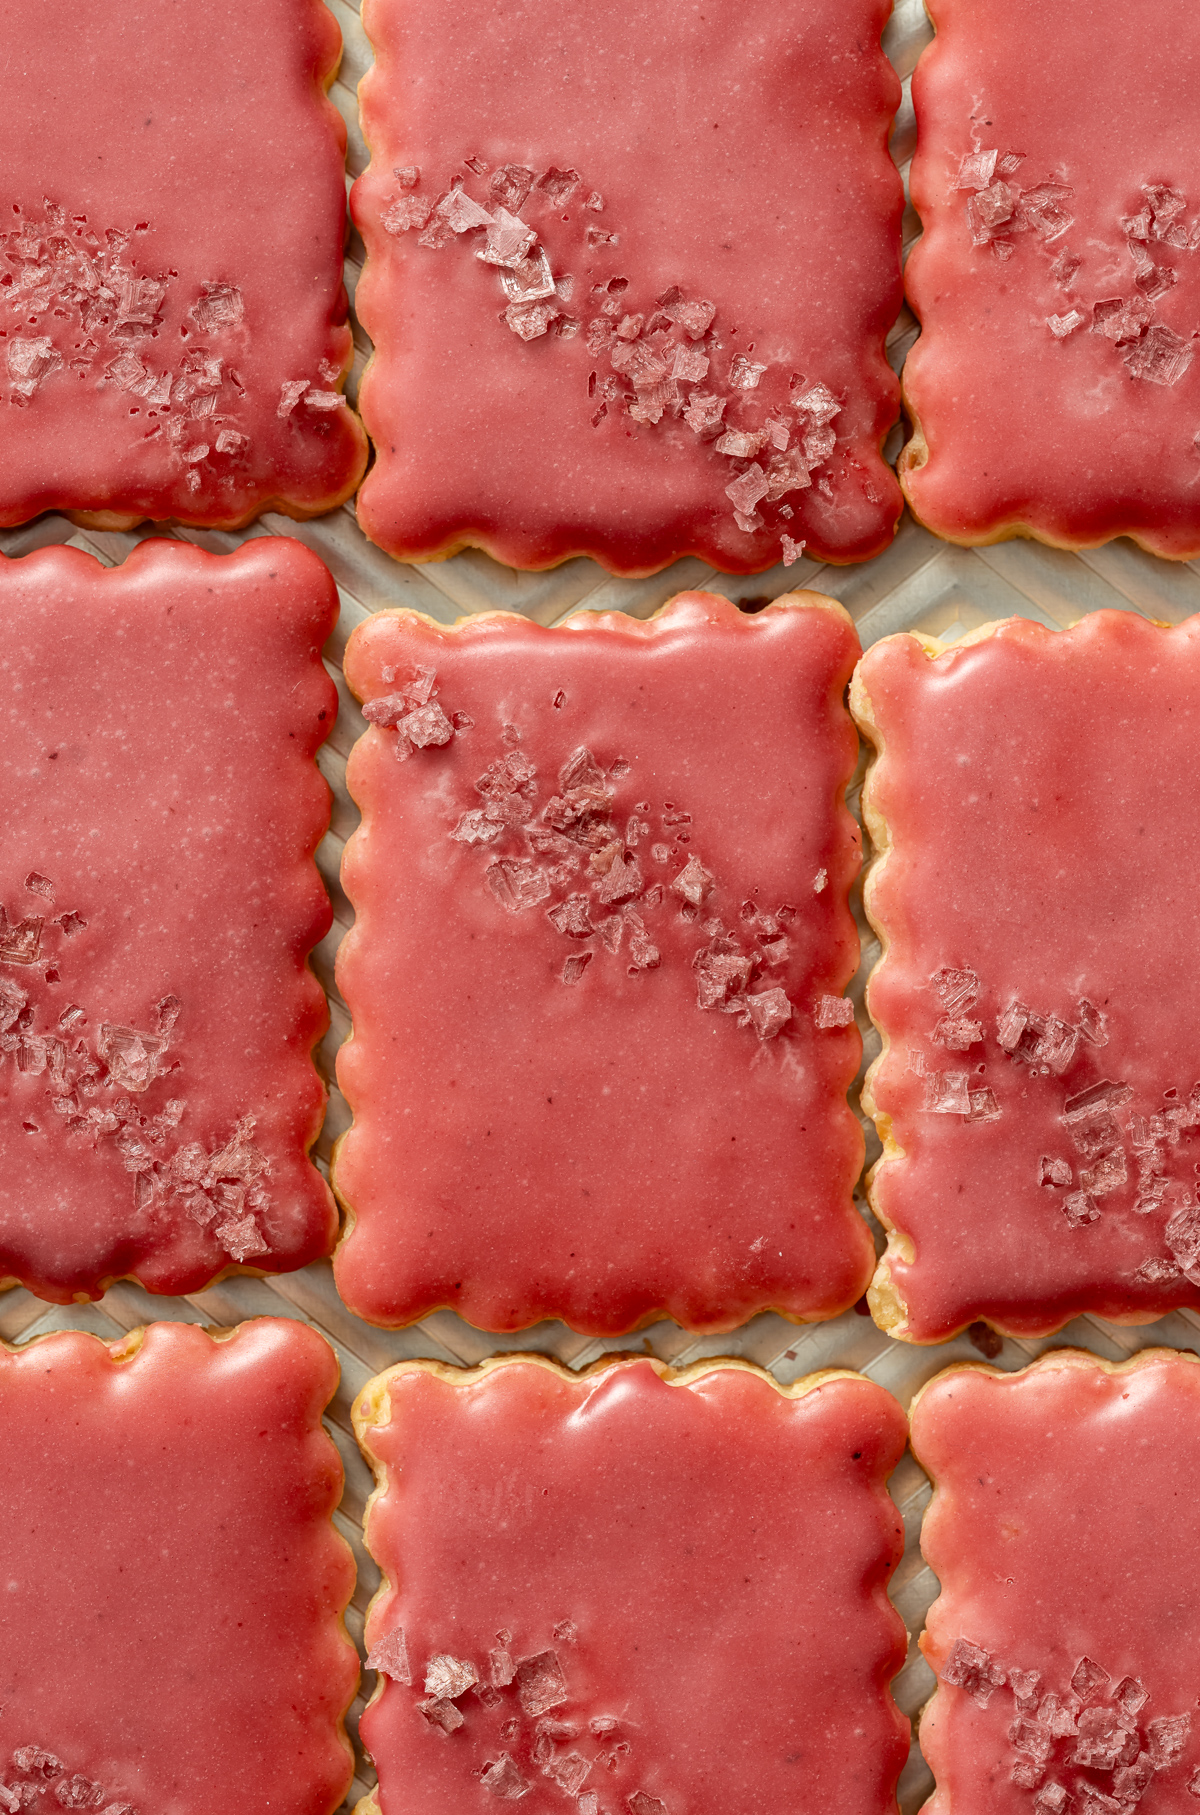
These lime macadamia butter cookies with hibiscus glaze are a rich, buttery, melt-in-your-mouth cookie with toasted macadamias, a hint of lime, glazed with a tart, shiny hibiscus icing and a sprinkle of hibiscus salt. These cookies are tropical goodness in every bite. They are included in my christmas cookie boxes this year but are perfect for any time of the year.
This page contains affiliate links. Affiliate links support Pineapple and Coconut at no additional cost to you. If you choose to make a purchase via these links, I earn a small commission to help keep this blog running and it is much appreciated. I am an Amazon and Adorama affiliate.
You all know I love a tropical cookie recipe for the holidays and this is my newest one this year, with a few others on the horizon.
Why these macadamia butter cookies are so good:
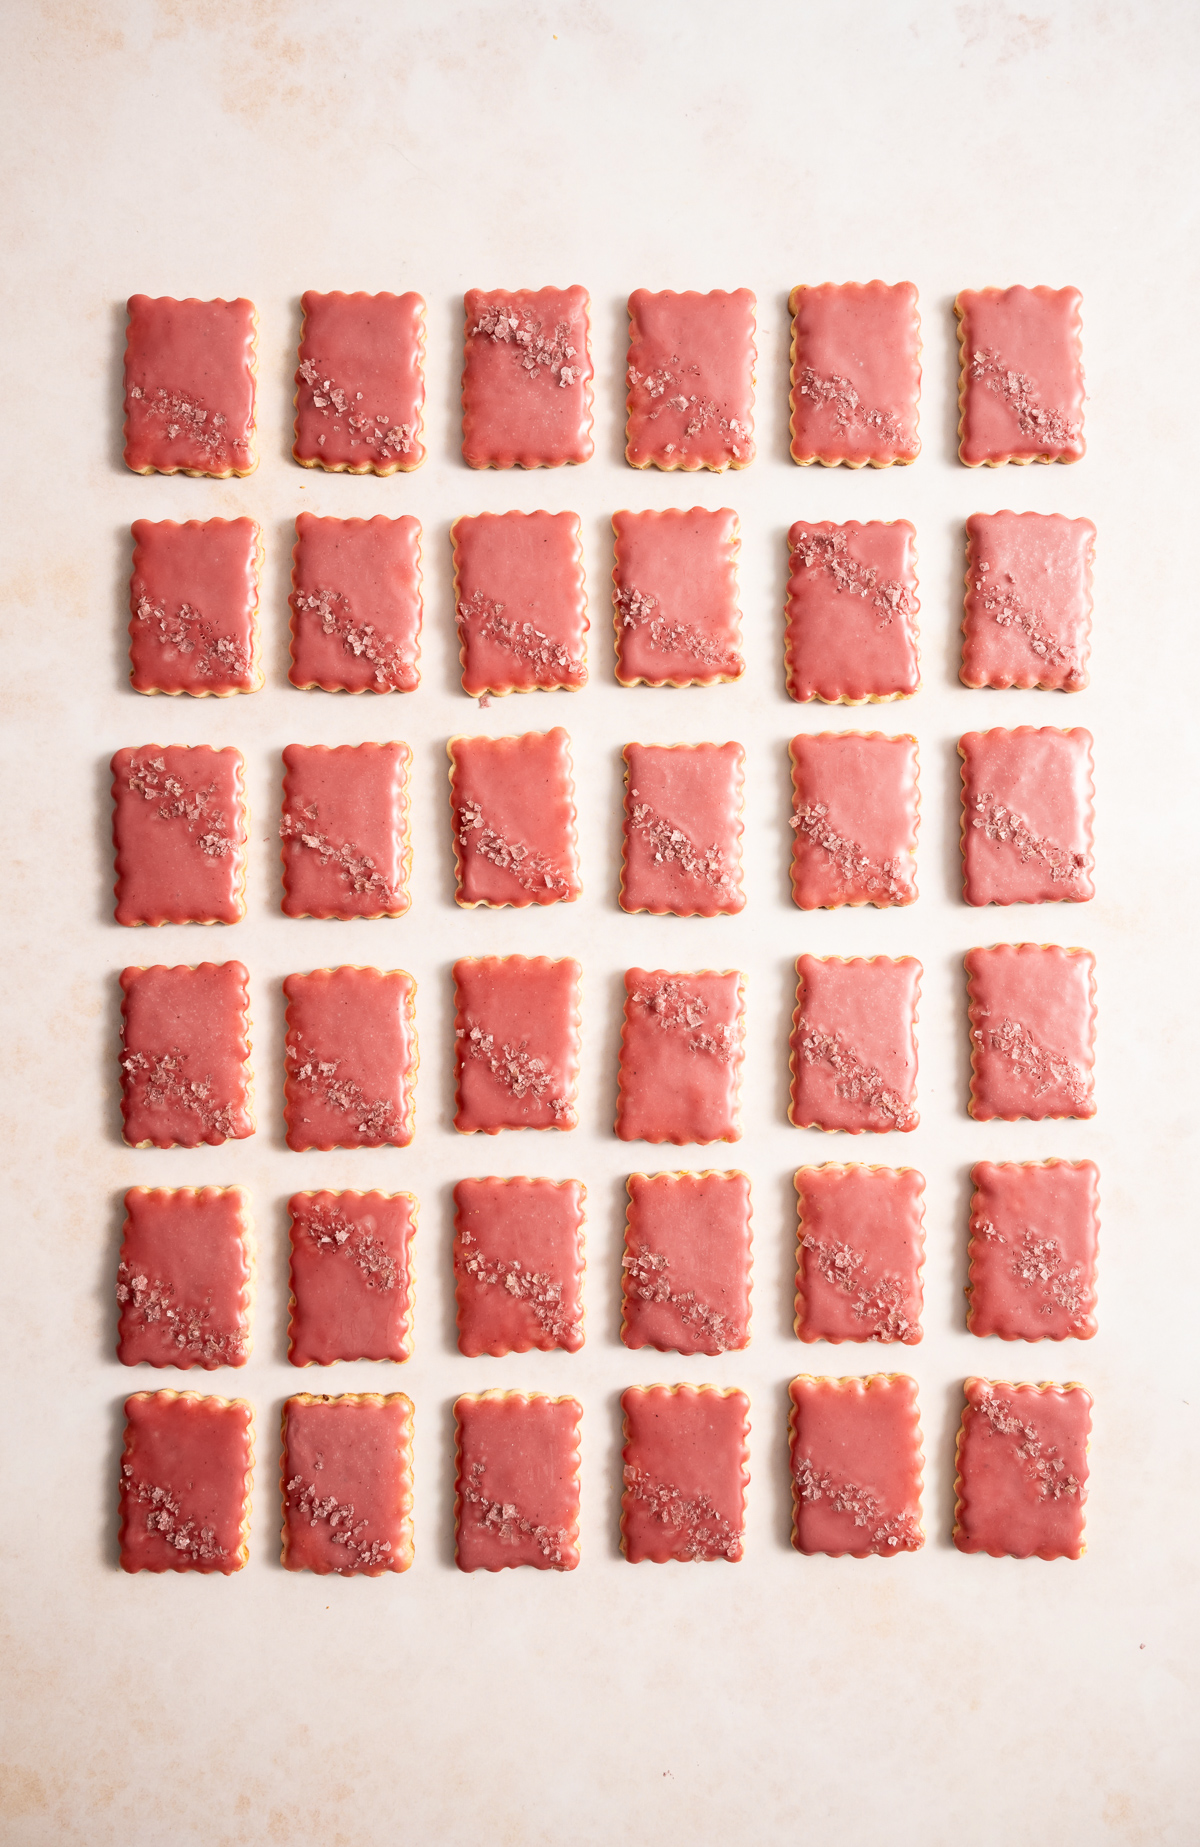
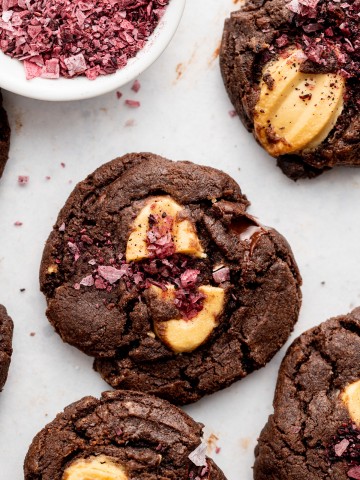
I love macadamia nuts, especially in cookies like my macadamia shortbread and my macadamia linzer cookies. These macadamia butter cookies are based off my shortbread recipe with the addition of lime in the dough and a dip in a gorgeous pink hibiscus glaze. I love a little sprinkle of salt on cookies and the hibiscus salt from Alaska Pure Sea Salt is beyond perfect for these cookies.
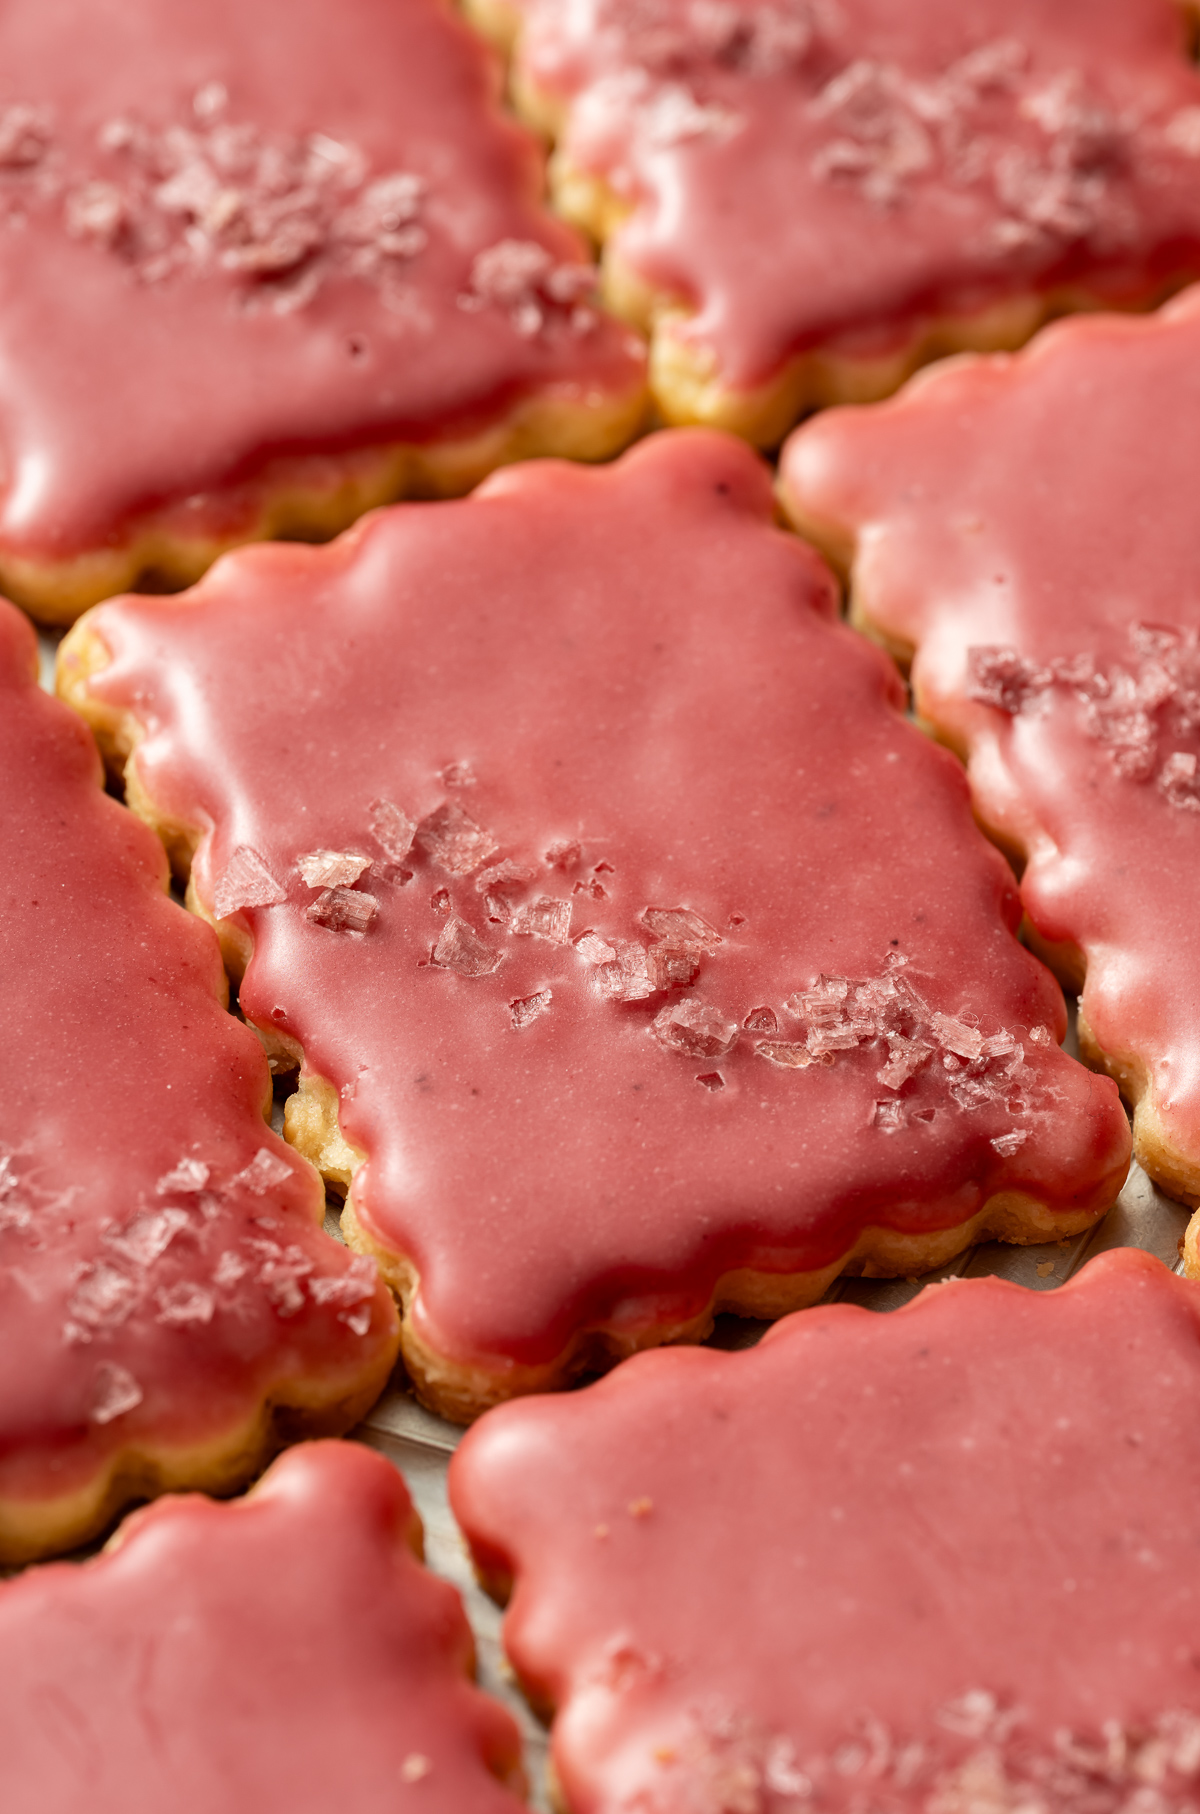
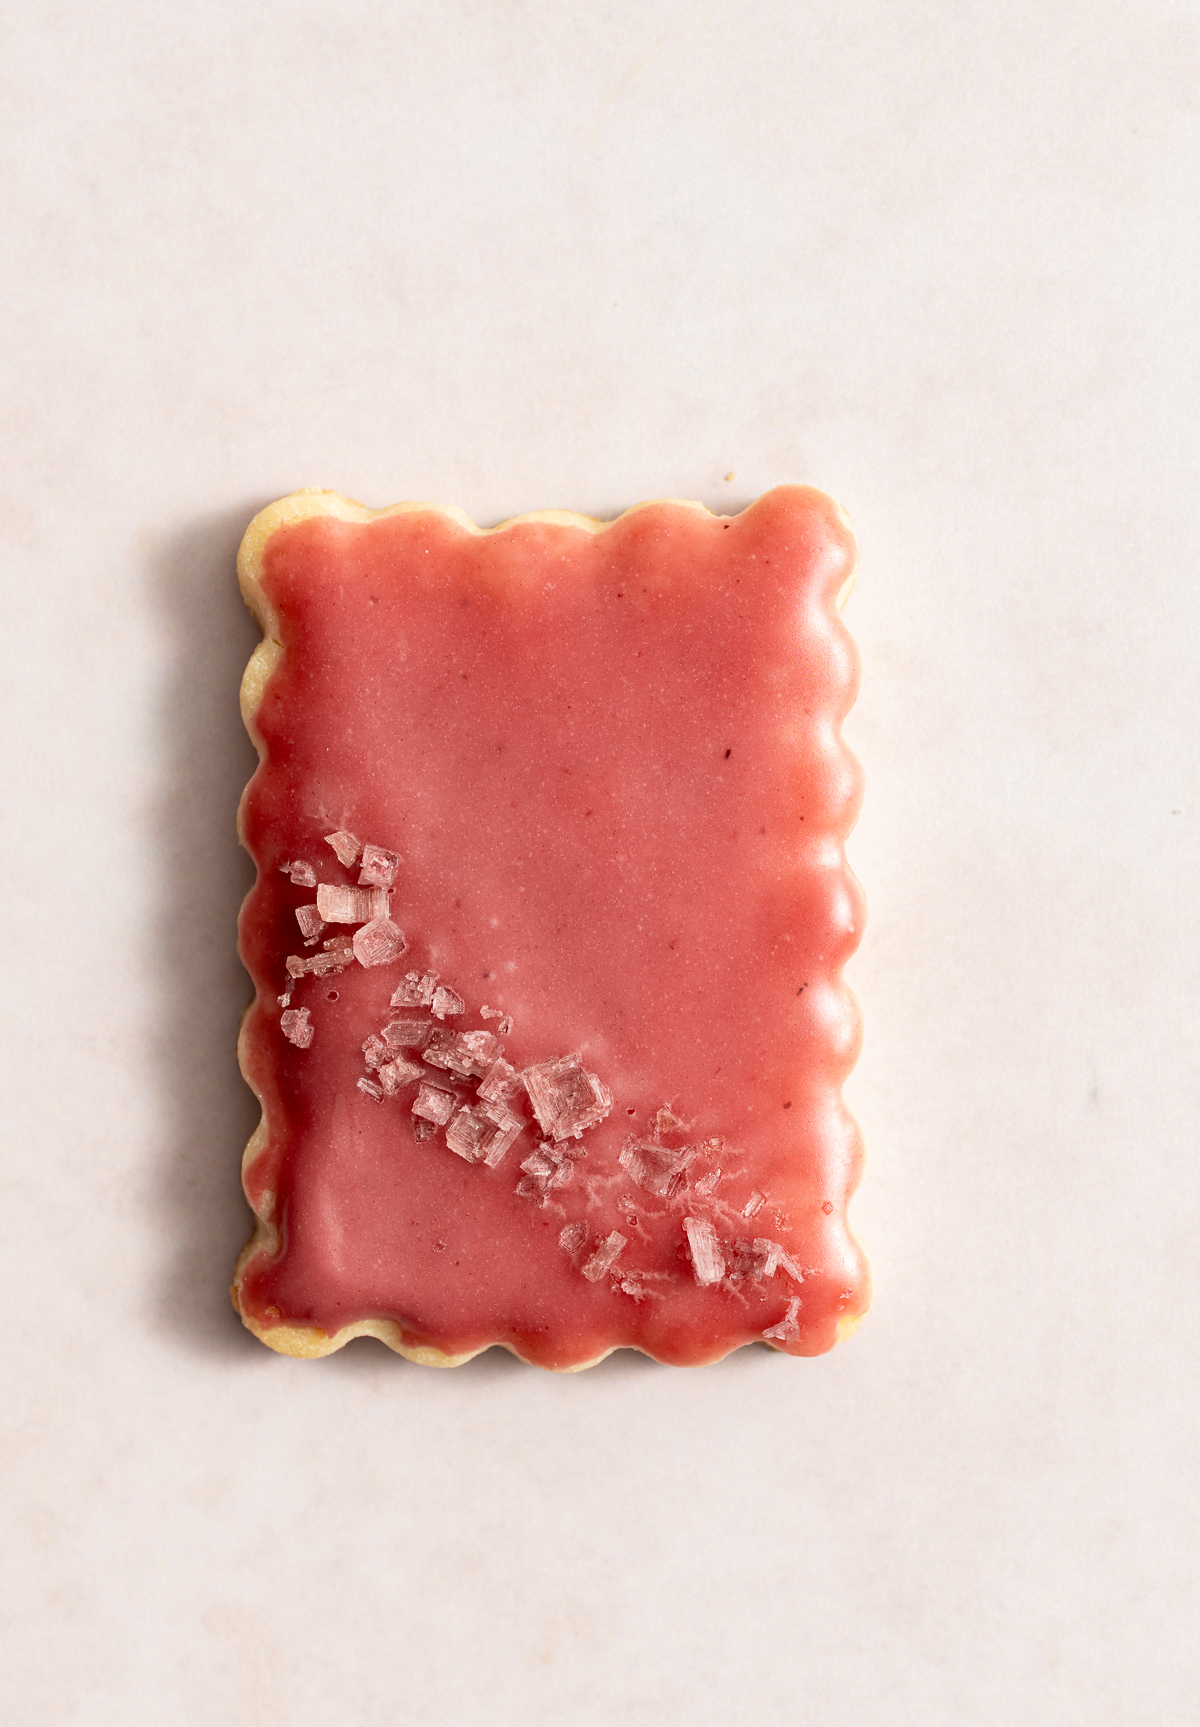
I mean. Just look at how cool the hibiscus salt looks up close!

Jump to:
Ingredients
These are based off my macadamia shortbread with a few small changes. I love macadamia nuts in cookies and desserts. The hardest part is not eating them all before adding to a recipe!

- Macadamia nuts (raw, dry roasted salted or unsalted, I use dry roasted salted)
- Unsalted butter - the butter can be cool room temp, doesn't need to be fully soft
- Granulated sugar
- Kosher salt - I use Diamond
- Vanilla extract
- Large egg yolks, cold - save the whites for meringues!
- Lime juice - freshly squeezed please
- All purpose flour, sifted - sifting makes a difference!
- Equal amounts water and granulated sugar
- Dried hibiscus flowers - see recipe notes where to source ( you want dried whole flowers NOT tea or tea bags)
- Vanilla extract
- Confectioners sugar
- Hibiscus Salt ( or other flake salt)
See recipe card for quantities.
The butter and eggs do not have to be room temperature for this dough. The butter can be cool but just soft enough to mix. You don't want it too warm where it is way too soft or almost melty. The eggs you can take straight from the refrigerator to separate out the yolks.
Instructions
I didn't take any photos of the dough being mixed since that is pretty straight forward. These are like all of my roll out and linzer cookies with rolling the dough between pieces of wax paper and not on a floured surface.
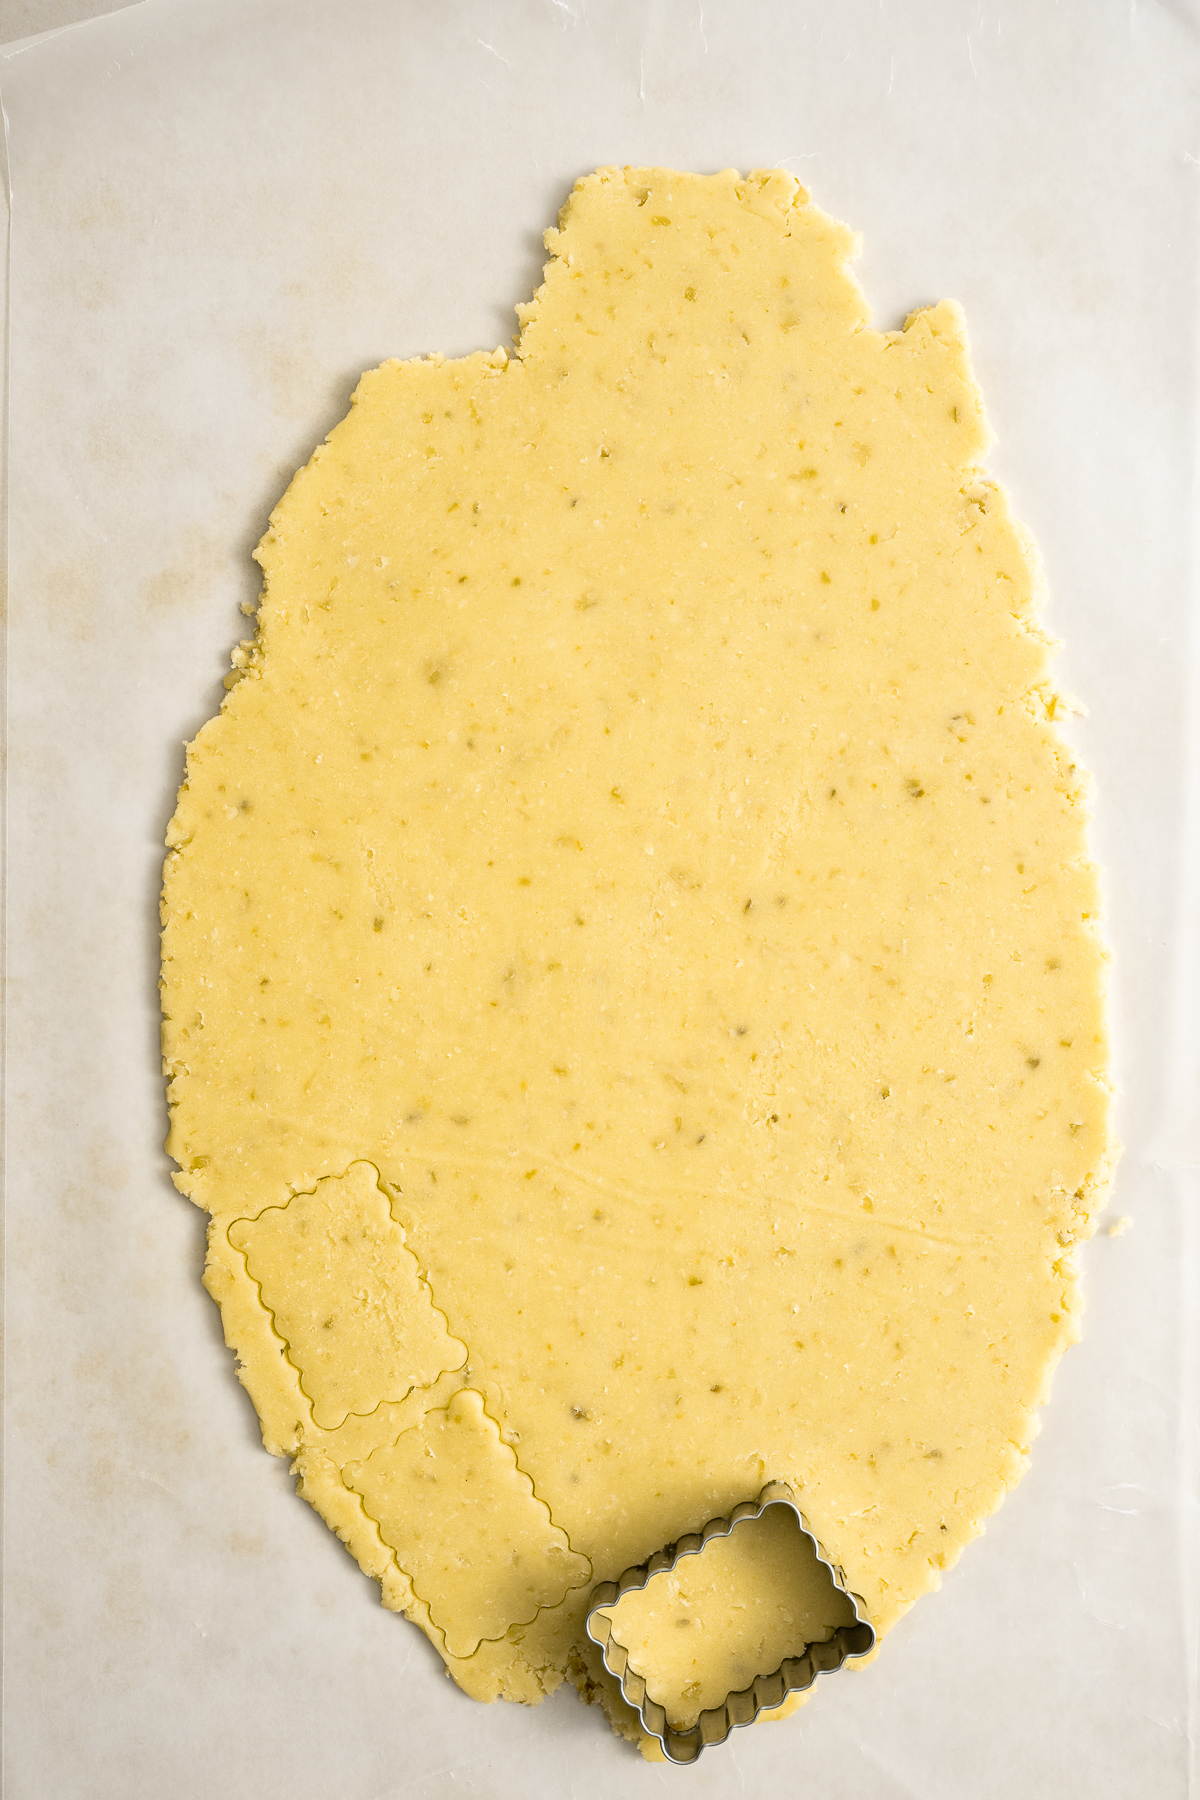
- Roll out the chilled dough to ¼ of and inch thick. 8mm. I used a scallop edge rectangular cutter - use any shape or size you like.
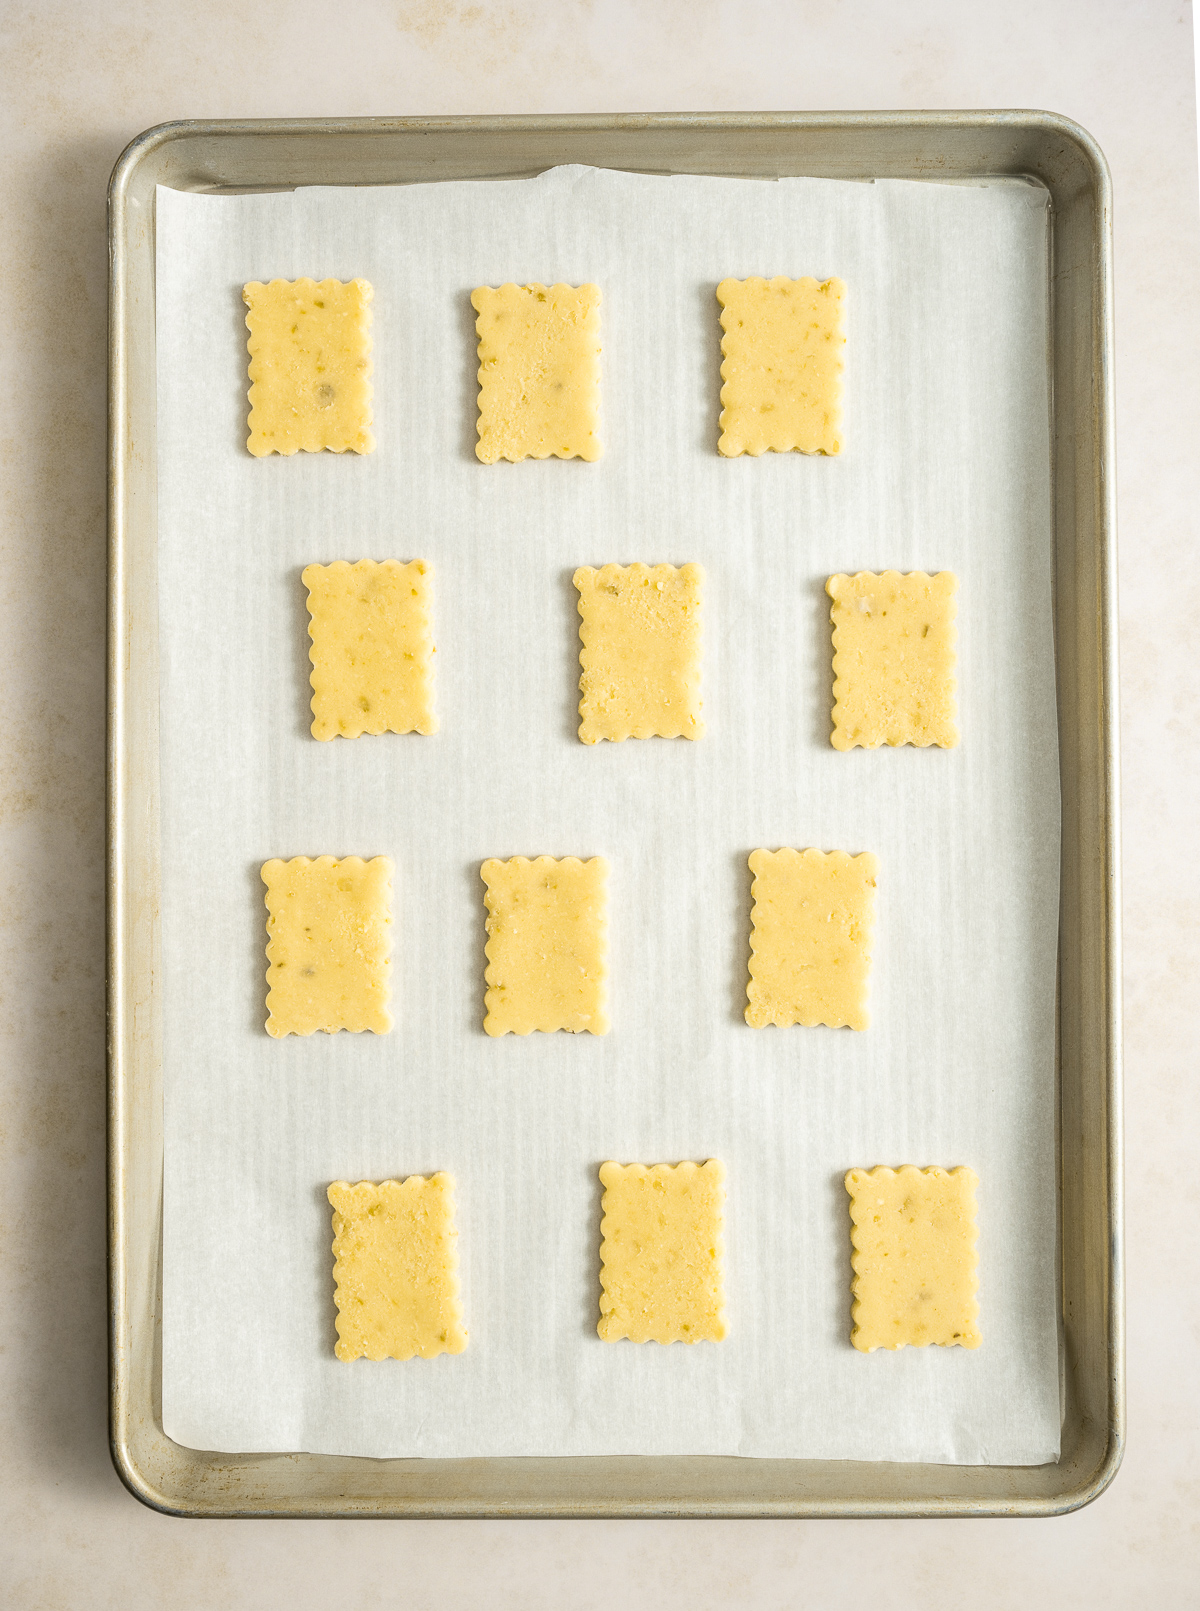
- Freeze the cut out shapes before baking. This ensures that they wont spread at all. You want to maintain the scalloped edge.
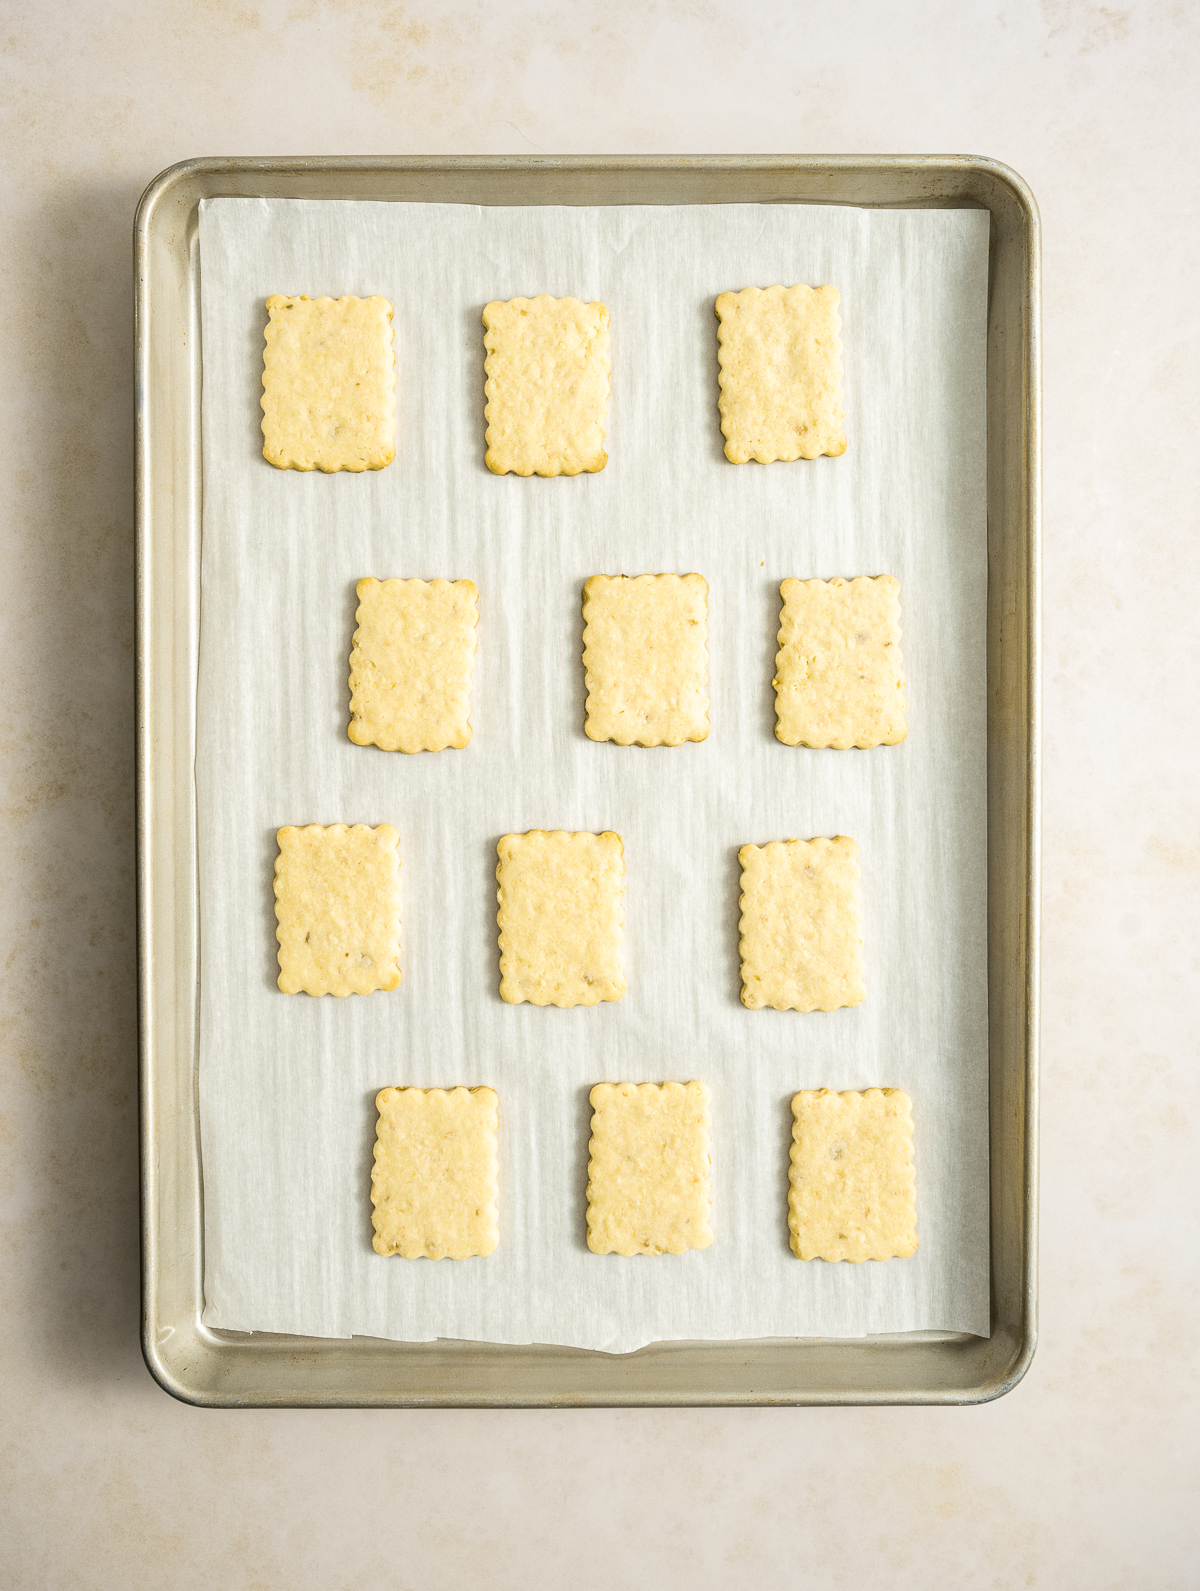
- Baked until done - some of the bottoms might get a little darker but I like to keep them lighter in color.
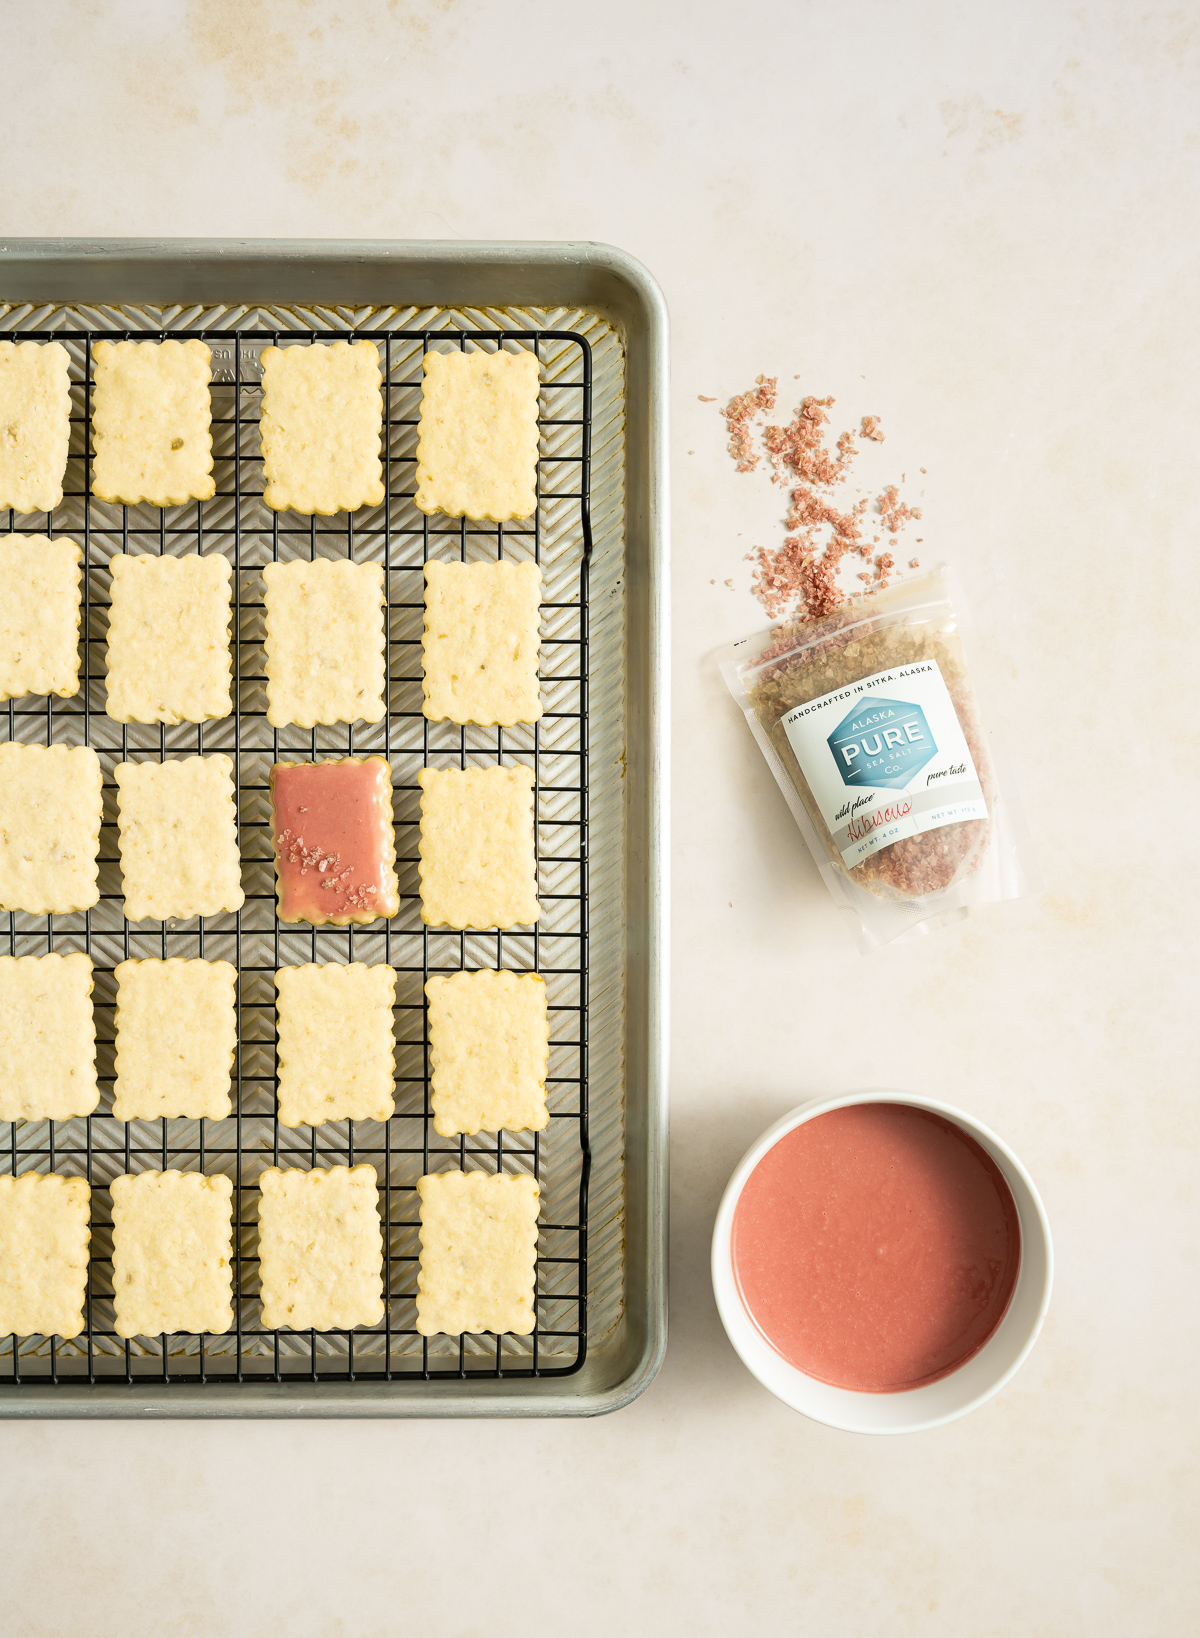
- Dip in glaze and add a little of that amazing hibiscus salt (you can add a little granulated sugar along with the salt so they won't be as salty if you like)
Toast those nuts:
One tip is when baking with nuts, always always toast them more. Even if you use roasted or dry roasted nuts. That extra toasting will really enhance their flavor.

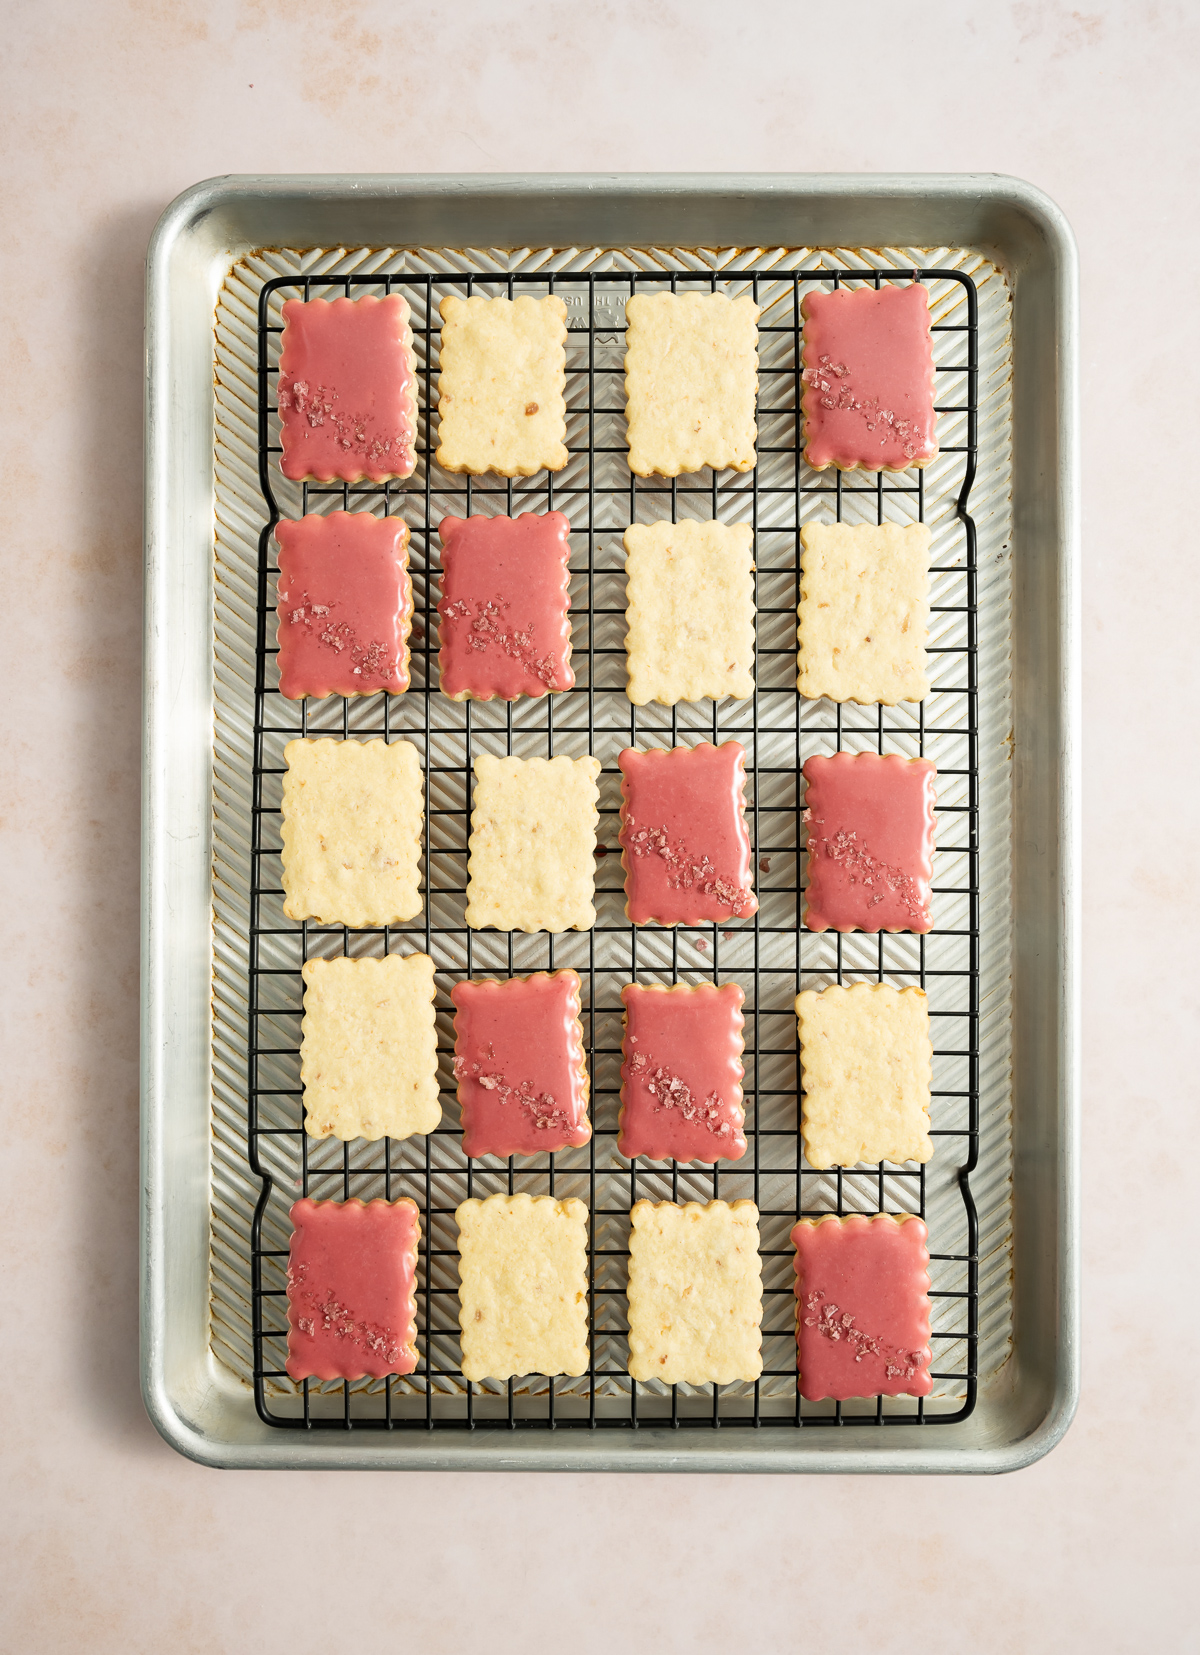
I love the color of the glaze and its all from the dried hibiscus flowers. No food dye at all.
Hint: Let the glaze dry for an hour to completely dry to firm up so it doesn't mash or smear when stored.
Substitutions
These could be made gluten free and dairy free if you are familiar with working with those ingredients.
- Flour - instead of regular all purpose flour, you can use a gluten free all purpose flour
- Butter - substitute with a vegan or other non-dairy butter
Equipment:
- Food scale. I cannot stress this enough. You want a food scale that scales in grams.
- Mixer - stand mixer or hand mixer
- Cookie cutters - I use these scalloped edge rectangular cookie cutters
- Baking sheets - I love using these USA pans, Nordic Ware and Volrath pans
- Wire cookie cooling racks - any of these racks work great
Storage:
You can store these tasty macadamia butter cookies in an airtight container or resealable bag at room temperature up to a week or in the freezer up to three months.
Top Tip
Freezing the dough after rolling out and cutting the shapes will help keep the cookies keep their shape during baking. The freezer is your friend!
More macadamia recipes:
Looking for other macadamia recipes like these macadamia butter cookies? Try these:
More Hibiscus recipes:
Love hibiscus like I do? Try these other recipes on my blog using hibiscus:

Lime Macadamia Butter Cookies with Hibiscus Glaze and Hibiscus Salt
Ingredients
- The cookie dough is fast to make, there is more hands off time with chilling the dough than there is for making and baking. I can fit twelve (12) cookies to a sheet at a time to bake, takes an hour to bake ( half that if you have double ovens) and at least an hour to cool completely before glazing. Allow at least an hour for the glaze to set before packing up.
- For the cookies:
- 100 g macadamia nuts,, see notes
- 226 unsalted butter,, cool room temp
- 200 g granulated sugar
- ½ teaspoon kosher salt
- 1 teaspoon vanilla extract
- 2 large egg yolks,, cold
- 30 ml lime juice
- 400 g all purpose flour,, sifted
- For the hibiscus glaze:
- 60 ml water
- 60 ml granulated sugar
- 10 g dried hibiscus flowers
- ½ teaspoon vanilla extract
- 250 g confectioners sugar
- Topping:
- Hibiscus Salt,, or other flake salt
Instructions
- Preheat oven to 325 Deg. F. Place macadamia nuts on a small sheet pan and toast for 6-8 minutes, rolling around every few minutes being very careful not to burn. Let cool.
- In a food processor or small blender, pulse together the macadamia nuts with two tablespoons of the sugar and 4 tablespoons of the flour. This makes sure the nuts get processed into a flour and not into macadamia butter. Add this mixture to the rest of the flour and mix together with a whisk.
- In a stand mixer or large bowl with a hand mixer, cream together the butter, remaining sugar, salt, and vanilla until well combined. Scrape down the sides of a bowl with a spatula.
- Add in the egg yolks one at a time, mixing well between each and scraping down the sides of the bowl between each as well.
- Add in the lime juice and mix well again then add in the flour macadamia mixture and mix until no more flour streaks remain. Do not over mix. If needed to can knead together the dough by hand to get all the flour combined.
- Divide the dough into two discs, wrap with plastic wrap then chill until firm - 4 hours to overnight.
- While the dough is chilling, make the hibiscus syrup for the glaze
- Combine the water and sugar and bright to a boil - either in a small saucepan or microwave in a glass bowl. Stir until the sugar is dissolved. Once boiling, add in the hibiscus flowers, lower heat, and let simmer for a few minutes then turn off the heat and let the flowers steep for 10-15 minutes. Strain into a glass bowl, pressing agains the flowers to get out all of the syrup, then add in the vanilla extract. Chill completely before using.
- When ready to bake the cookies heat oven to 350 Degrees F ( 180C) and set out baking sheets with parchment paper. Let the cookie dough discs thaw slightly at room temperature, so the dough can be rolled out.
- Roll out each dough disc at a time between two sheets of wax paper to ¼ inch thick (8mm).
- Cut out your shapes, then place on a baking sheet and place in the freezer to firm the cookies back up. You can either carefully place the cut outs on the baking sheet or slide the whole rolled out dough with the shapes still on the wax paper onto the sheet then pop out the cut outs once frozen. Whichever works best to maintain the cut out shapes.
- I usually use one baking sheet just for the freezing and the others for baking.
- Once frozen, pop the cut out cookies out if you haven't done so already, and place on a prepared baking sheet a few inches apart. Bake from frozen for 12 minutes until the tops are dry and they have only puffed slightly but not spread. The edges might turn a little golden but don't need to be in order to be done.
- Let cool completely on a wire rack after cooling on the tray for a few minutes.
- Once all the cookies are baked and completely cool, make the icing
- In a shallow, small bowl whisk together the syrup with the powdered sugar, adding the syrup a little at a time until you get the consistency you need for dipping - not too thick and not too thin either.
- Work with one cookie at time, carefully dip the tops in the glaze, letting excess drip off slightly. Place on a wire rack ( I set mine over a baking sheet to catch any drips) and then sprinkle with a little of the hibiscus salt ( or plain flake salt if you don't have hibiscus). Repeat with all the cookies. Let dry for at least an hour to two before packaging up to dry the icing.
- TIP: You can add a little granulated sugar along with the salt so they won't be as salty if you like. These are more salt forward cookie with the salt on top.
- Keep in an airtight container or resealable bag up to a week at room temperature, up to three months in the freezer.
Notes
Heather says
4.5 stars. I made these over the last day and a half. I feel the flavor is great. Texture is great. It’s a very unique cookie and definitely has a stunning overall look. I did find them to be slightly more labor intensive than I anticipated mostly bc my butter kept melting too fast as I was rolling out and I felt I had to keep refrigerating the dough. I also found the glaze seemed to need water added to it bc the syrup alone made a thick paste. Will definitely try again and troubleshoot my issues, but overall a great recipe.
Shanna says
They do require a bit more work with chilling between rolling out and cutting. I find popping the trays in the freezer better than the refrigerator. They tend to stay firmer longer. If you have the space for sure. The glaze should be thin but not too thin that it runs off the cookies. Its a thicker glaze but definitely thinning to your liking is fine. Glad you liked them!